
 Pin it
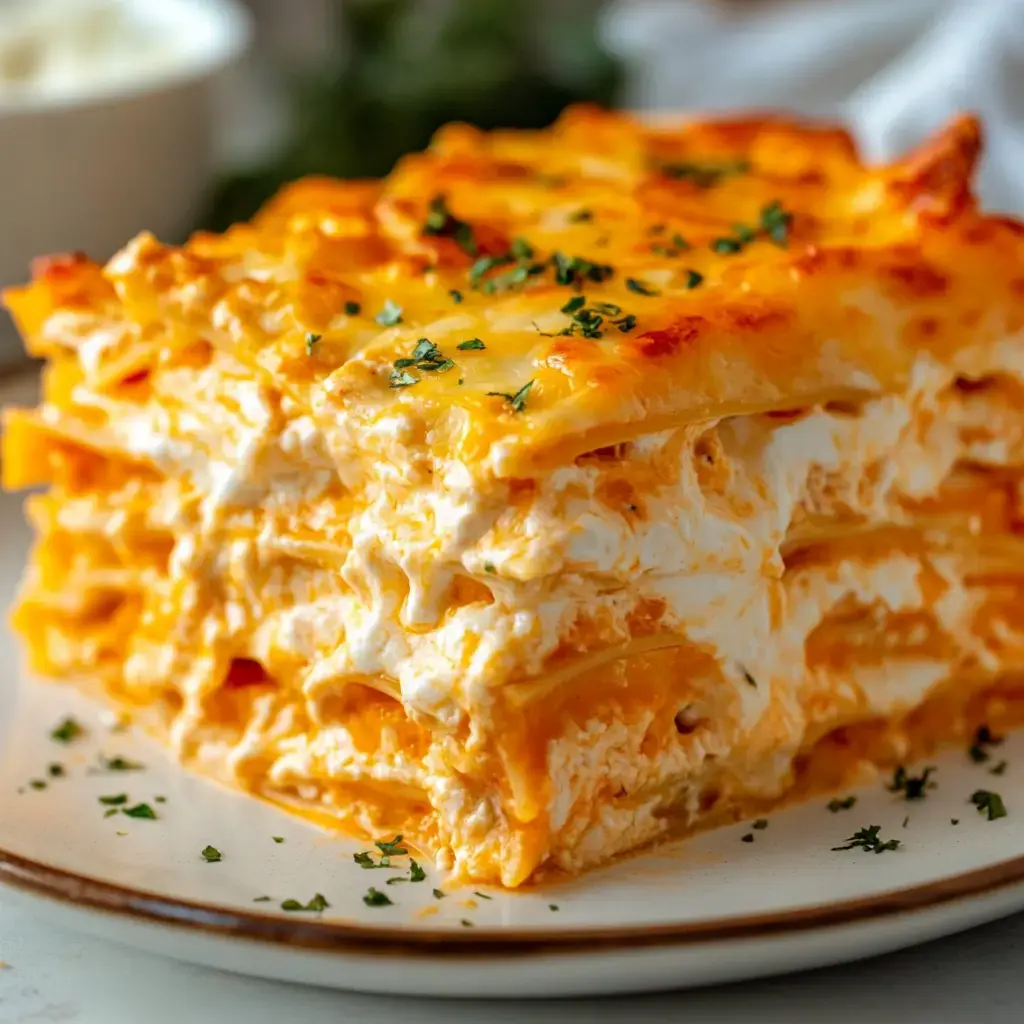
- I gotta tell you about this crazy flip on traditional lasagna you'll totally flip for! My Ranch Buffalo Chicken Lasagna takes all the good stuff from spicy wings and smooth ranch and packs it into one hearty pasta creation. Think soft pasta sheets packed with shredded rotisserie chicken, gooey cheese, and that signature buffalo kick. It's now the #1 dish my family begs for when they want something comforting!
What Makes This So Great
- Flavor Magic
- Lasagna meets buffalo meets ranch, creating the ultimate comfort dish!
- Serves Many
- Enough to satisfy everyone at your gathering, great for sports watching!
- Prep Beforehand
- Put it together early, pop in the oven later—perfect for your busy schedule.
Grab These Items
- Main Components
- Rotisserie chicken, lasagna sheets—cuts down your cooking time.
- Flavor Champions
- Ranch seasoning, buffalo sauce—they work together amazingly.
- Dairy Must-Haves
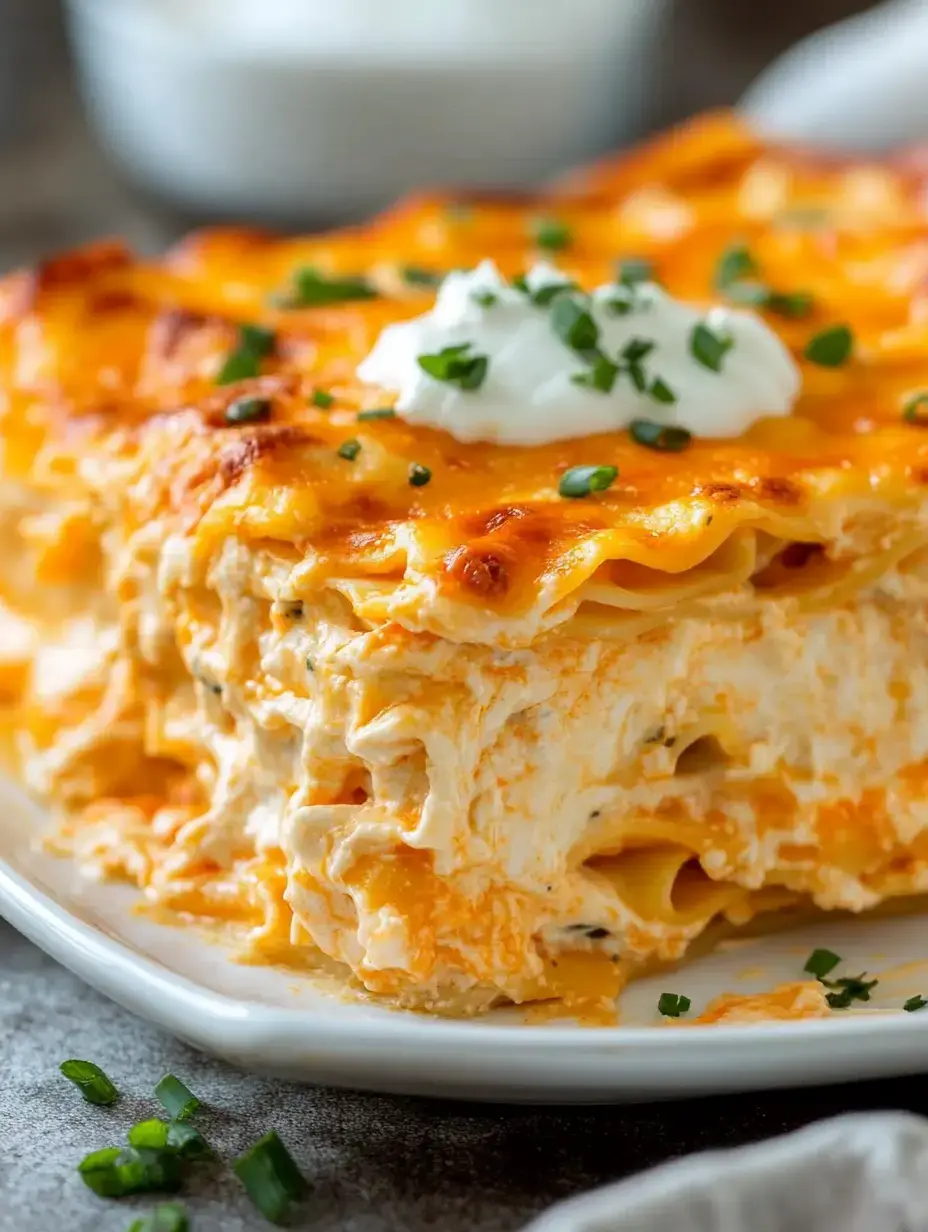
- Mozzarella in abundance, some cheddar, plus cream cheese for ultimate smoothness.
- Finishing Touches
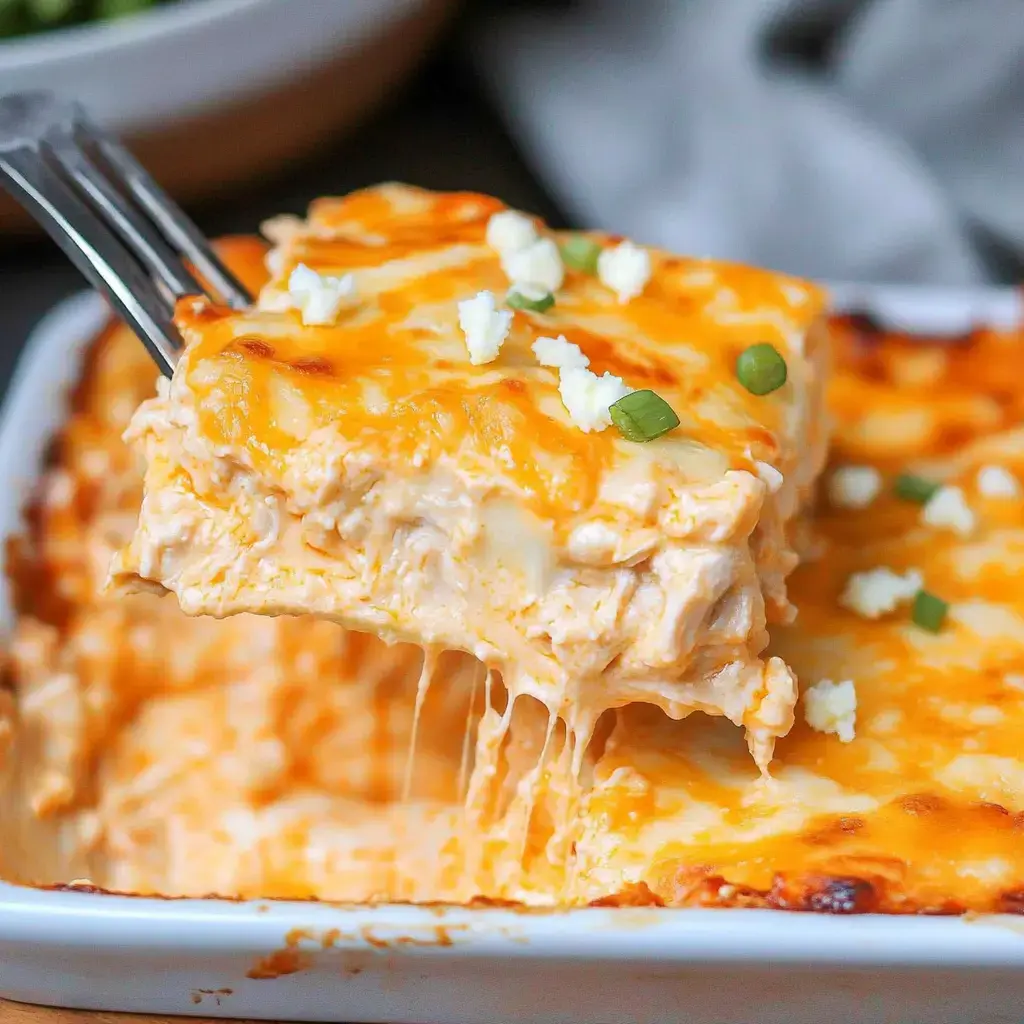
- Blue cheese bits, scallions—they really lift the flavor profile!
Creating The Dish
- Mix Your Chicken
- Start by combining your pulled chicken with the buffalo sauce and ranch mix—coat it thoroughly. In a separate container, mix your cheeses with ranch powder and a bit of milk—this makes spreading a breeze.
- Set Everything Up
- Find your tallest baking dish and grease it well. Arrange all your ingredients nearby—the noodles, chicken mixture, cheese blend, and topping cheese. This makes building so much quicker!
- Begin Layering
- Put some sauce on the bottom (stops sticking). Arrange noodles flat without crossing them. Spread half the chicken mix all the way to the sides.
- Add The Cheese
- Now carefully spread that cheese mixture on top, trying not to mix the layers. Throw on some extra cheese just because. Another row of noodles, press down gently.
- Continue Stacking
- Do those layers again: chicken, cheese, then noodles—same as before. Keep count so you don't run short on anything. Finish with a noodle layer.
- Top It Off
- Cover that final layer with whatever cheese mix you've got left, plus more cheese on top! Some folks scatter blue cheese here—gets fancy looking.
- Oven Time
- Wrap with foil carefully so it doesn't stick to the cheese! Bake at 375°F for around 45 minutes—gets everything hot and melted through.
- Brown The Top
- For the final 10 minutes, pull off that foil and let the top get bubbly and browned. Keep an eye on it so it doesn't get too dark!
- Cool It Down
- The tough part now: wait 15-20 minutes before cutting! Smells amazing but waiting gives you clean slices instead of a sloppy mess.
- Fancy Finish
- Slice into portions, add extra ranch or buffalo drizzle if you want. Top with scallions—makes it look super fancy!
 Pin it
Helpful Hints
- About The Chicken
- Go for store-bought rotisserie and pull it apart while it's still hot—way easier!
- Even Layers
- Try to spread everything uniformly—so each mouthful has all the good stuff.
- About The Cheese
- Grate it yourself instead of buying pre-shredded—melts so much better!
Tasty Tweaks
- Spice Control
- Use more or less hot sauce depending on how fiery you like things.
- Cheese Swaps
- Experiment with different cheese combos—pepper jack adds an extra kick!
- Added Texture
- Throw in diced vegetables like celery or bell peppers—gives you the full wing experience.
 Pin it
Finishing Touches
- Dress It Up
- Add a zigzag of ranch, some buffalo sauce, and snipped green onions on top.
- Perfect Pairings
- Crisp green salad, buttery garlic bread—they balance out all that richness.
- Day After
- Tastes even more amazing reheated—if you're lucky enough to save some!
Frequently Asked Questions
- → Is plain chicken okay to use?
Definitely works, but rotisserie has extra flavor.
- → Does the spice level adjust easily?
Go with mild buffalo sauce or use less of it.
- → Why is resting after baking important?
It keeps the layers from falling apart while cutting.
- → Can I prep this the night before?
Sure, just bake 10-15 minutes longer if refrigerated.
- → How long can I freeze it?
It’s good for up to three months before baking.
- → Why cover during baking?
It stops the top from drying out too much.