
 Pin it
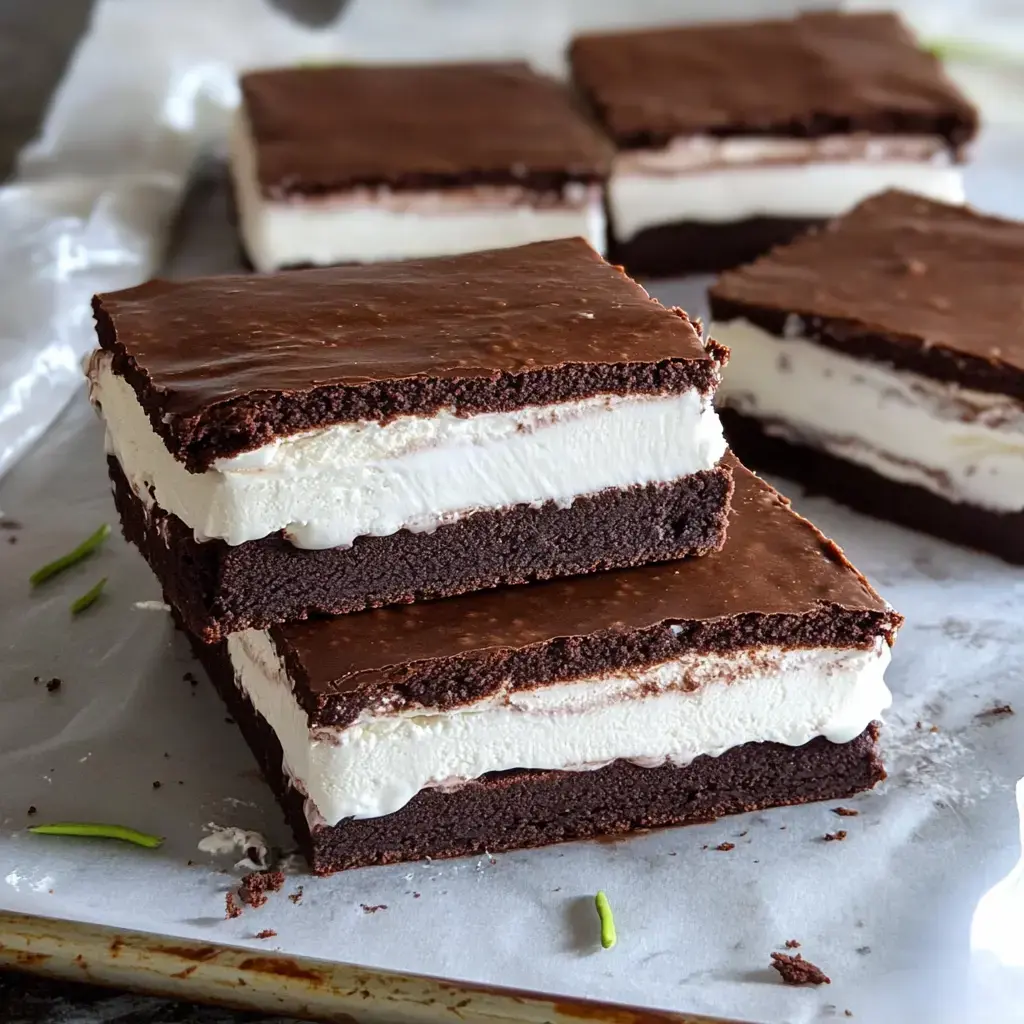
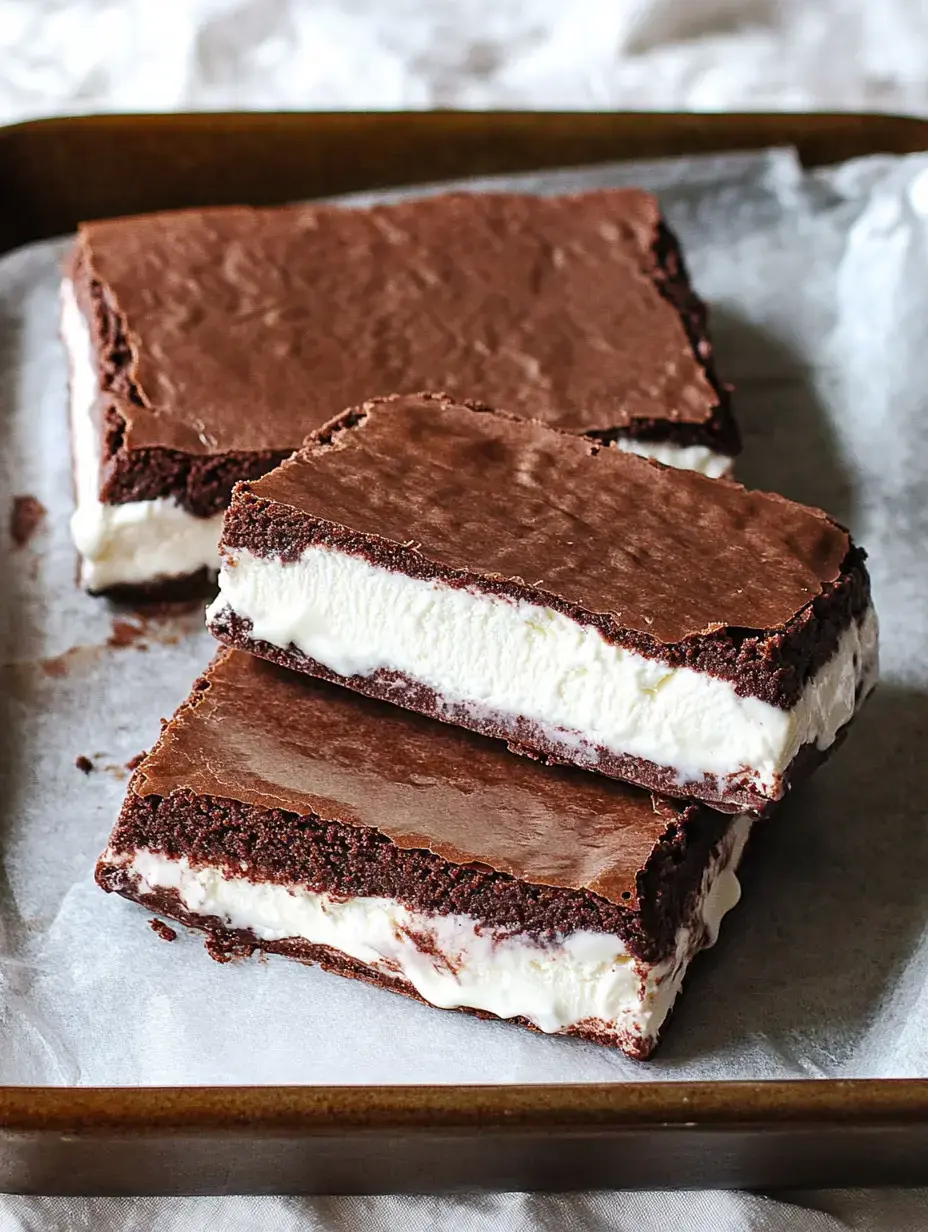
Get ready to fall in love with DIY Chocolate Ice Cream Sandwiches - soft, brownie-like chocolate pieces hugging creamy vanilla goodness between them. These summer classics bring back those carefree childhood days while making new memories too. They're perfect for backyard BBQs, swimming days, or whenever you need something cool and tasty to treat yourself.
Benefits of Homemade Versions
When you make these treats yourself, you're in charge of what goes in them. The brownie parts turn out way softer and tastier than anything from the store, and you can pick whatever ice cream flavor makes you happy. They're actually pretty easy to throw together and they'll save you money compared to those fancy pre-made ones.
Key Ingredients Breakdown
- Room Temperature Unsalted Butter: 1/2 cup (one stick), melted and slightly cooled
- Fine Granulated Sugar: 1 cup for smooth texture
- Room Temperature Large Eggs: 2 for better mixing
- Pure Vanilla Extract: 1 teaspoon, skip the artificial stuff
- Dutch-processed Unsweetened Cocoa Powder: 1/3 cup
- Spooned and Leveled All-Purpose Flour: 1/2 cup
- Spreadable Ice Cream: 1.5 quarts, softened but not melty
Easy Assembly Instructions
- Baking Your Brownie Sheets
- Heat oven to 350°F (175°C). Combine sugar with butter. Mix in eggs and vanilla. Gently stir in dry stuff until barely mixed. Pour into a lined 16x11-inch pan. Bake until just set, about 8-10 minutes.
- Putting It All Together
- Let brownie cool fully. Cut into two equal pieces. Spread ice cream on one half. Place second brownie on top. Stick in freezer for at least 4 hours.
- Cutting Into Portions
- With a sharp knife, slice the frozen block into sandwich sizes you want. Eat right away or wrap them up.
Smart Temperature Management
Getting these right means watching your temps. Let your ice cream sit out just long enough to spread it easily - usually 10 minutes works. Don't dawdle during assembly or you'll have a melty mess. Your brownie layers should be cool but not frozen so they stick to the ice cream properly.
Fun Flavor Pairings
Vanilla works great, but don't stop there. Try mint chocolate chip for something fresh, or coffee ice cream for a tasty mocha vibe. Strawberry ice cream gives you that chocolate-dipped berry feeling. For birthdays, grab some cake batter ice cream loaded with colorful sprinkles.
 Pin it
Fun Finishing Touches
Roll the edges in tiny chocolate bits, smashed nuts, or rainbow sprinkles. When hosting friends, wrap each one in parchment with some string. Make a DIY sandwich station where everyone picks their own toppings. Serve them on cold plates so they don't melt too fast.
Keeping And Planning Ahead
Keep your wrapped sandwiches in freezer containers for up to two weeks. It's best to wrap each one in parchment first, then tuck them in a ziplock to avoid that freezer taste. If you're planning for a party, you can make the brownie parts three days early and keep them wrapped on your counter. The finished sandwiches can be made a week before you need them. Let them sit out about 5 minutes before eating for the best texture. Don't store them next to smelly foods in your freezer since ice cream soaks up odors. If you're taking them somewhere, pack them flat in a cooler with ice packs so they keep their shape.
Frequently Asked Questions
- → Can I mix ice cream flavors?
Absolutely! Use whatever flavors you like—vanilla, strawberry, or even pistachio. Just soften them enough for easy spreading.
- → How long do they last frozen?
Stored in airtight plastic wrap or a container, they'll stay good for up to 2 months. Keep them sealed to avoid freezer burn.
- → Can I cut them into smaller pieces?
Sure! Feel free to make smaller portions. Just keep them wrapped and frozen until you're ready to eat.
- → Why is my filling too soft?
Let ice cream thaw for about 10–15 minutes to soften slightly. If it's melting too quickly, stick it back in the freezer for a bit before you keep assembling.
- → Can I prepare these ahead of time?
Yes! These bars are freezer-friendly, so you can make them early and have them ready whenever you want a sweet snack.
Conclusion
Craft tasty frozen bars with soft chocolate brownie layers and any ice cream you love. A refreshing, foolproof dessert for warm weather and special moments.