
 Pin it
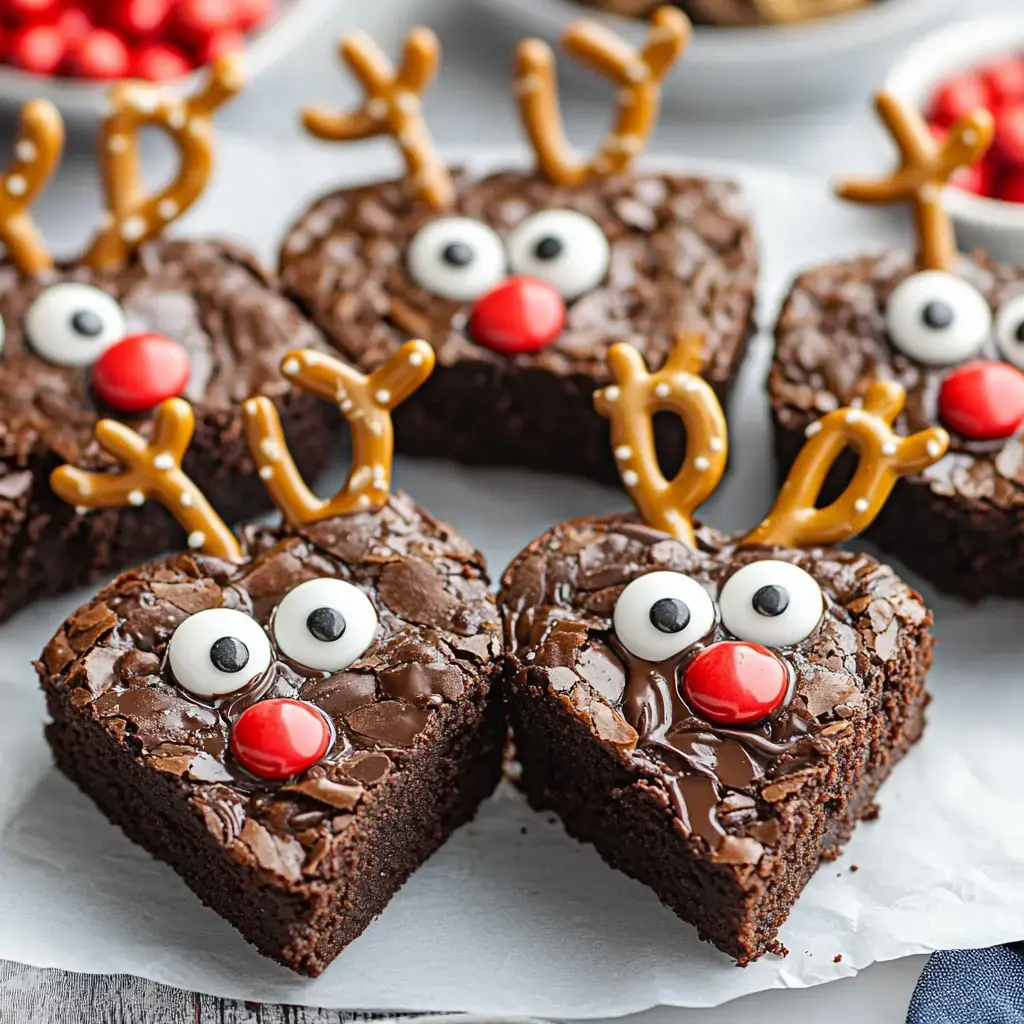
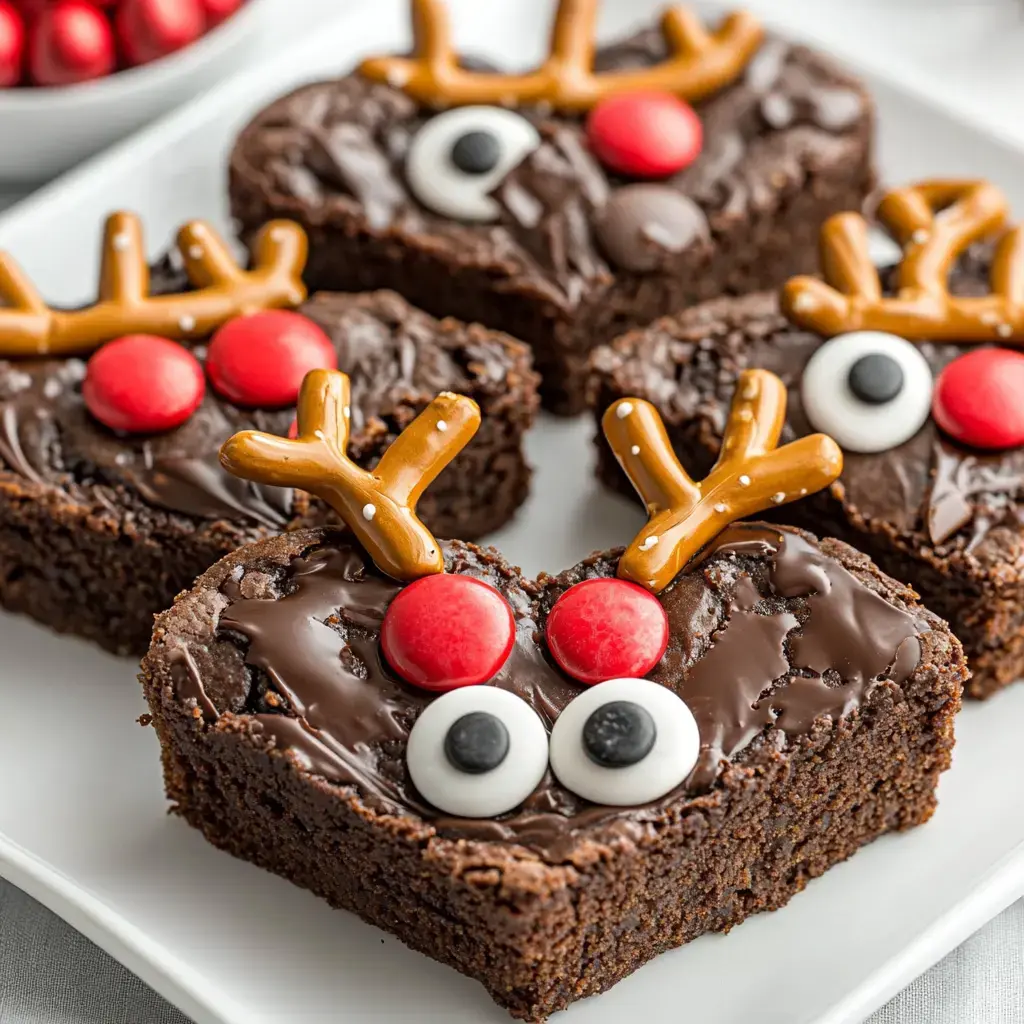
- Check out these cute reindeer brownies that'll bring smiles all around! They blend rich, fudgy treats with playful decorations to make tiny Rudolph characters. I first crafted these with my children, and now everyone begs for them each Christmas season!
Time To Begin
- Quick Prep
- Grab your favorite brownie box mix to focus on the fun decoration part!
- Everyone Joins In
- The little ones really enjoy sticking on the eyes, antlers and bright red noses.
- Great Presents
- Wrap them up nicely to brighten someone's holiday mood.
Gather Your Supplies
- • Box Mix: 1 package of brownie mix with needed eggs oil water
- • Salty Pretzels: 48 small twists to create antlers
- • Sweet M&Ms: 24 red candies for bright noses
- • Candy Eyes: 48 pieces to form faces
- • Melting Chocolate: 1 cup to attach decorations
- • Optional Mix-ins: Add nuts or chocolate bits if you want
- • Special Tools: Triangle cutter (2.5-inch) or knife
- • Gift Supplies: Holiday boxes and tissue for giving
Simple How-To Guide
- Set Up Everything
- Turn your oven to 350°F and collect all supplies. Coat two 9-inch round tins with butter and add parchment paper. Getting organized first makes this simple treat much easier to handle.
- Blend Dry Stuff
- Take a big bowl and stir flour, cocoa, baking soda, baking powder and salt together. This quick step gets rid of any clumps in your homemade dessert.
- Mix Wet Stuff
- In a separate bowl, stir eggs, oil, buttermilk and vanilla until they're smooth. This simple combo makes your cake super moist.
- Mix Everything
- Pour your wet mixture into the dry stuff slowly while stirring gently. Then add hot coffee and mix until it looks silky. Don't worry if it seems runny, this thin batter turns out great.
- Cook It Right
- Split the batter between your pans and bake for 30-35 minutes. You'll know they're done when a toothpick comes out with just a few sticky bits.
- Whip Up Frosting
- While cooling happens, beat soft butter until fluffy then add cocoa and sugar bit by bit. Stir in vanilla and cream until your frosting gets smooth enough to spread on this easy treat.
- Put It Together
- After cakes cool completely, put one layer on your plate. Spread lots of frosting, then add the second cake. Cover everything with remaining frosting using smooth moves.
- Last Bits
- Stick chocolate chips around the sides and sprinkle some on top for triple chocolate goodness. Put your creation in the fridge for 30 minutes so frosting sets nicely.
Tips For Success
- Right Size
- A 2.5 inch cutter makes the best reindeer shapes from a single pan.
- Careful Melting
- Go slow with chocolate melting so it doesn't burn and stays easy to use.
- Wait A Bit
- Brownies need to cool totally or they'll fall apart when cutting.
Try Something New
- Different Horns
- Small candy canes work great instead of pretzels for a holiday twist!
- Extra Yummy
- Spread chocolate frosting on bottom for richer treats.
- Your Own Way
- Toss in nuts or chocolate chunks and play with different brownie shapes.
 Pin it
Festive Gathering Ideas
- DIY Corner
- Create a spot where guests can decorate their own treats for fun memories!
- Pretty Presentation
- Show them off on holiday plates or tuck into gift boxes.
- Joy All Around
- These tiny deer brownies always bring loads of happiness at holiday get-togethers!
Frequently Asked Questions
- → Can I use my own brownie recipe?
Absolutely, any recipe works fine.
- → What's with the heart shape?
Flip it upside down, and it’s a reindeer face!
- → How many days are they good for?
Store in a sealed container for 4-5 days.
- → Can I prepare these beforehand?
You can bake early, but save decoration for the day you serve.
- → Is freezing possible?
You can freeze the brownies, just leave them undecorated.