
 Pin it
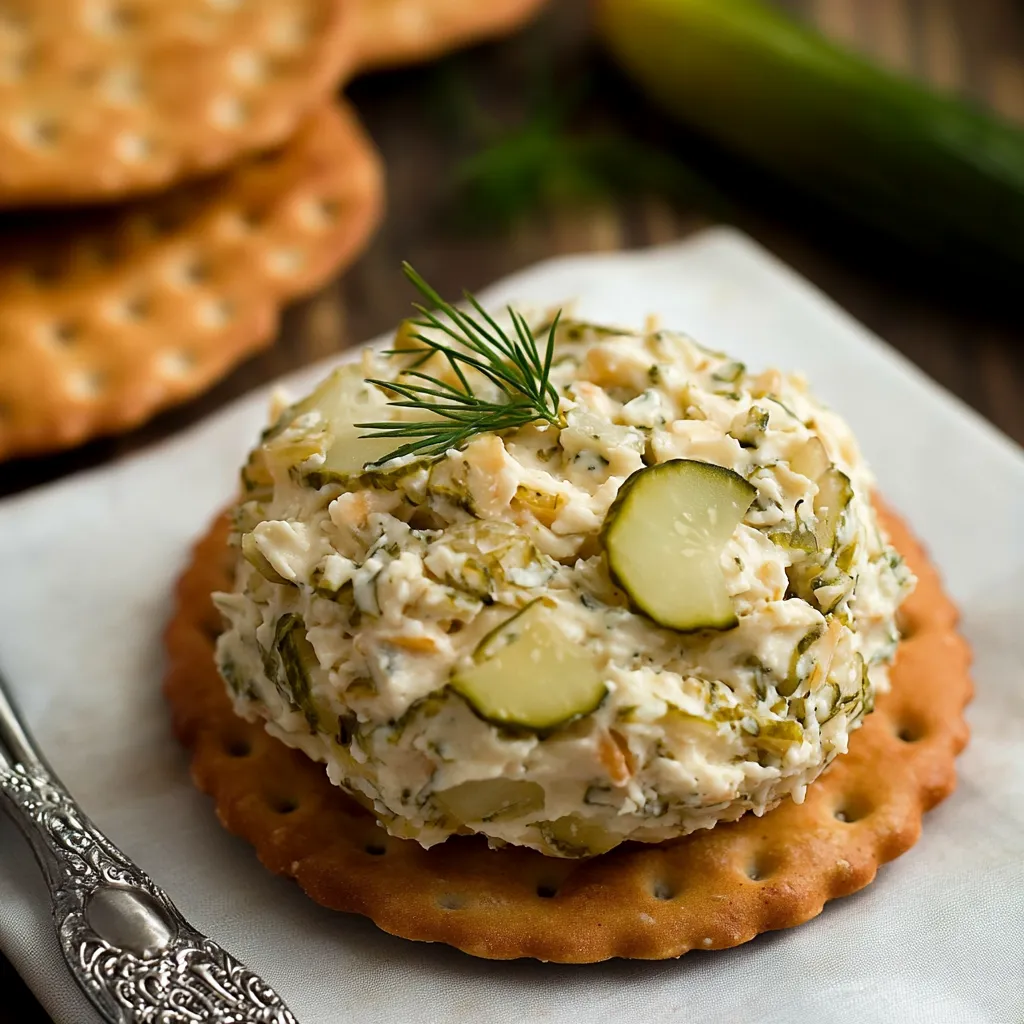
This mouthwatering starter blends zesty dill pickles with smooth, velvety cheese for a crowd-pleasing cheese ball that'll have everyone grabbing "just another taste." It's a flavor journey that builds with every bite, from the silky middle to the crispy exterior, making a wonderfully balanced appetizer.
I found that mixing in a bit of pickle brine, not just chopped pickles, spreads that fantastic pickle taste into every single mouthful.
Must-Have Ingredients Guide
- Cream cheese: Use full-fat, softened completely for easier blending
- Cheddar cheese: Go for sharp or extra-sharp, hand-grated only
- Pickles: Stick with crunchy dill varieties, avoid sweet types
- Fresh dill: Pick bunches with vibrant, unwilted stems
- Green onions: Look for crisp ones with deep green tops
- Sesame seeds: Buy them untoasted and brown them yourself
 Pin it
Simple Preparation Walkthrough
- Getting started:
- Make sure cream cheese sits out until totally soft. Whip it until smooth as silk. Slowly add pickle juice without thinning too much. Blend in sour cream until the mix looks uniform. Add salt and pepper bit by bit, sampling as you go.
- Mixing extras:
- Dice pickles small and blot with paper towels. Cut green onions into tiny bits. Pull dill leaves off stems and chop finely. Carefully fold everything together. Give it a taste and tweak if needed.
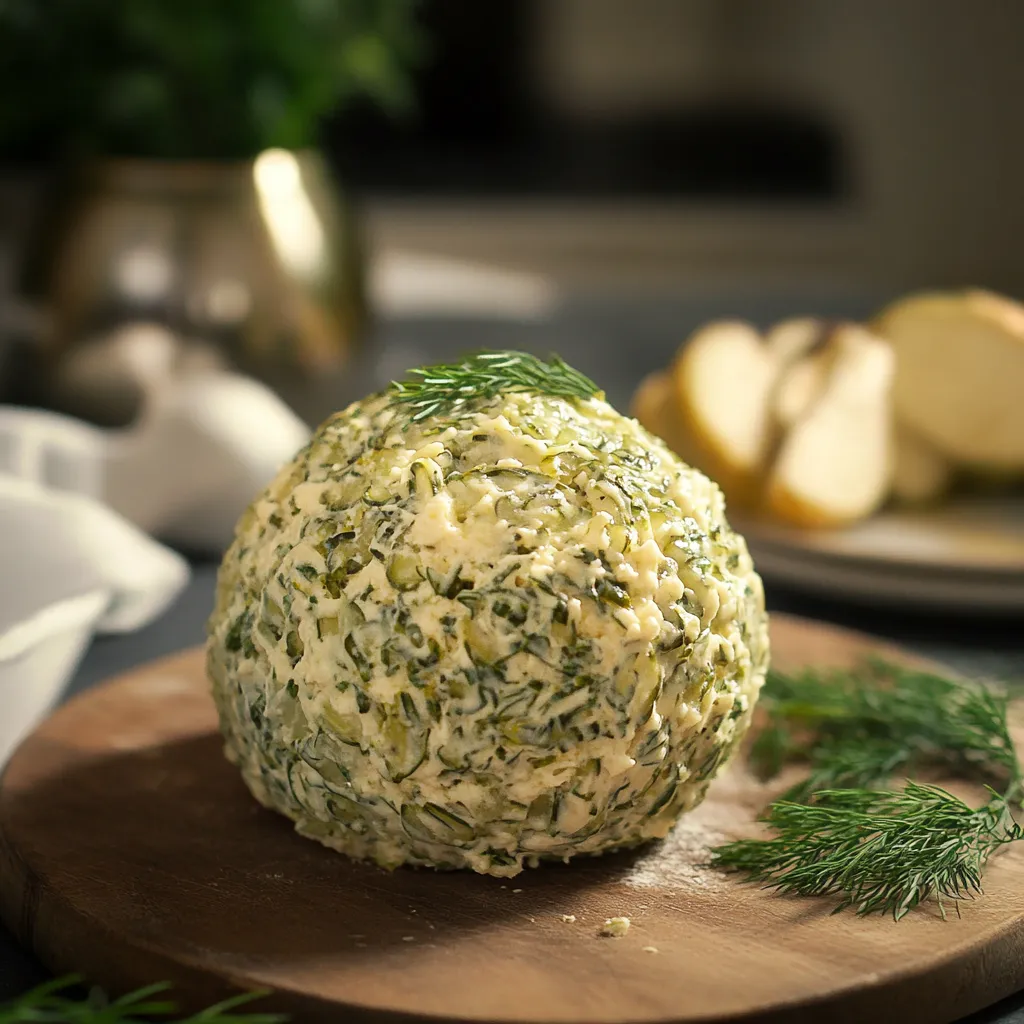
- Forming your ball:
- Spread plastic wrap on your counter. Drop mixture in the middle. Use the wrap to form into a ball. Twist the ends tight. Cool until hardened.
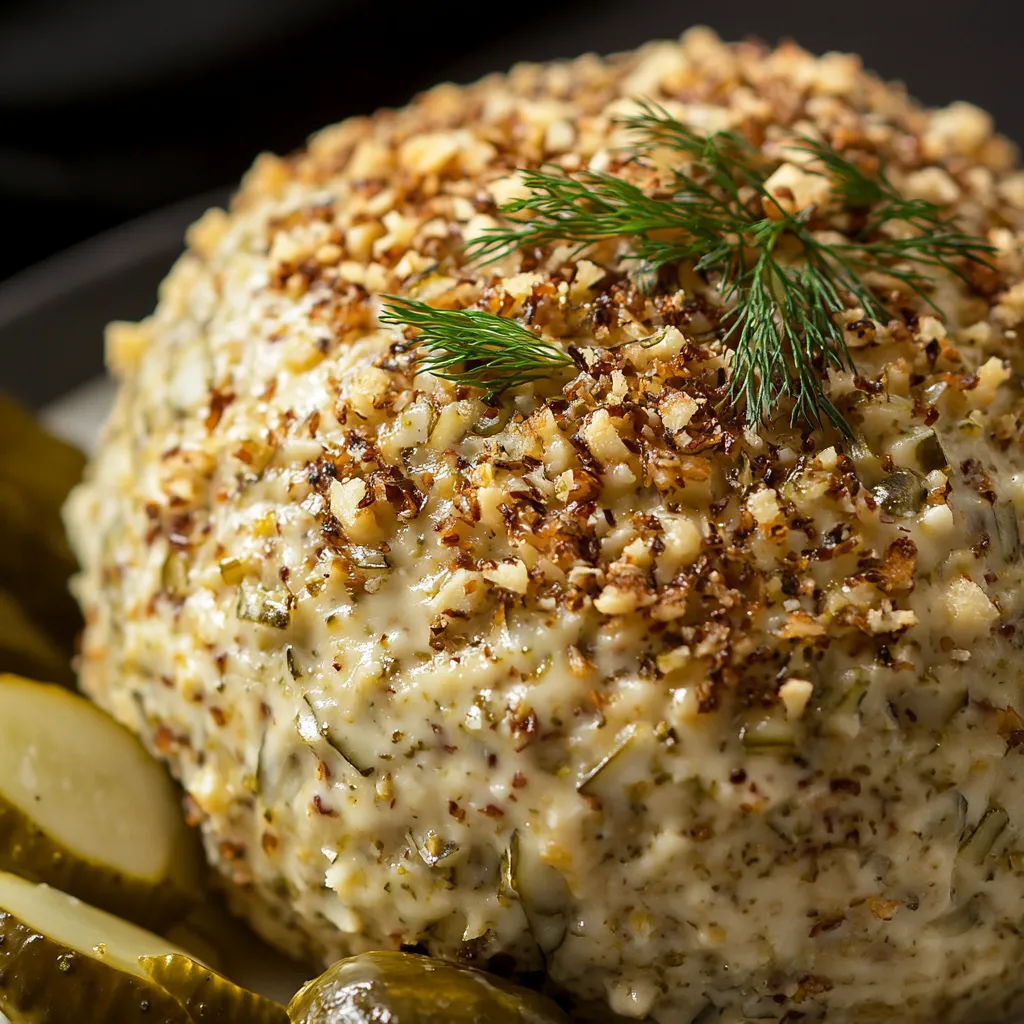
- Adding outer layer:
- Brown sesame seeds in a dry pan. Mix with cut cheese and dill. Roll your cold ball in this mixture. Press lightly so it sticks. Chill until ready to eat.
While testing different cheese balls, I noticed that roughly chopping the coating cheese, instead of finely grating it, gives a more rustic look and better mouthfeel.
Timing Is Everything
Getting the temperature right makes a huge difference:
- Allow cream cheese to sit out 1-2 hours before using
- Let the shaped ball cool at least 3 hours
- Take it out 15-20 minutes before guests arrive
- Pop it back in the fridge if it's been out over 2 hours
Plan Ahead Tips
This snack works great when prepped early:
- Fix the mixture up to 2 days before your event
- Keep the uncoated ball tightly wrapped
- Don't put on the outer coating until serving time
- Store leftover coating mix separately
What To Serve With It
Round out your snack tray with:
- Different crackers (buttery, whole grain, rice)
- Cut veggies for dipping
- Chunks of fresh bread
- Extra pickle spears on the side
 Pin it
I've made tons of cheese balls over the years, but this dill pickle version really stands out with its perfect mix of smooth, tangy and crunchy elements. The way pickle flavor soaks into the cheese while fresh dill adds brightness just works so well. Whether you're watching sports with friends or hosting a holiday dinner, this cheese ball shows how simple ingredients can create snacks everyone remembers.
Frequently Asked Questions
- → How early can you prepare this cheese ball?
- You can put this together 2 days before you need it. Making it the day before gives the flavors more time to blend beautifully.
- → Which pickles should I use?
- Dill pickles give you the best tangy punch, but feel free to swap for other pickles you enjoy.
- → Is freezing a good option for this snack?
- It’s possible to freeze, but the texture might be off. It’s better fresh or eaten within a couple of days from your fridge.
- → What pairs well with this snack ball?
- Serve this with crackers, chips, pretzels, or crunchy veggies like celery and carrots.
- → Can low-fat cream cheese be used?
- It’s best to stick to full-fat cream cheese, but you can mix it with reduced fat as long as the fat content stays above 16-17%.