
 Pin it
Create deliciously crispy homemade Pizza Crisps that deliver authentic Italian flavors in every bite. These versatile snacks feature perfectly browned edges and a satisfying texture, making them an excellent option for entertaining or everyday snacking. Each crisp combines rich cheese with classic pizza seasonings for an irresistible treat.
This recipe quickly became a treasured family favorite. At our first tasting, the entire batch vanished before dinner was served. Even the children who typically avoid healthier options couldn't resist asking for seconds. Now these crisps are an expected feature at our gatherings.
Essential Components
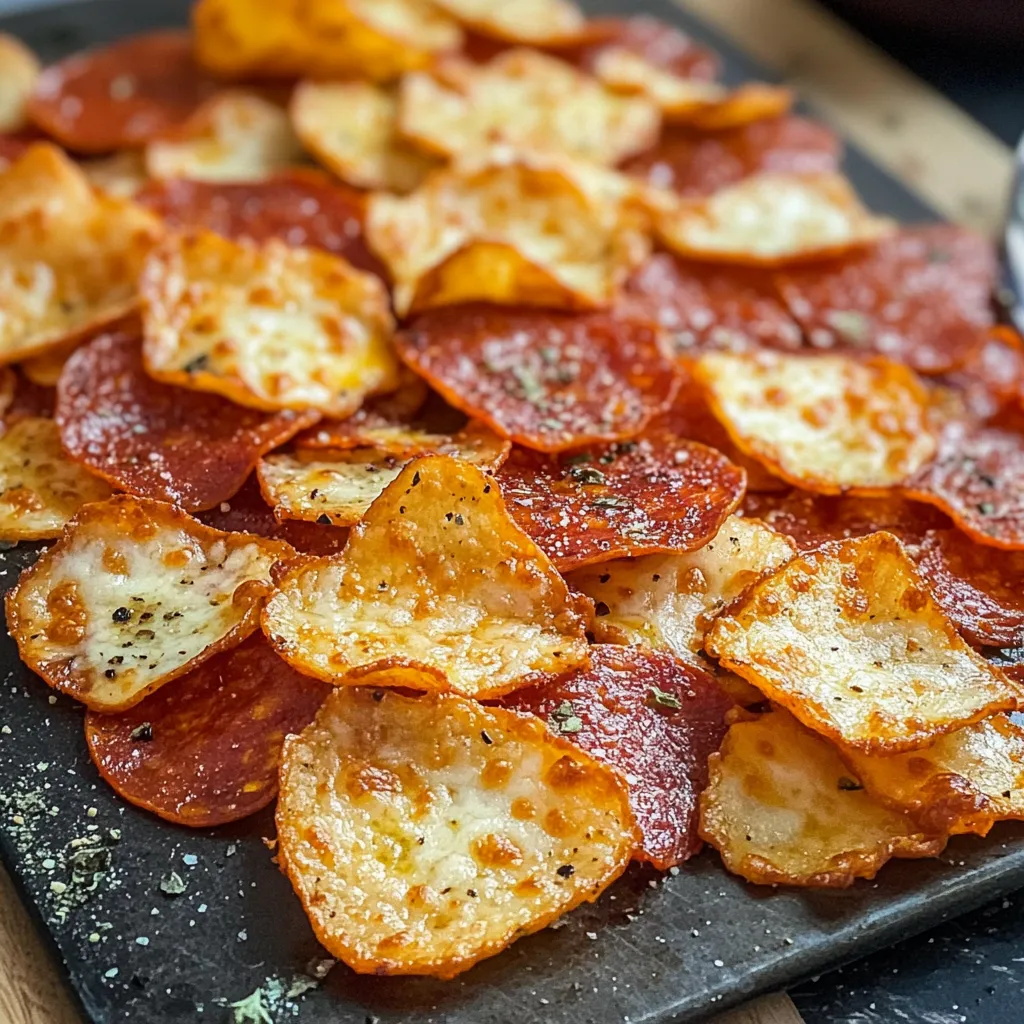
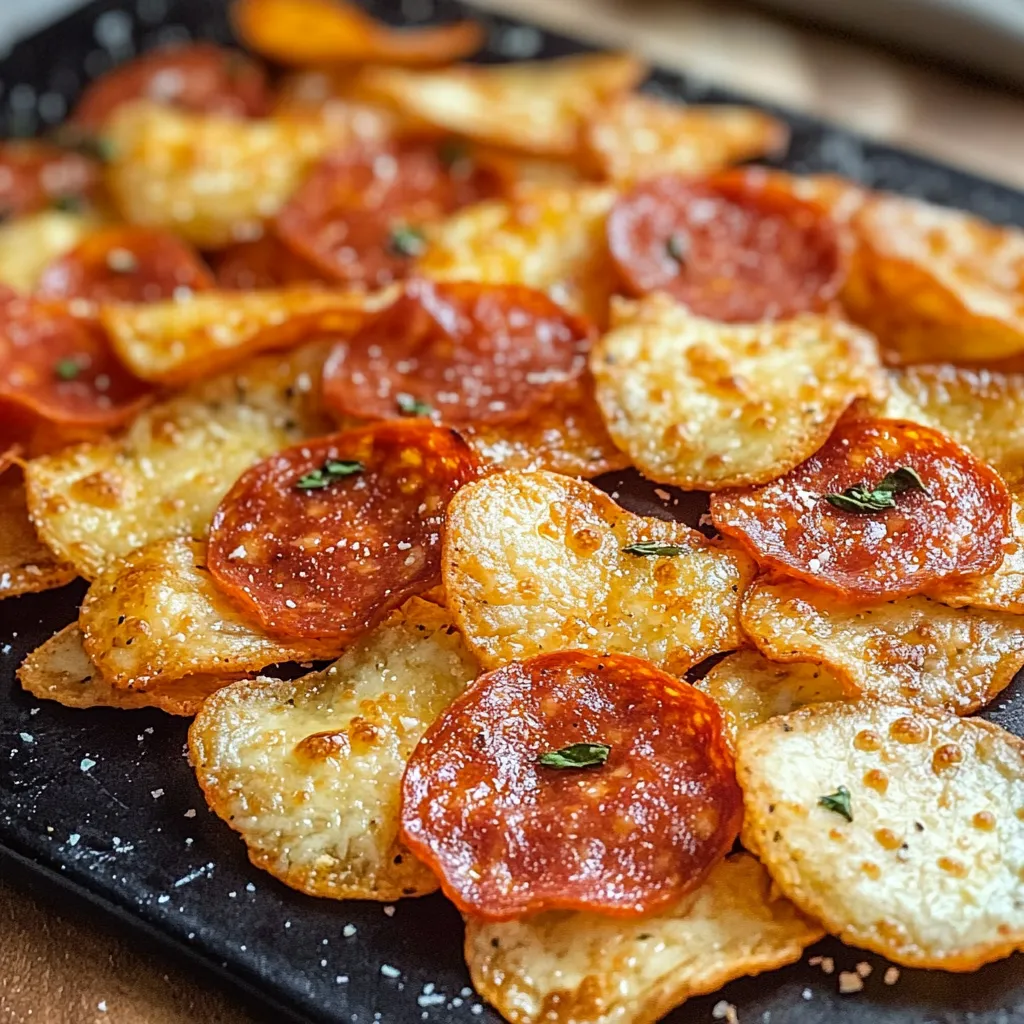
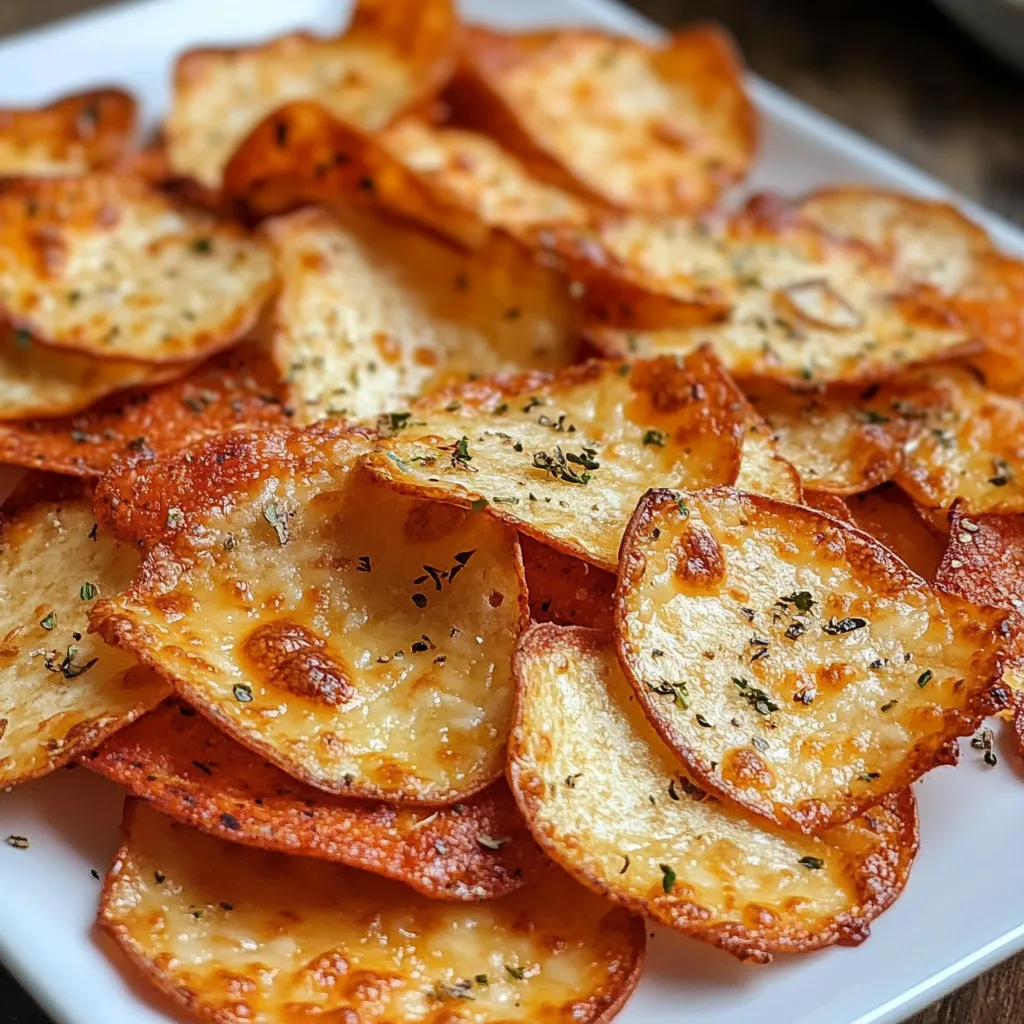
- Fresh mozzarella cheese: Forms the crispy base and provides classic stretch
- Mini pepperoni slices: Delivers authentic pizza flavor and visual appeal
- Italian herb blend: Creates signature pizza seasoning profile
- Classic marinara: Perfect for dipping and enhancing flavor
- Small muffin pan: Essential for achieving ideal shape and texture
Cooking Method
- Initial setup:
- Preheat oven to 350°F. Carefully grease muffin tin cavities for easy removal.
- Creating bases:
- Place measured portions of cheese (2-2.5 tbsp) in each cup, ensuring even distribution.
- Adding garnishes:
- Arrange pepperoni pieces and sprinkle herbs over cheese portions, pressing lightly.
- Cooking process:
- Bake on middle rack for 7-8 minutes until edges golden and slightly separated from pan.
- Finishing touches:
- Let rest 5 minutes before carefully removing with appropriate tools.
 Pin it
Fresh herbs like basil elevate these crisps to new heights when added after baking. Family members have developed their own variations - some prefer classic olive toppings while others enjoy the simple cheese base. They've earned a permanent place in our celebration menu rotation.
Presentation Ideas
Arrange these crisps alongside various dipping options including marinara, ranch dressing, or spicy buffalo sauce. Consider pairing with fresh greens dressed simply in citrus and oil. They make an excellent accompaniment to homemade soups.
Flavor Variations
Experiment with Mediterranean flavors using crumbled feta and kalamata olives. Create morning-inspired crisps with crispy bacon and smoky seasonings. Try Mexican-style versions topped with seasoned beef and sharp cheddar.
Storage Guidelines
Keep remaining crisps in sealed containers, separated by parchment layers. While they remain good for three days in refrigeration, immediate consumption provides optimal texture. To refresh, warm briefly in oven at 325°F. Avoid microwaving to maintain crispness.
 Pin it
These pizza-inspired crisps have proven themselves as a reliable staple recipe. Their straightforward preparation and consistent results make them suitable for any occasion. Guests are consistently impressed by how such simple ingredients transform into such a memorable snack.
Frequently Asked Questions
- → What’s the best cheese to use for these Pepperoni Cheese Chips?
- You’ve got options! Cheeses that aren’t too watery work best. Parmesan gives you extra crispiness, while mozzarella melts nicely but keeps a crunchy edge too.
- → How will I know when my Pepperoni Cheese Chips are ready?
- Watch for golden, crispy edges—this usually happens in 7 to 8 minutes when baked at 350°F. Parmesan might cook quicker at 400°F if you want them even crispier.
- → Can I make these chips ahead of time?
- They’re tastiest right out of the oven, but you can prep in advance. Reheat briefly in the oven before serving to get them crispy again!
- → What sauces pair well with Pepperoni Cheese Chips?
- Marinara works great for that pizza-like flavor! Ranch or alfredo are tasty options too, but honestly, these are so good they don’t really need any dip.
- → Can I use regular pepperoni slices instead of mini ones?
- Absolutely! Just cut the larger slices smaller to fit your muffin pan or use fewer pieces per chip.