
 Pin it
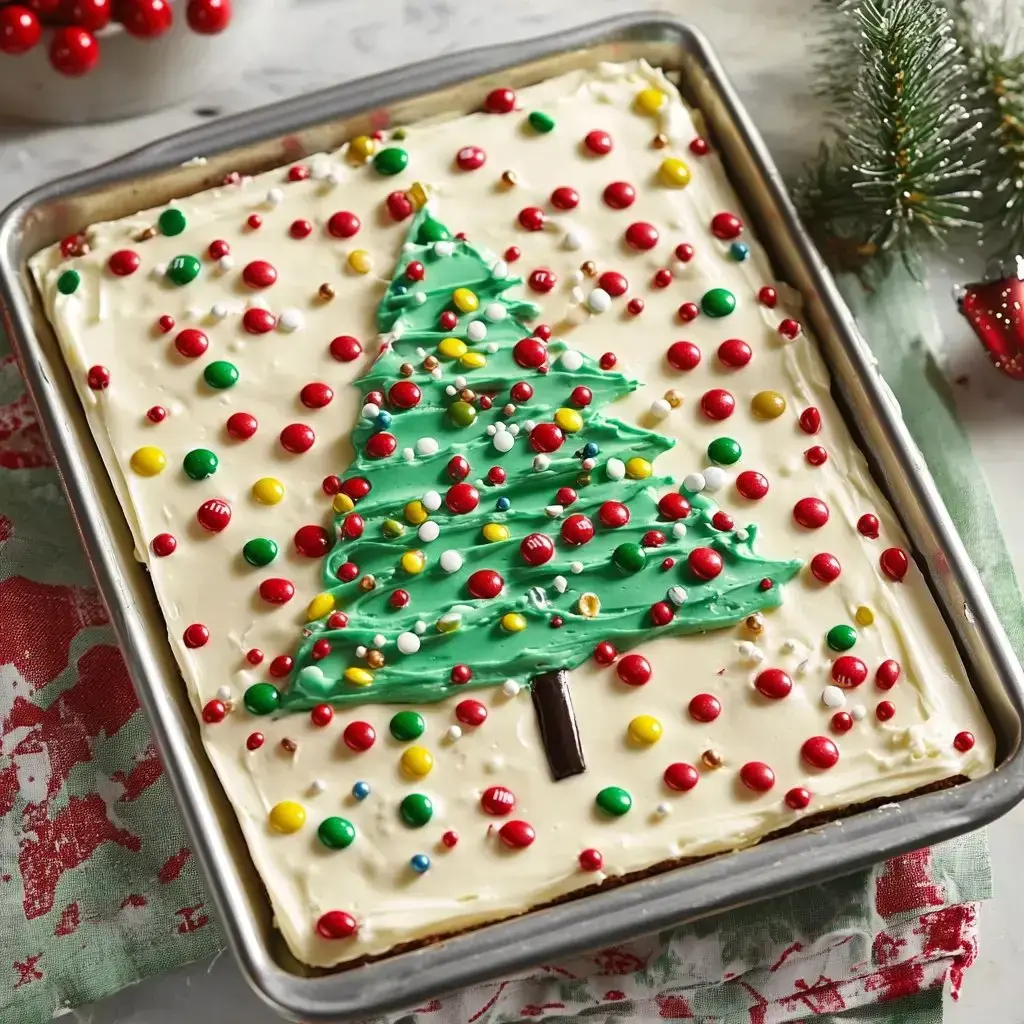
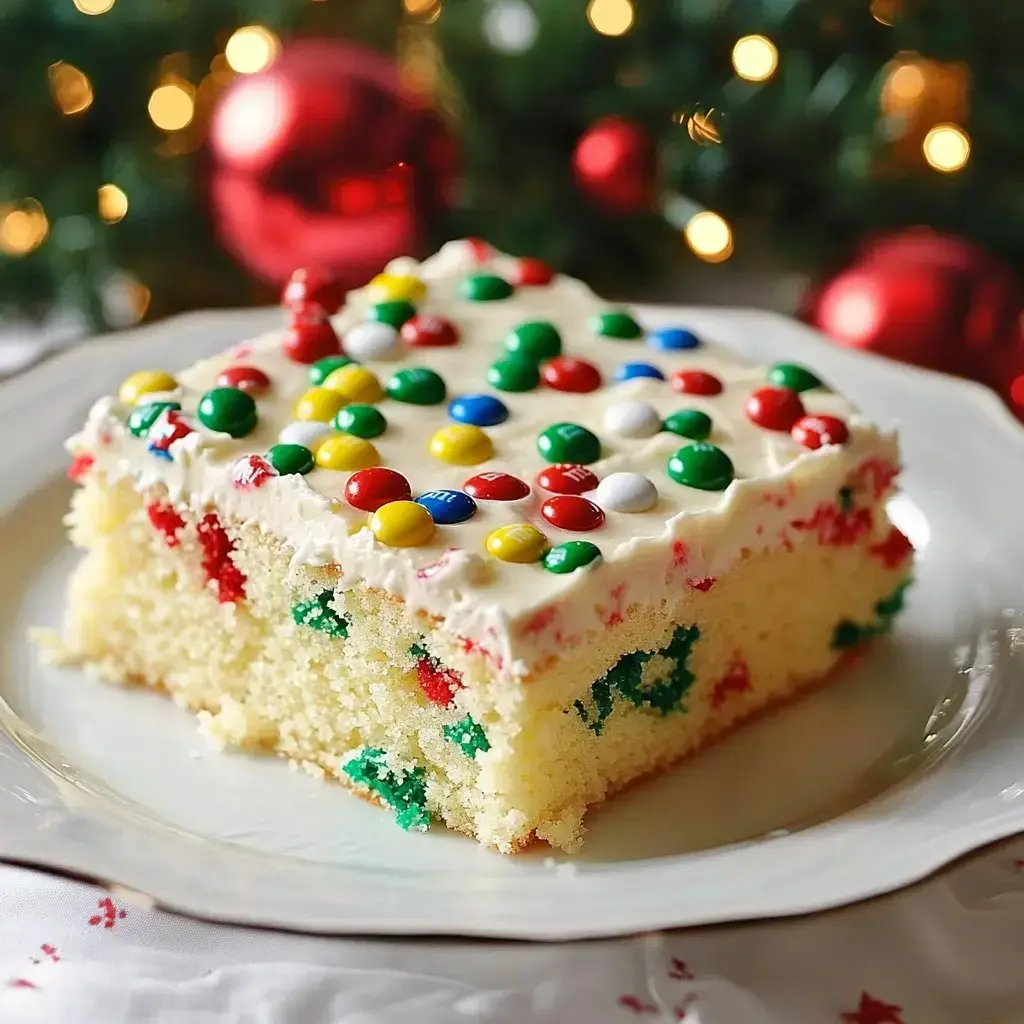
Our family gatherings light up when I bring my Christmas Sheet Cake. I first whipped this up for a school fundraiser, and now we can't imagine holidays without it. The fun confetti vanilla base tastes wonderful, but I truly love watching everyone smile when they spot that buttercream Christmas tree. And the best part? I can throw it together even when holiday madness takes over.
A Festive Holiday Essential
This cake couldn't be easier to make. I can pull it off during my packed schedule without any special equipment. The tree decoration looks fancy but forgives mistakes easily. I love how it travels to gatherings without hassle and guests can easily grab pieces. When time allows, I often bake the cake part ahead.
Your Shopping List
- Flour: Two and three quarter cups all-purpose flour for that just-right tender crumb.
- Eggs: Three large eggs brought to room temperature first.
- Oil: One cup vegetable oil ensures everything stays super moist.
- Buttermilk: One cup at room temp for that wonderful tangy richness.
- Sprinkles: Half cup festive colors to brighten inside and outside.
- Butter: One and half cups for creamy dream frosting.
- Powdered Sugar: Six cups to make that velvety buttercream.
- Food Coloring: Green gel for that perfect tree shade.
- Candies: Small colorful chocolates as decorative elements.
- Sour Candy: One red strip creates an adorable bow topper.
Lets Make Magic
- Start With Your Cake
- Warm your oven to 350°F and coat your large sheet pan. Combine dry stuff in one bowl. In another, beat sugar and eggs until light, then mix in oil and vanilla. Add flour and buttermilk gradually. Gently stir those colorful sprinkles last.
- Baking Time
- Spread the mix into your pan and bake around 20 minutes until it springs back when you touch it. Let it cool completely for an hour so your frosting won't melt away.
- Whip Up The Frosting
- Cream your butter until soft and airy. Gradually add powdered sugar to avoid a messy kitchen. Mix in milk and vanilla, then beat until fluffy. Set aside some white frosting before turning the rest green.
- Time To Decorate
- Spread white frosting across the cake. Sketch your tree shape and pipe green branches starting at the bottom. Each frosting stroke creates another branch.
- Make It Sparkle
- Put on your candy lights and ornaments. Top with that cute red candy bow. Scatter sprinkles around the sides and add tiny snow spots too.
My Secret Tips
Just a smidge of blue coloring makes your green look more like real pine. Clean your spatula between branches for neat edges. I always outline my tree first so it doesn't end up crooked. Stick the cake in the fridge briefly if your frosting gets runny while decorating.
 Pin it
Make It Your Own
Try using silver dragees instead of regular sprinkles for extra glam. My children always pick different candy ornaments yearly. You can also pipe several mini trees all over the cake for a sweet forest. There are so many ways to switch it up.
Keep It Fresh
This treat stays good on the counter for three days. Store it in the fridge to keep it longer. I sometimes bake the cake weeks ahead and freeze it, then thaw and decorate later. Just wrap it carefully and let it defrost in the fridge overnight.
Time to Share
This showstopper always grabs attention at holiday events. We love enjoying slices with warm cocoa after dinner. Cut nice square portions so everyone gets part of the pretty design. It works great for cookie exchanges, classroom parties, or whenever you need to feed lots of people.
What You Need
Your largest sheet pan works perfectly. An offset spatula makes frosting so much simpler. Regular zip bags cut at the corner work fine for piping if you don't have decorating tips. A simple ruler helps create a straight tree, and regular scissors make quick work of cutting that candy bow.
Frequently Asked Questions
- → Can I prepare the cake early?
- Sure! You can freeze the baked cake for up to 3 months. Once you’ve added the frosting, leave it out for 3 days or refrigerate for up to a week.
- → How can I get the tree centered?
- Mark 2.5 inches from the bottom and edges for the base, and 2 inches down for the top. Use a spatula and ruler to outline before you frost.
- → What’s the point of room temp ingredients?
- Using eggs and buttermilk at room temperature helps them mix easily, improving the batter texture and giving better results.
- → Are other decorations okay?
- Of course! Swap the candies for similar-sized ones in the same colors to keep the tree theme intact.
- → How do I make the branches look real?
- Pipe small green dots, then drag each down with a spatula to overlap rows. This makes a layered branch effect.