
 Pin it
My kitchen transforms into a whimsical workshop each holiday season when I whip up these gingerbread houses. Spicy sweet scents drift through the room as gingerbread pieces turn into adorable little dwellings. It's not just about baking—it's about making family moments that stick around long after the holiday lights come down.
Festive Holiday Bliss
The way this brings the family around my kitchen table makes me smile. No matter if you're a first-timer or you've been crafting gingerbread homes forever, there's something truly special about seeing your creation come together. What I love most is customizing it exactly the way you picture your ideal holiday cottage.
Everything You Need
- Fun Extras: Loads of candy, sprinkles and coconut help your imagination run wild.
- Buttercream: Makes the fun part easy and hides any little mistakes.
- Royal Icing: Works like magic cement that keeps everything together and looks like perfect snow.
- For the House: My unique mix of flour, sugar, molasses and cozy spices builds walls that won't collapse.
Building Your Dream House
- Time to Play
- Here's where you can really show off using buttercream and sweets to make it uniquely yours.
- Assembly Time
- The royal icing acts just like glue keeping walls and roof solidly together.
- Shape Your Home
- Templates make it super easy to cut pieces that match up perfectly.
- Start with Good Foundations
- The dough needs proper cooling then flattens beautifully between sheets of parchment.
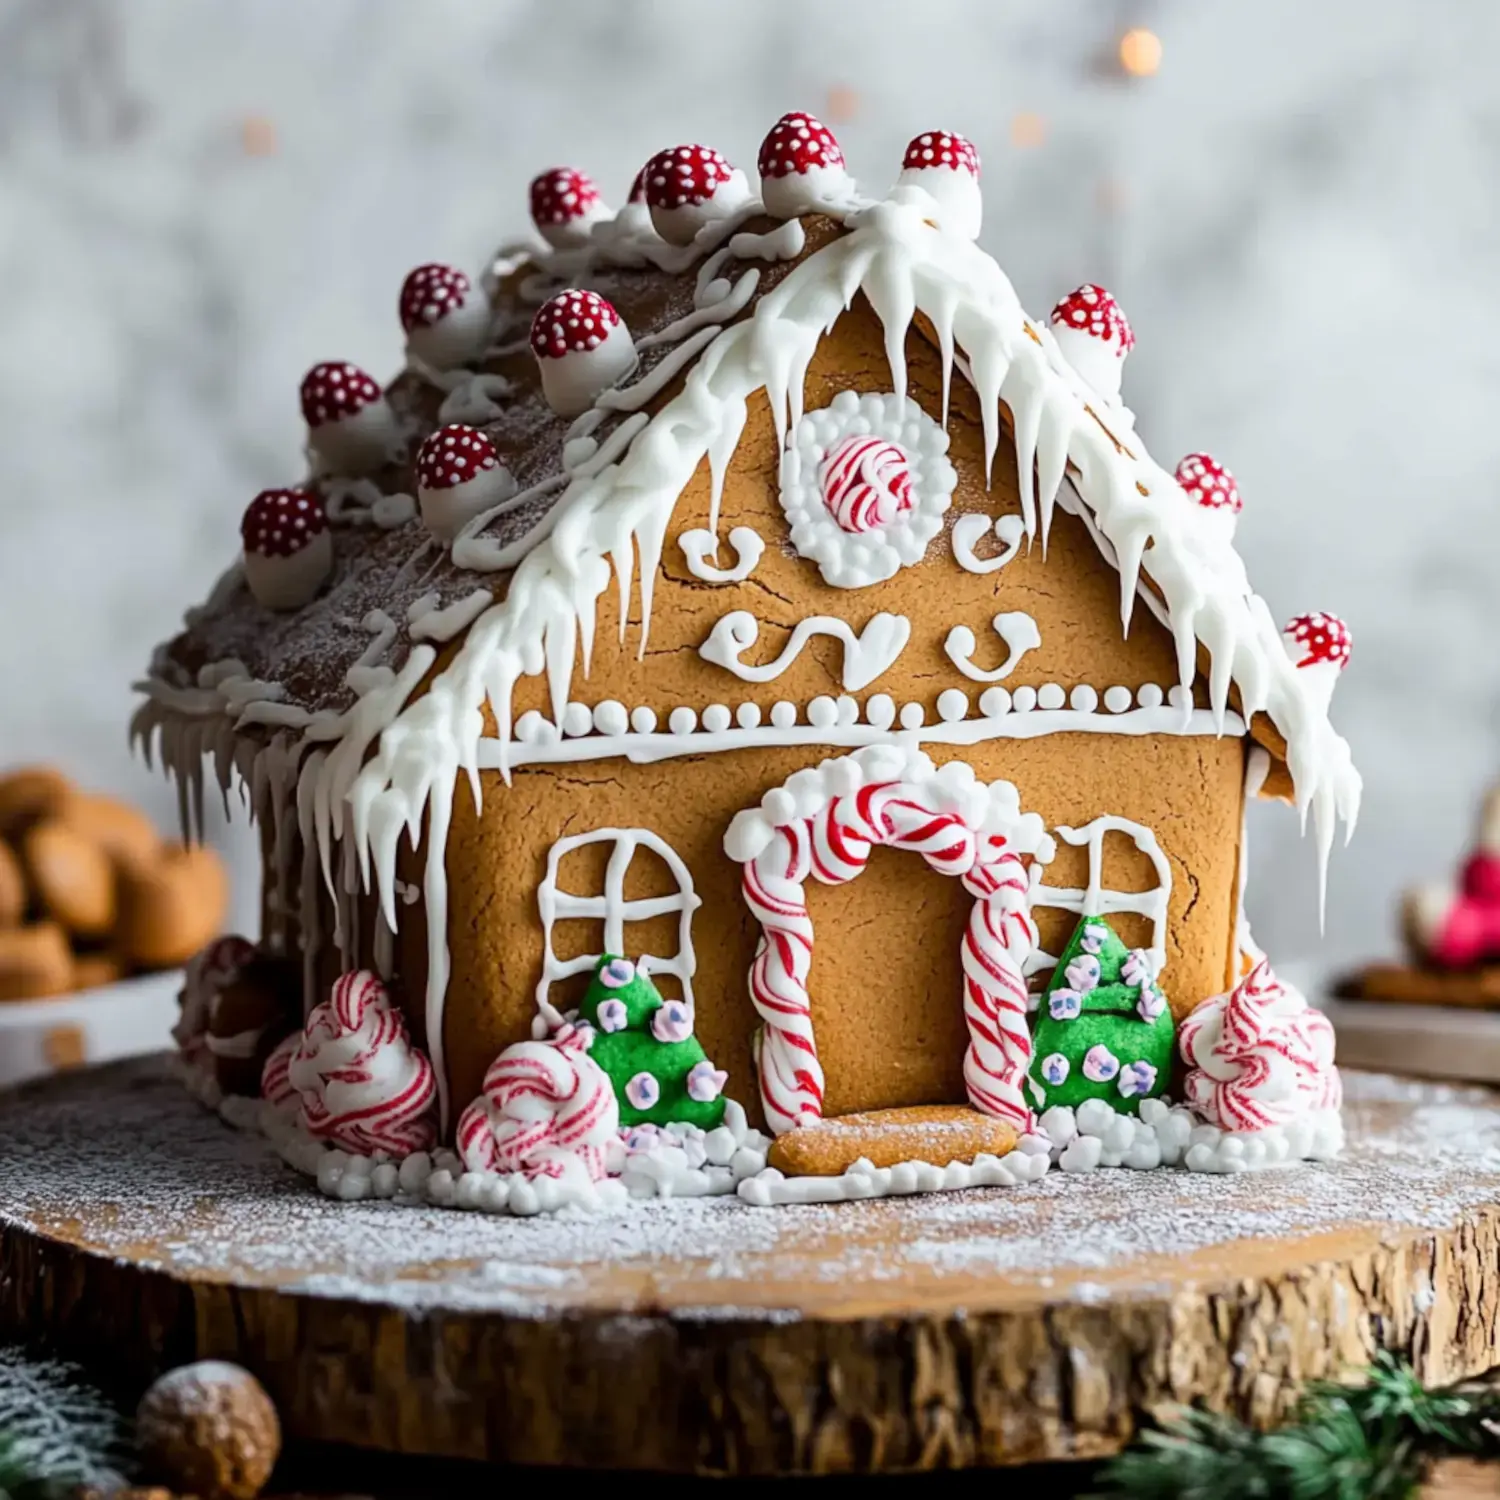
Decorating Magic
Playing with bright candies to make cool designs brings me so much joy. A sprinkle of coconut makes the fluffiest snow ever, and those tiny details done in buttercream really pull everything together. I'll often add some cinnamon sticks for that woodsy cabin vibe.
Keeping It Perfect
Your sweet creation will stay looking great at room temp in a spot that's not humid. While you can technically eat them, these houses usually become cherished decorations that tell their own holiday tales throughout the festive season.
My Best Tips
Don't skip chilling that dough if you want pieces that don't warp. I always put extra royal icing at the corners for super strong bonds. When something looks a bit off, just grab the buttercream—it can fix any little problem and add charm at the same time.
Make It Special
I sometimes smash hard candies to craft gorgeous stained glass windows or grab pretzels for a country-style log cabin effect. Little candy wreaths or peppermint stick touches give each house its own personality. You can really go wild with ideas.
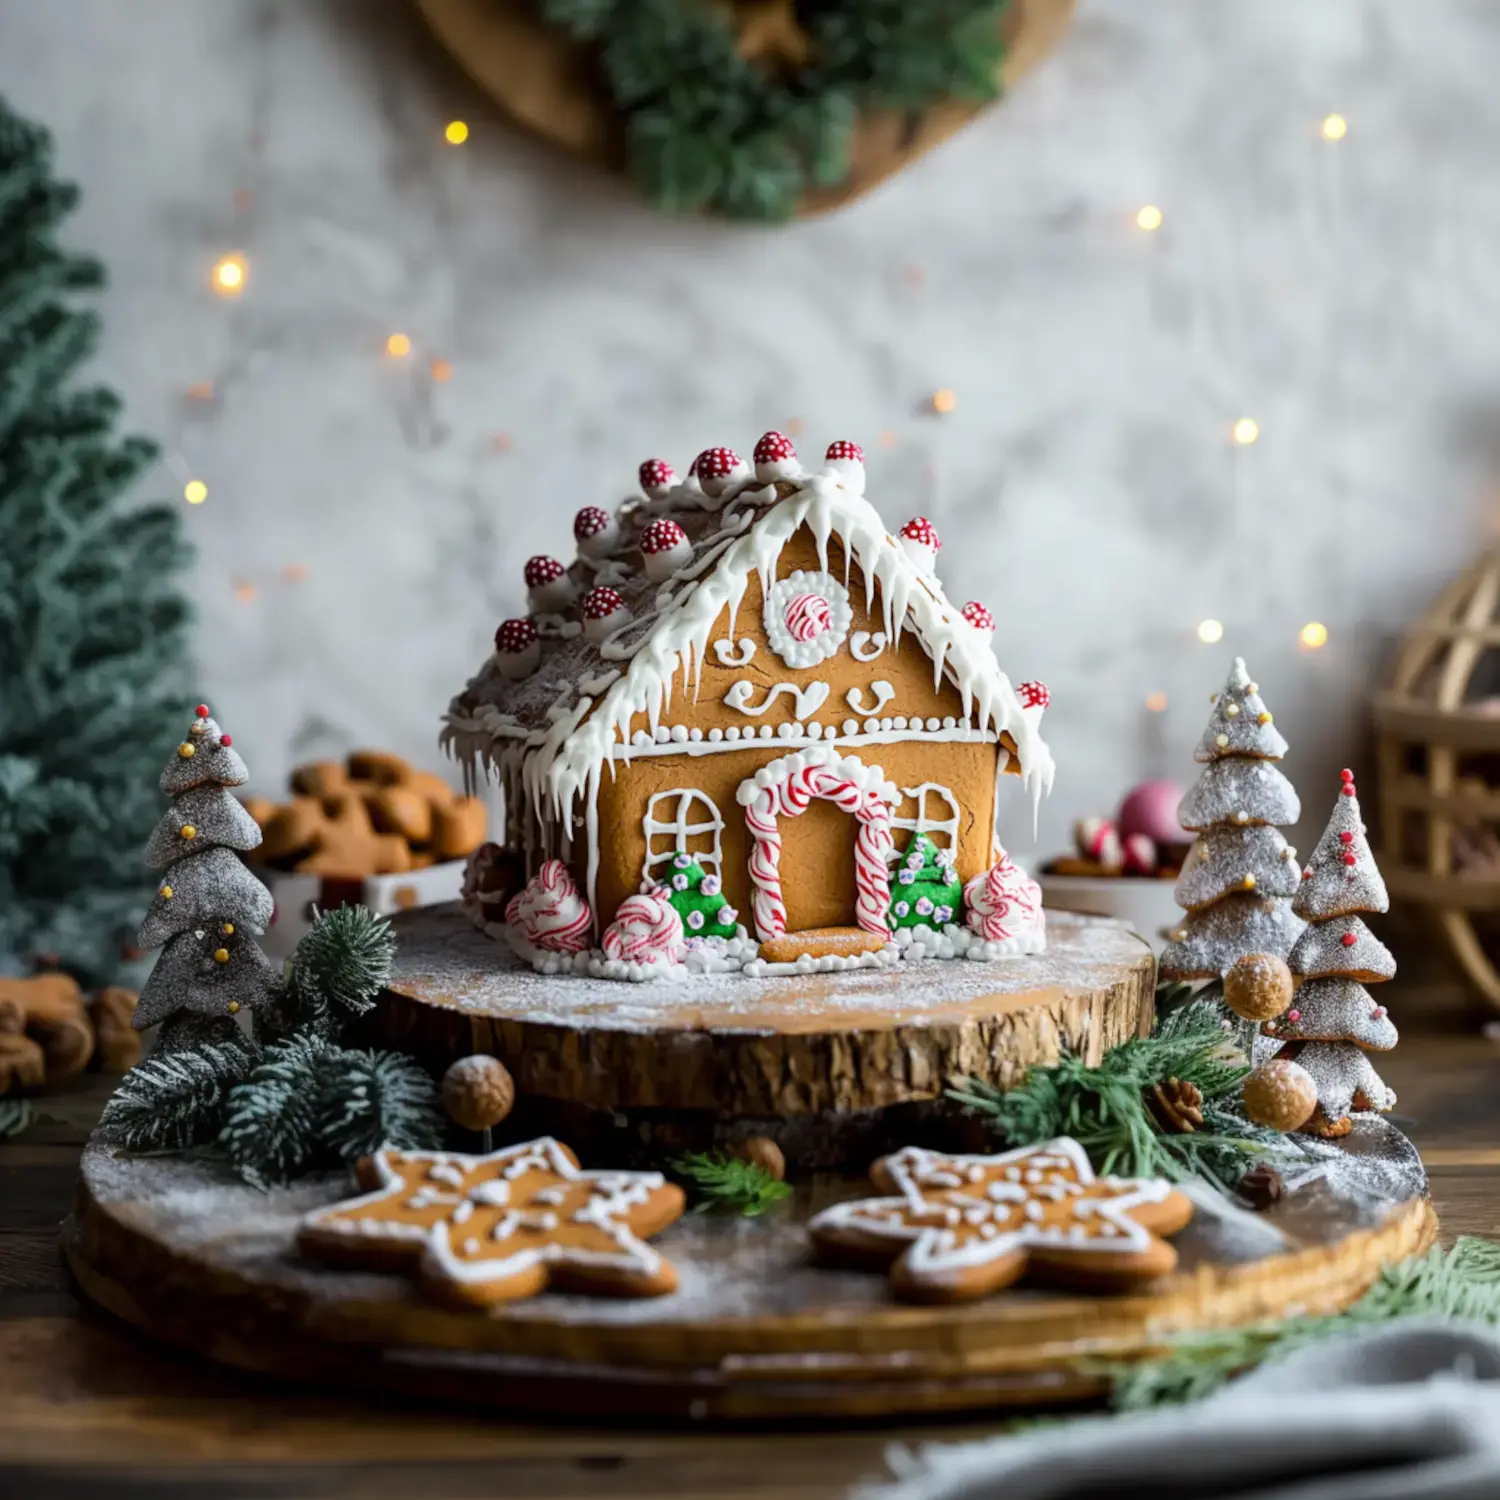
Creating Memories
The true wonder happens as everyone gathers to build these houses together. All the giggles, storytelling, and artsy moments turn this into way more than just a holiday project—it becomes part of our family story that we look forward to every year.
 Pin it
Frequently Asked Questions
- → Why does icing need time to set?
It takes 4-6 hours for royal icing to dry completely and create a sturdy base. Rushing this can make the house unstable.
- → Can I bake parts ahead?
Yes! Store baked gingerbread pieces for a week at room temperature or freeze for up to 3 months. Assembled houses can rest a day before adding decor.
- → Why roll dough on parchment?
Sticky dough will cling to your surfaces regardless of flour. Parchment paper stops sticking and makes rolling smoother.
- → Do I really need two frostings?
Use royal icing to glue the structure together. Crusting buttercream works better for decorating since it stays softish but still firms up nicely.
- → How do I save leftover frosting?
Keep both frostings in the fridge if prepping early. Bring them to room temp before decorating.
Conclusion
Step-by-step guide to crafting a charming gingerbread house, from mixing the dough to adding the final decorative elements.