
 Pin it
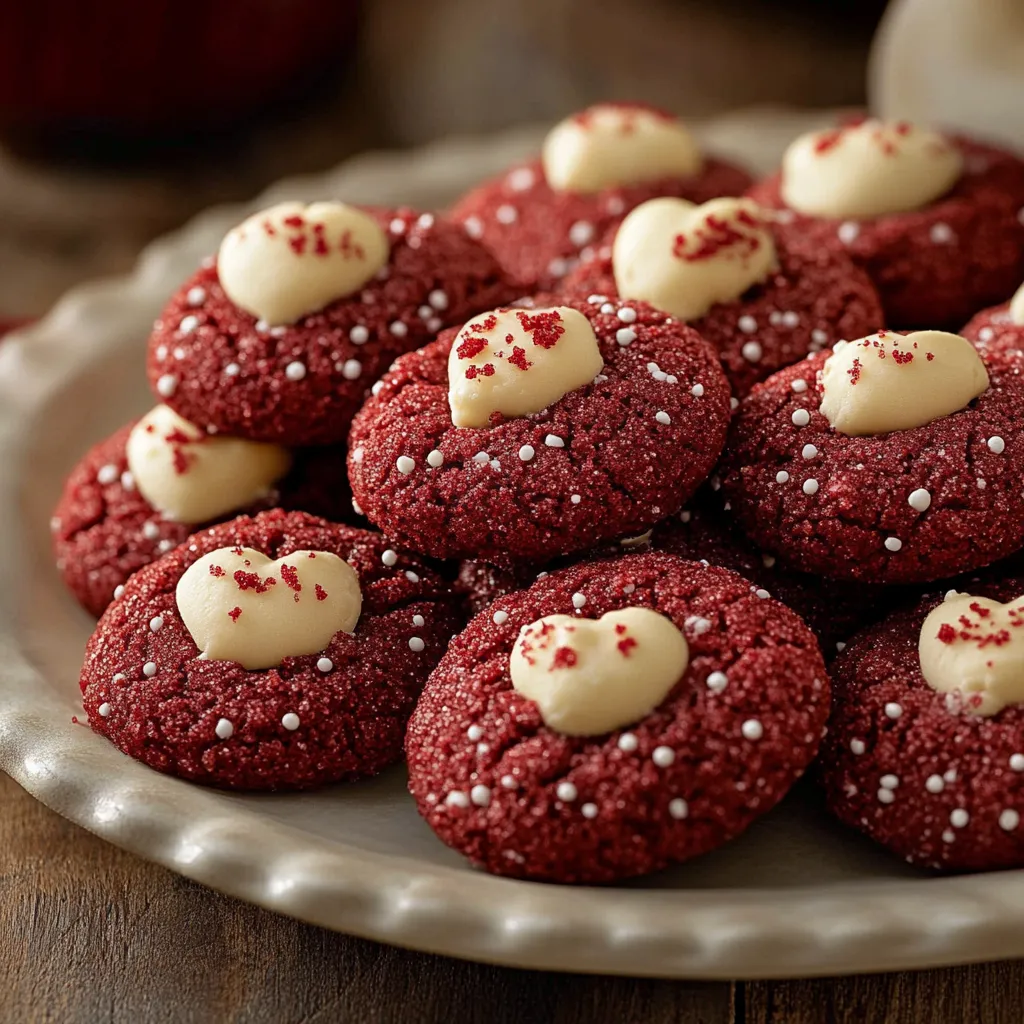
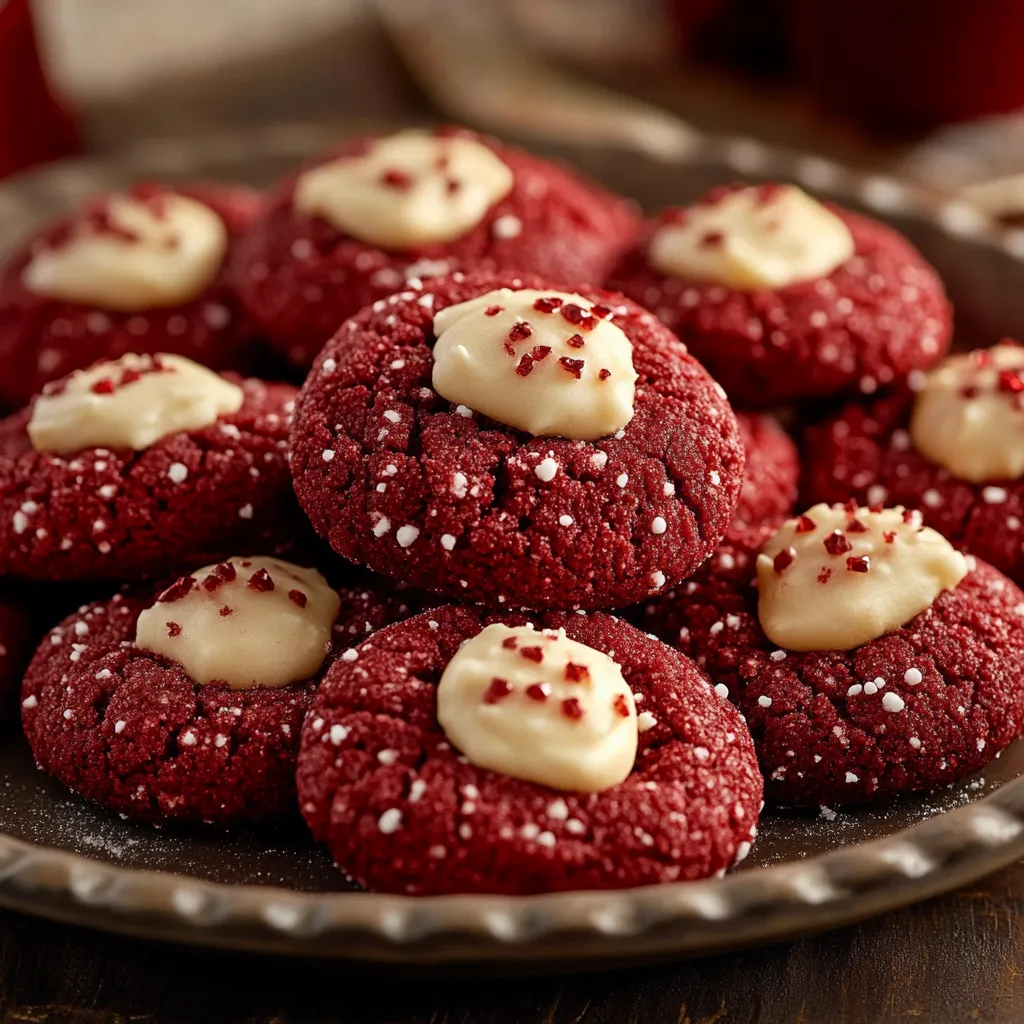
These Red Velvet Blossom Cookies blend thumbprint style with red velvet richness, making a treat that looks amazing and tastes incredible. The sparkly crimson base topped with a chocolate kiss creates a stunning combo that's perfect for any special gathering.
While baking these during Christmas season, I found out that cooling the kisses in the fridge first really helps them keep their shape when pushed into the hot cookies - this totally changed how good they look.
Key Components & Selection Advice
- Butter: Must be softened for proper mixing
- Cocoa Powder: Unsweetened gives the best red color result
- Food Coloring: Pick gel types for deep color without making batter runny
- Sanding Sugar: Bigger granules give the prettiest shimmer
- Hershey's Kisses: Keep them cold for easier placement
Comprehensive Cookie-Making Steps
- Step 1: Create Your Foundation
- Beat butter until it's airy and pale. Mix in sugars bit by bit while stirring. Continue until the mix gets lighter. Don't forget to scrape down the sides often.
- Step 2: Form Your Mixture
- Mix in egg yolk and vanilla completely. Add color a little at a time. Combine dry stuff in another bowl. Stir in just until everything comes together.
- Step 3: Get Your Shape Right
- Use the same size scoop each time. Roll into smooth balls. Cover fully with sugar. Leave plenty of room between each on the tray.
- Step 4: Nail the Cooking Time
- They should spread slightly. Look for a non-shiny top. Take out while still soft in the middle. Add kisses right away.
- Step 5: Complete with Flair
- Allow to fully harden. Move to cooling rack after sitting 5 minutes. Be careful when they're warm. Store cookies in one layer.
What I love most about making these treats is seeing kids get all excited when they spot those glittery red cookies topped with chocolate kisses.
The Vibrant Trick
Mixing in cocoa powder before adding any food dye helps you get that deep red velvet look without dumping in tons of coloring.
 Pin it
The Perfect Consistency
Getting cookies that aren't too soft but aren't too firm takes just the right amount of time in the oven.
After baking these cookies throughout many holiday seasons, I've realized they're not just desserts - they're little happiness makers that bring smiles to both the people who bake them and those lucky enough to eat them.
Frequently Asked Questions
- → Can I prep the dough early?
- Absolutely! Keep it chilled for up to two days. Just let it warm slightly before shaping and tossing in the oven.
- → Why not bake with the kisses on?
- Putting them on while still warm helps them stick perfectly without becoming a gooey mess.
- → Can these cookies be frozen?
- Sure! They'll last in the freezer for three months if stored in layers with wax paper between them.
- → What if I'm out of red sugar sprinkles?
- Try regular sugar or any color sprinkles—be creative for different holidays or events.
- → Why are my cookies too flat?
- Your butter may have been too soft. Try using cooler butter or chilling the dough for half an hour.