
 Pin it
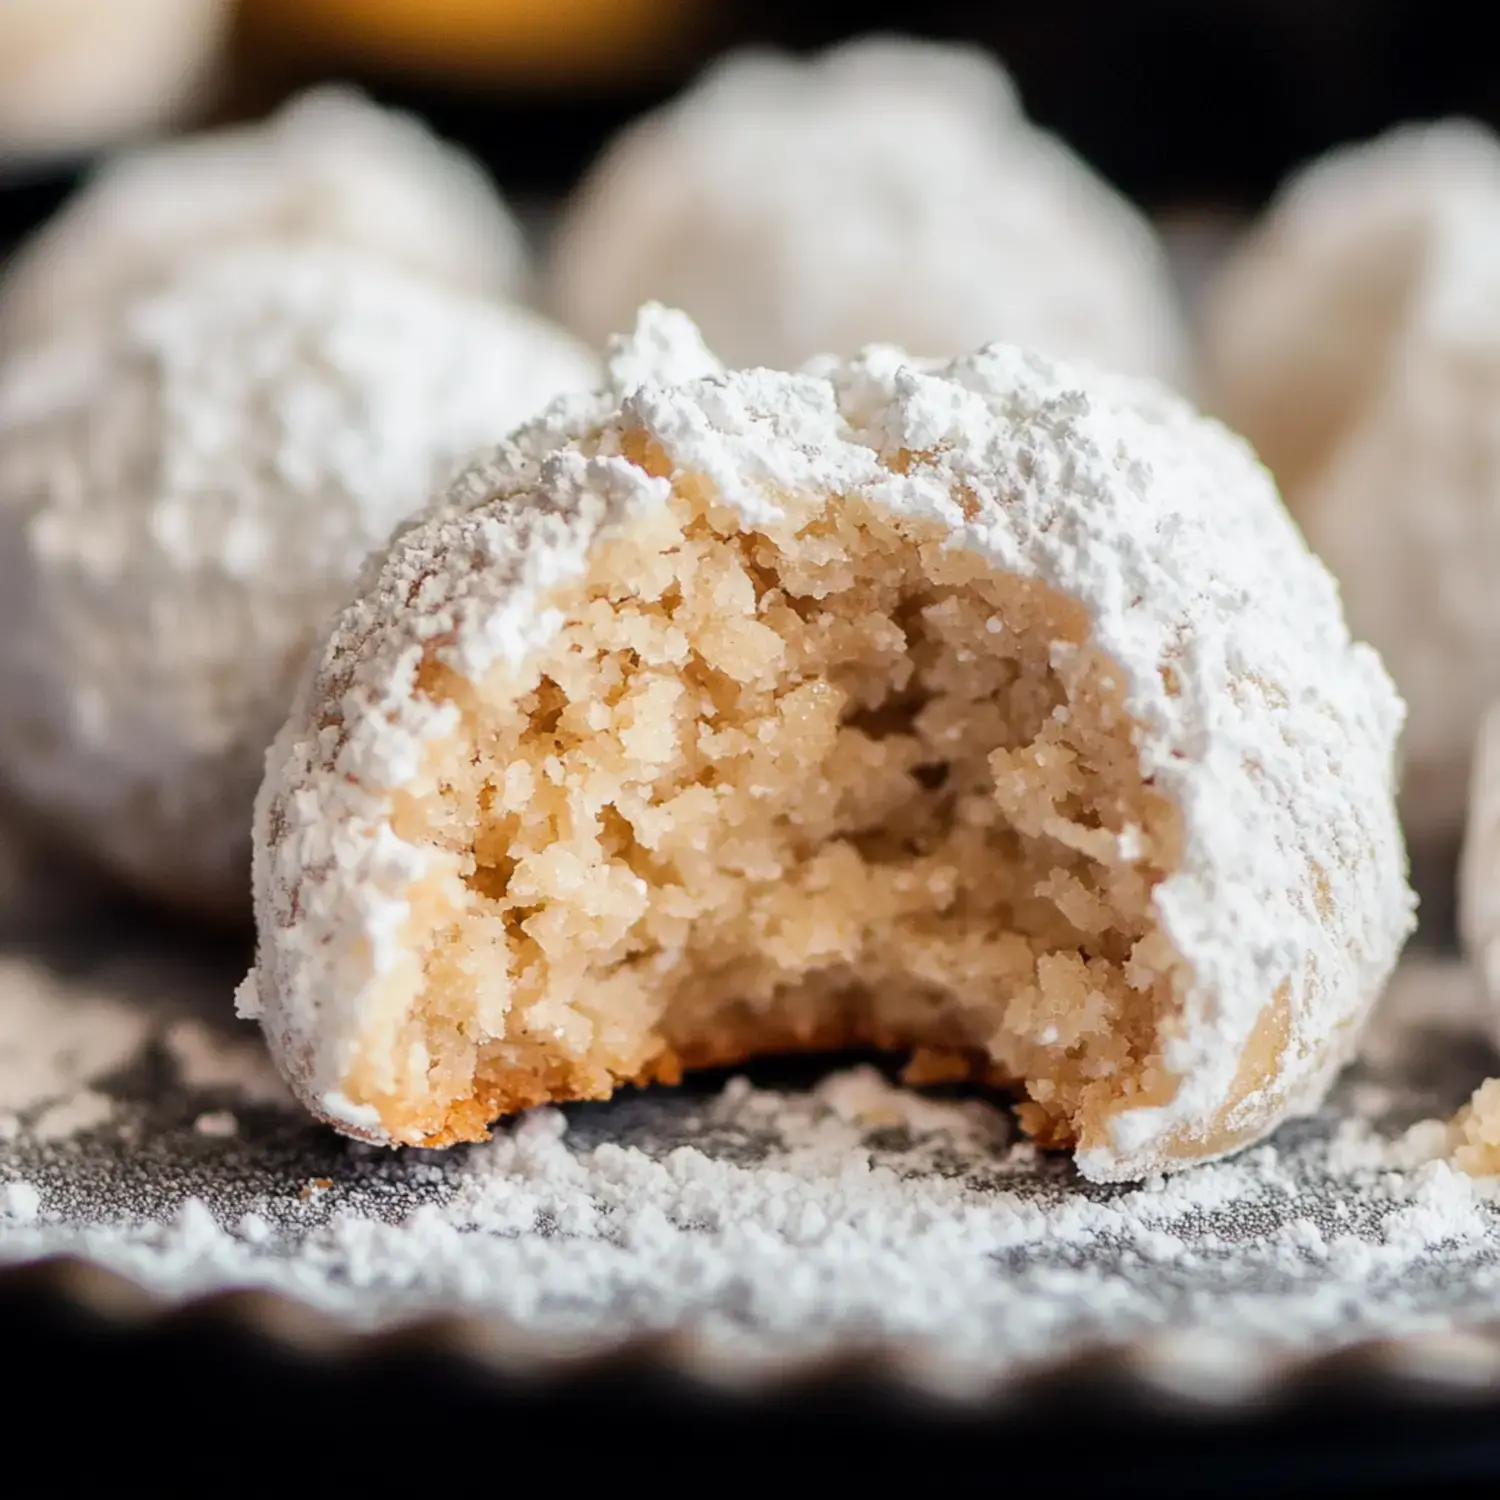
Every time I whip up Italian Wedding Cookies in my home, pure happiness follows. These buttery, crunchy little gems have been woven into my family's baking story for decades. I can't get enough of how they just disappear in your mouth, hitting that sweet spot between almond flavor and sugary delight. I bake them on random days or during festive seasons – they always get everyone grinning.
The Magic Behind These Treats
There's something amazing about taking basic, top-notch ingredients and turning them into something magical. When roasted almonds, fresh butter and real vanilla come together, you get incredible taste layers with just the right amount of sweetness tying everything together. They feel fancy yet comforting at the same time, fitting in perfectly at casual coffee dates or fancy dinner parties.
Grab These Ingredients
- All-Purpose Flour: It gives our cookies their soft texture.
- Unsalted Butter: This lets me decide exactly how the cookies taste.
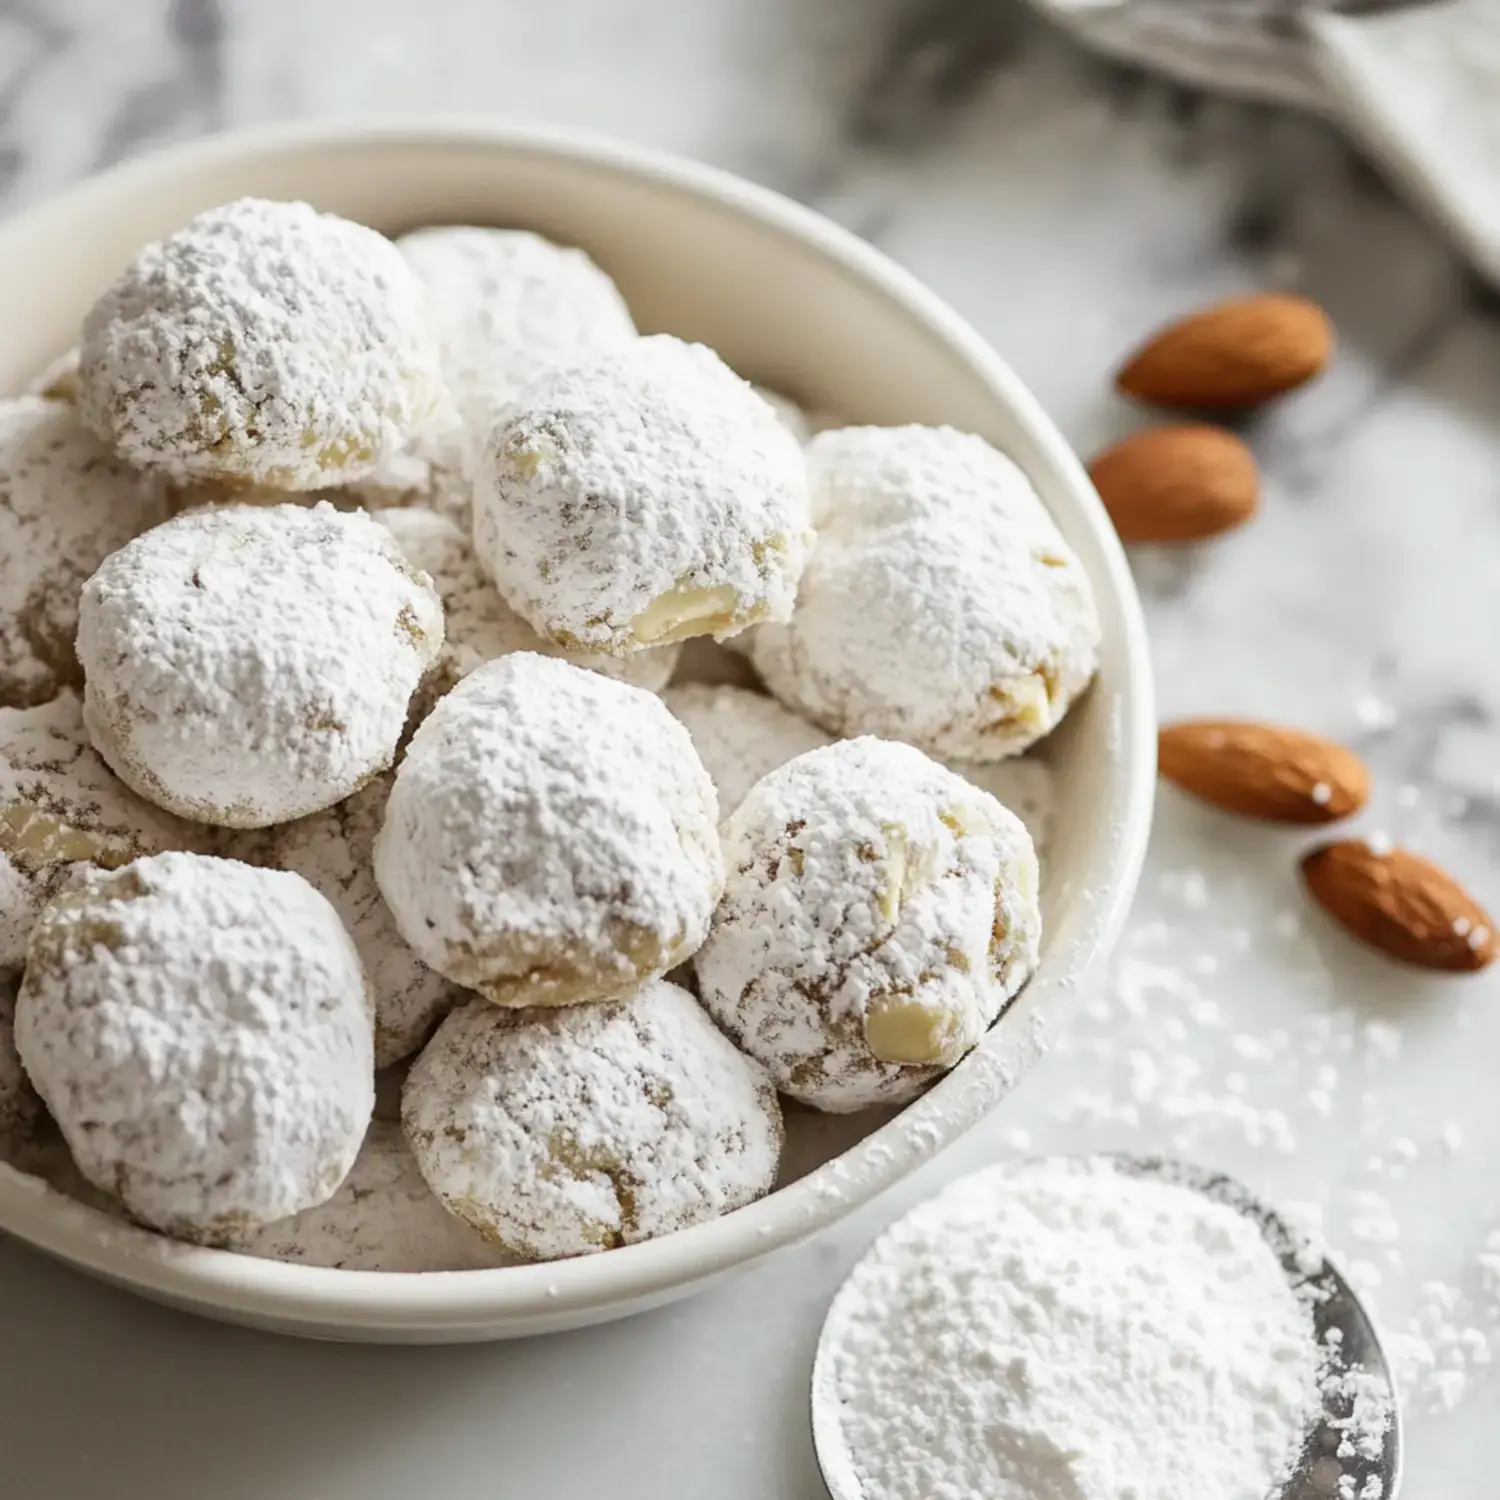
- Roasted Almonds: They add that amazing nutty richness.
- Sugar: We need some in the mix and extra for coating.
- Pure Vanilla: It makes those butter flavors pop.
- Kosher Salt: Just a small amount brings out all other flavors.
- Powdered Sugar: This creates the gorgeous white coating.
Baking Time
- Get Your Almonds Ready
- I start by blending almonds with a little sugar until they're ground just right not powdery but not chunky.
- Mix Your Dough
- Beat the butter, sugar and vanilla until fluffy and airy then slowly add your flour, salt and ground almonds.
- Form and Cook
- Make small balls and bake at 325°F until you see that slight golden color on the bottom.
- Sugar Transformation
- Roll them in powdered sugar while they're still warm then do it again after cooling for that perfect snowy look.
Pro Tips From Me
- Don't skip chilling the dough it's crucial for getting perfect cuts.
- I regularly rotate my dough log when it's in the fridge so it stays perfectly round.
- You've got to let them cool completely before adding glaze.
- I always keep spare dough logs in my freezer for quick cookies whenever we want them.
Try These Twists
I switch to pecans or walnuts now and then for something different. Adding some lemon or orange zest brings amazing freshness. If you're crazy about almond flavor, try adding a drop of almond extract for something truly special. Each change brings its own unique flair to these treasured cookies.
Make Them Early
You can freeze the dough with no problems just bake a bit longer when using frozen dough. Always dust with fresh powdered sugar after they come out of the oven even with frozen dough. This keeps every batch looking and tasting freshly made.
Cookies As Gifts
These treats make fantastic presents. I stack them carefully in cute boxes with parchment paper between layers. Add a simple ribbon and you've got a thoughtful gift that's perfect for holidays or any special moment worth celebrating.
What To Serve With Them
They taste amazing with a strong espresso or creamy cappuccino. They go well with afternoon tea or even pair nicely with a sweet glass of Moscato. Each combo highlights something different about these adaptable cookies.
Cookies With Tradition
When I make these cookies I feel connected to bakers from all different backgrounds. Whether you call them Russian Tea Cakes, Mexican Wedding Cookies or Snowballs, they bring happiness everywhere they show up.
 Pin it
Frequently Asked Questions
- → Can these cookies be frozen?
- Sure! Keep baked ones frozen for up to three months or freeze dough balls instead. Thaw and bake fresh for the best taste.
- → Why do they get two sugar coatings?
- The first coat holds to hot cookies and forms a base. The second coat gives that pretty, snowy look after cooling.
- → Are other nuts okay to use?
- Almonds are traditional, but pecans or walnuts work too. Just grind them finely so the dough stays smooth.
- → Why did mine go flat?
- Overly soft butter or skipping the chilling step can do this. Also, check your oven's heat—low temps might cause spreading.
- → How should I keep these cookies fresh?
- Put them in a sealed container on the counter for about a week. Use wax paper between layers to protect the sugar coat.