
 Pin it
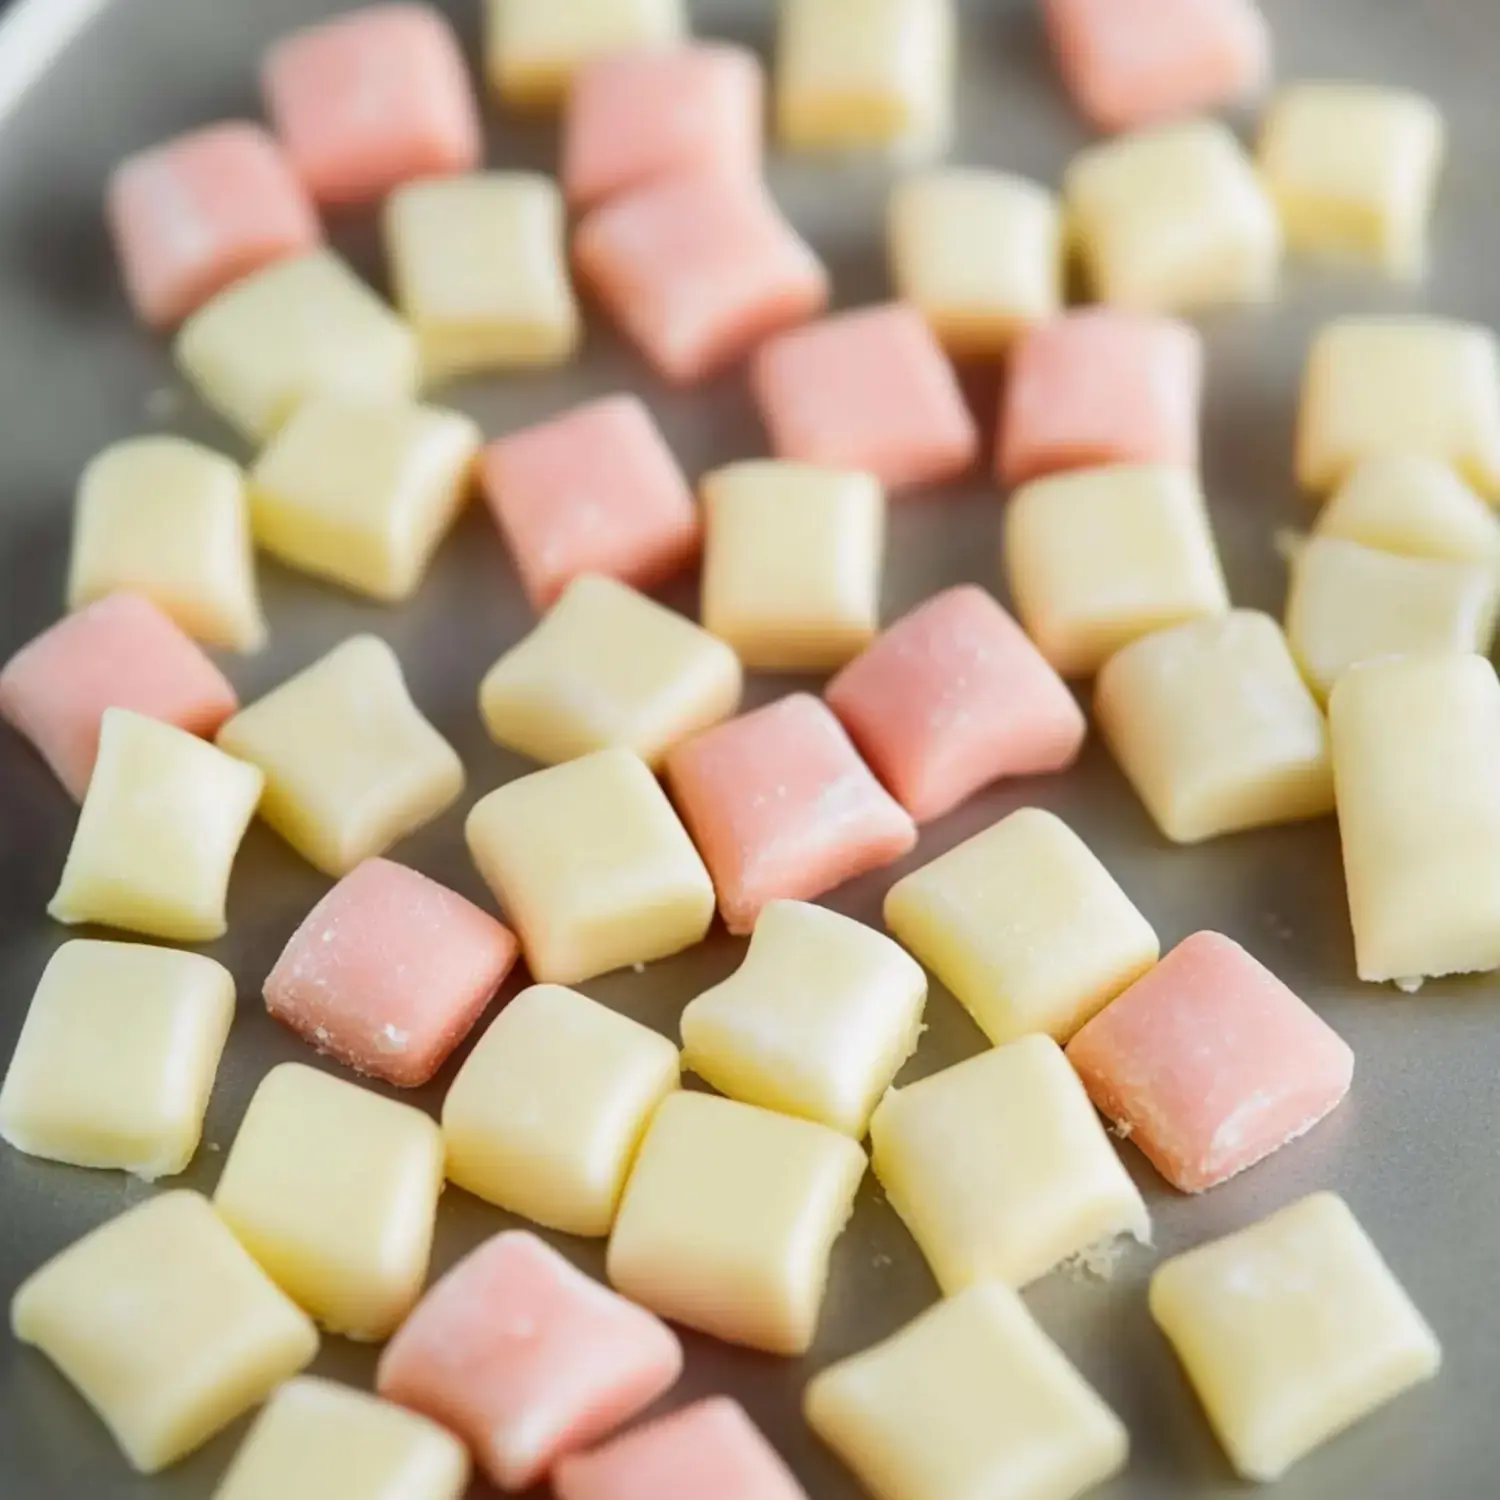
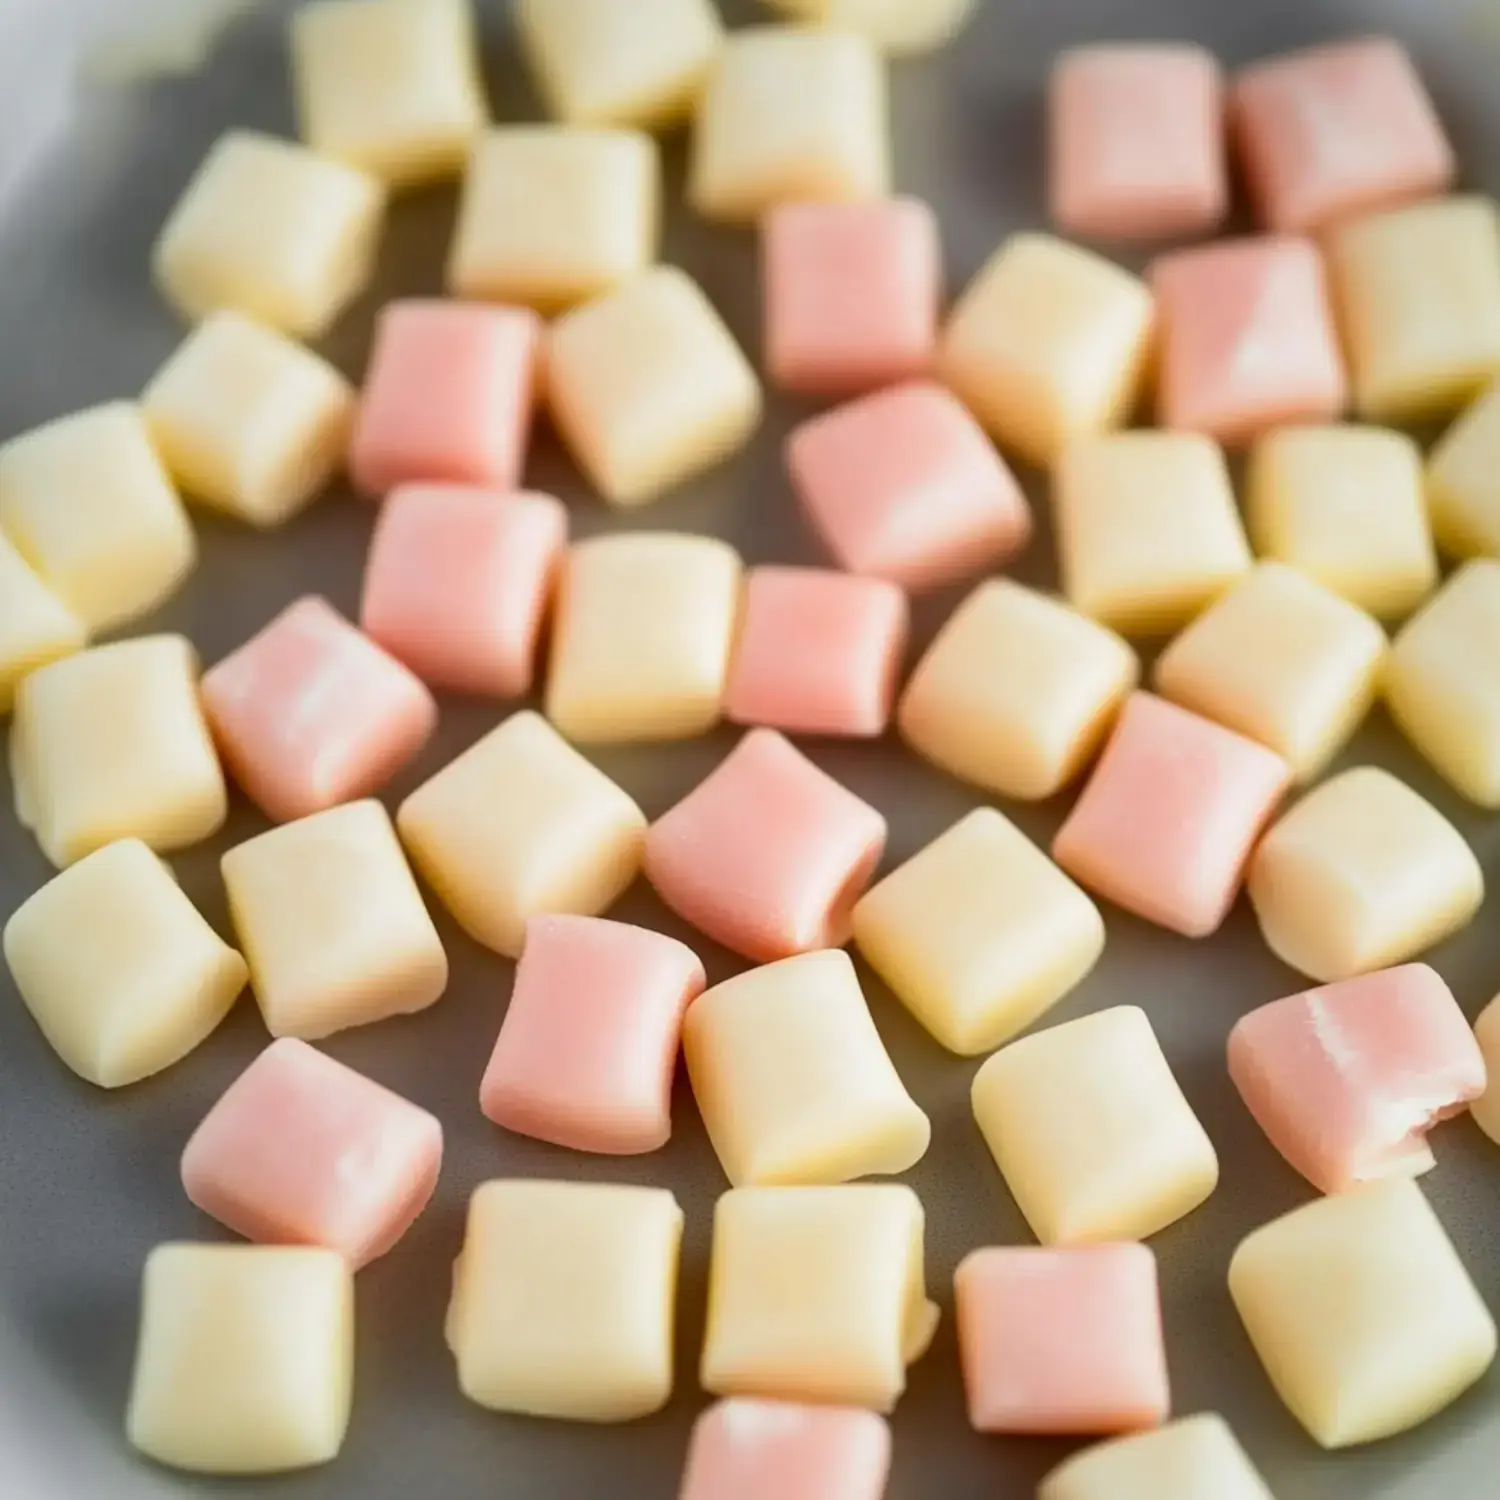
I started making butter mints when I wanted to bring back those soft wedding candies I loved as a kid. They've now turned into our family's go-to treat for celebrations. The way they softly dissolve with that lovely mix of buttery richness and cool peppermint creates something truly special with each taste. They're also a blast to make with kids helping out in the kitchen.
Cherished Traditions Brought Alive
The best thing about these little mints is how they connect past memories while creating new ones. That smooth, creamy feel and light mint taste instantly takes me back to family gatherings. Nowadays my kitchen transforms into a candy workshop whenever we whip up a batch, with everyone picking their own colors.
Your Simple Ingredient List
- Unsalted Butter: One quarter cup, left to soften naturally.
- Salt: Just a tiny amount to enhance flavors.
- Confectioners' Sugar: Four cups, run through a sieve for extra smoothness.
- Pure Peppermint: The real stuff works so much better than substitutes.
- Vanilla Extract: Gives a wonderful background note.
- Cream: The fat content makes everything wonderfully smooth.
- Coloring Agents: To create pretty shades if that's your thing.
 Pin it
Creating Sweet Wonders
- Mixing Your Base
- See the butter and sugar transform into something fluffy in the mixer. Each ingredient plays its part until we end up with something that feels like smooth, pliable dough.
- Finding Perfect Balance
- You might need extra sugar or a splash more cream. It's all about feeling your way through. Your fingers will know when everything's just right.
- Creating Your Candies
- Form these sweet bites with care into whatever shapes make you happy. My grandma used to craft tiny flowers but I usually go for simple rounds or logs.
- Resting Period
- Give them a full night to set up. Think of it as tucking them in for a good sleep. The wait seems long but you'll get that dreamy texture you're after.
Tips From My Experience
Getting your butter just right matters a ton. Too warm and your dough gets messy, too cold and it won't mix well. Add sugar in small amounts bit by bit. When things aren't coming together, a tiny splash of cream or touch more sugar can fix most problems.
Custom Creations
Sometimes we color them soft pink for welcoming new baby girls, other times gentle blue for wedding celebrations. My daughter can't get enough of coconut flavoring while my son thinks almond is the best. Every time we make them turns into something unique, that's what makes these treats so fun.
Storage Solutions
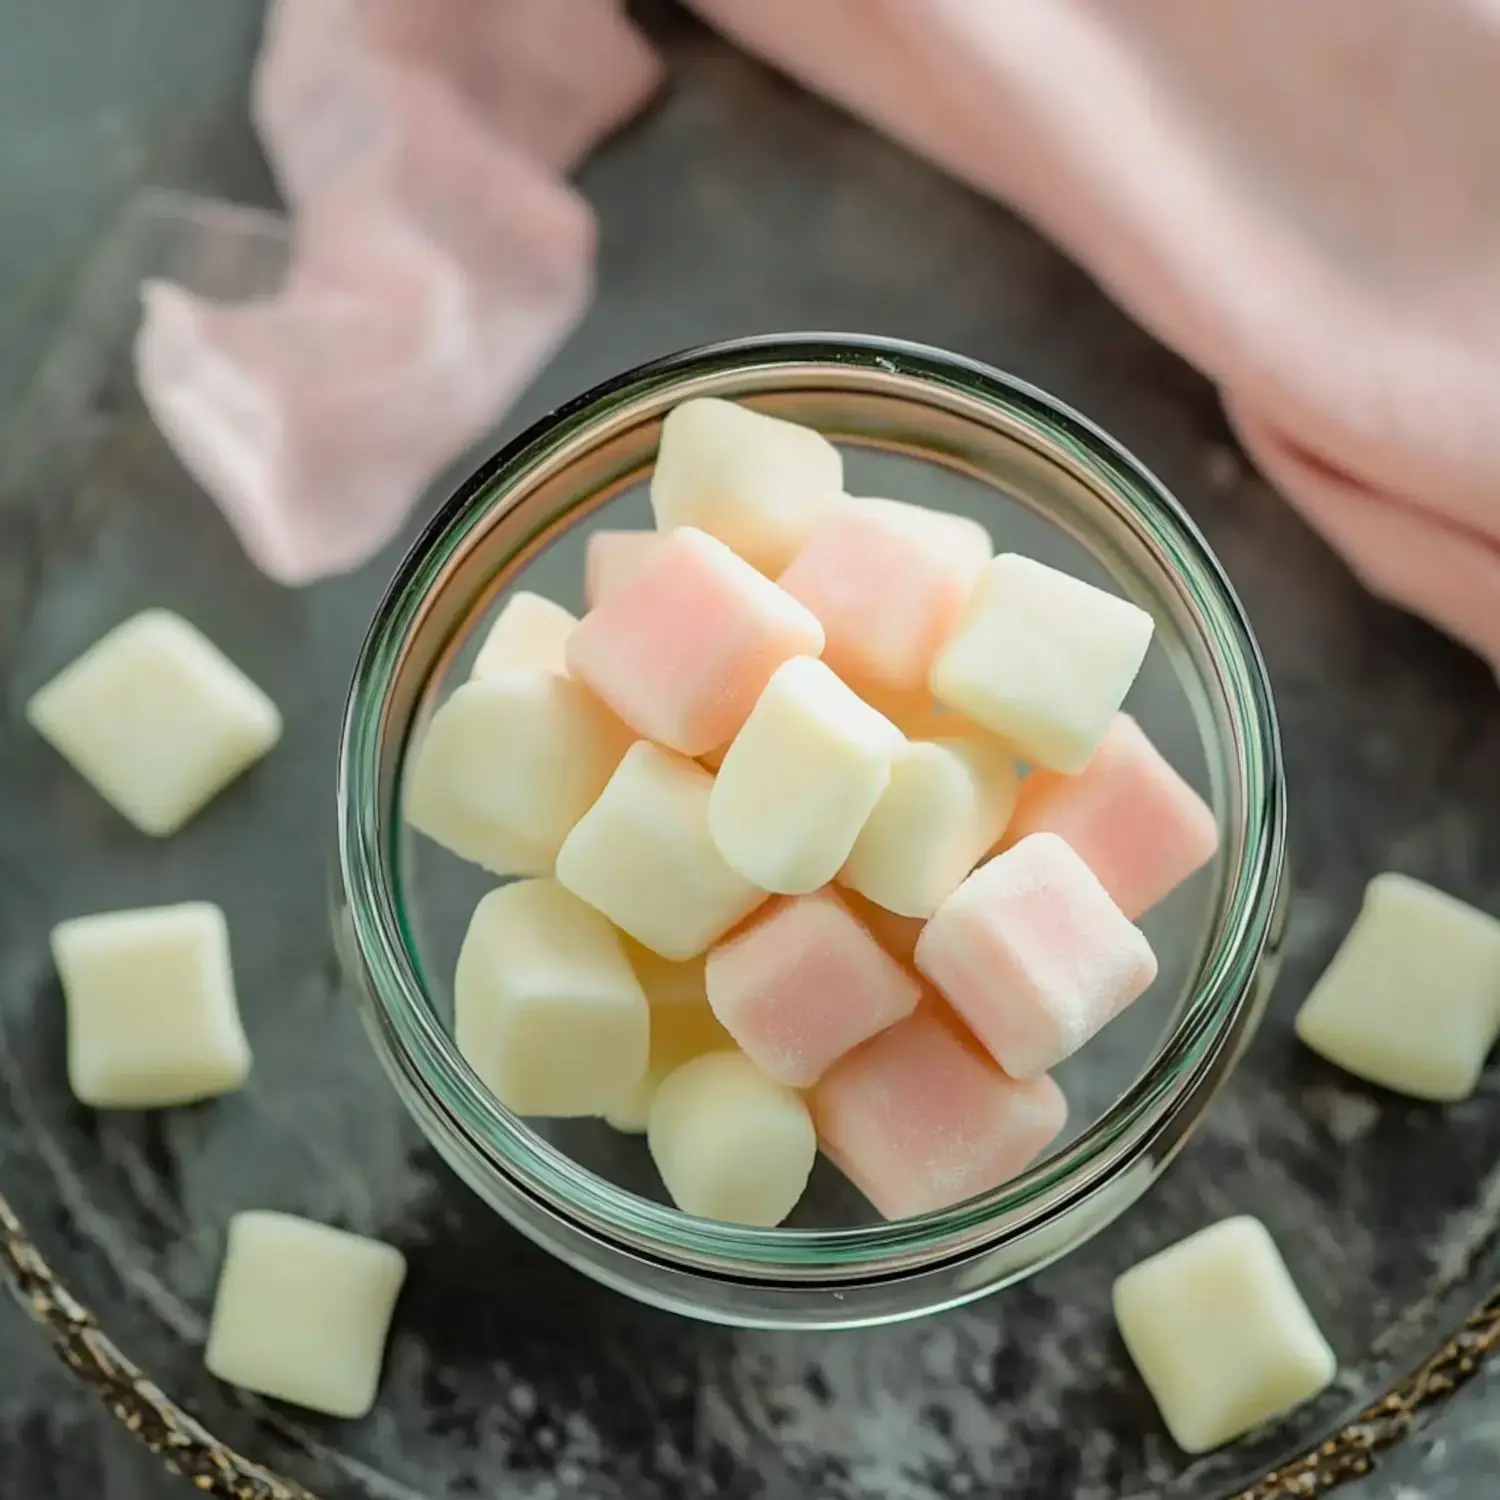
These sweet gems stay good in an airtight box for about two weeks at room temp. Stick them in your fridge and they'll go even longer. I always keep some in the freezer ready for surprise get-togethers, and they thaw out perfectly.
Delightful For Gatherings
From my niece's bridal party to casual family dinners, these mints turn ordinary moments into something more. I love that I can make them days ahead so I can enjoy the party too. Sometimes I arrange them in fancy patterns on plates and watch everyone's faces light up when they see them.
What Makes Them So Popular
There's something about these little mints that gets people talking and smiling. Maybe they bring back sweet memories or maybe it's just how they melt away so perfectly. Whenever I serve them, someone always shares a story about similar treats their family used to make.
Add Your Personal Touch
What's great about these mints is how you can make them your own. A tiny bit of coloring here, a different flavor there, and suddenly they've got your signature. For my sister's baby surprise party, we hid pink and blue centers inside white mints and loved watching everyone discover the baby's gender.
Lasting Freshness
In a good container these treats stay nice for several weeks. My secret batch in the fridge goes even longer. And those special ones wrapped up in the freezer? They're like finding a forgotten gift months later, still tasting just right.
Small Details Big Impact
The right butter temperature changes everything about how these turn out. Going slow with the sugar takes more time but pays off with smoother results. These tiny tricks I've picked up over the years turn simple mints into little tastes of happiness that stick in people's minds.
 Pin it
Frequently Asked Questions
- → Why do they need to stay uncovered?
Leaving them out in the open helps them dry right, so they melt in your mouth. If you cover them, moisture gets trapped and ruins the texture.
- → Can I prepare them ahead of time?
Absolutely! They last two weeks on the counter or a month in the fridge. Keep them in a sealed container with wax paper between layers.
- → Why is my dough sticking?
If your dough is too sticky, just add powdered sugar a little at a time until it's like playdough. Sometimes the weather can make a difference.
- → Can I try other flavors?
Of course! Peppermint is traditional, but you can swap it for other extracts like wintergreen or spearmint. Use the same measurement.
- → Why use a mixer?
The dough gets really thick and hard to stir by hand. A stand mixer works best, but you can go with a hand mixer if you're patient.