
 Pin it
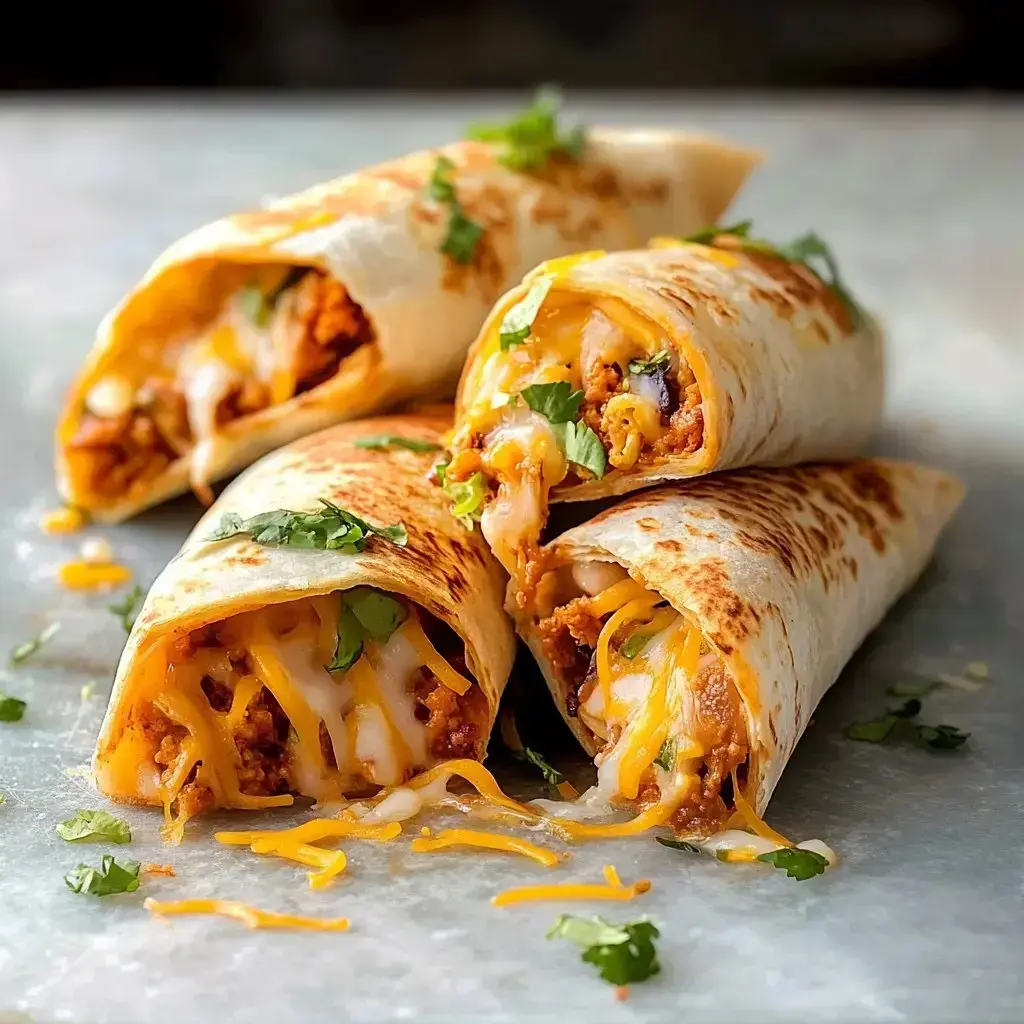
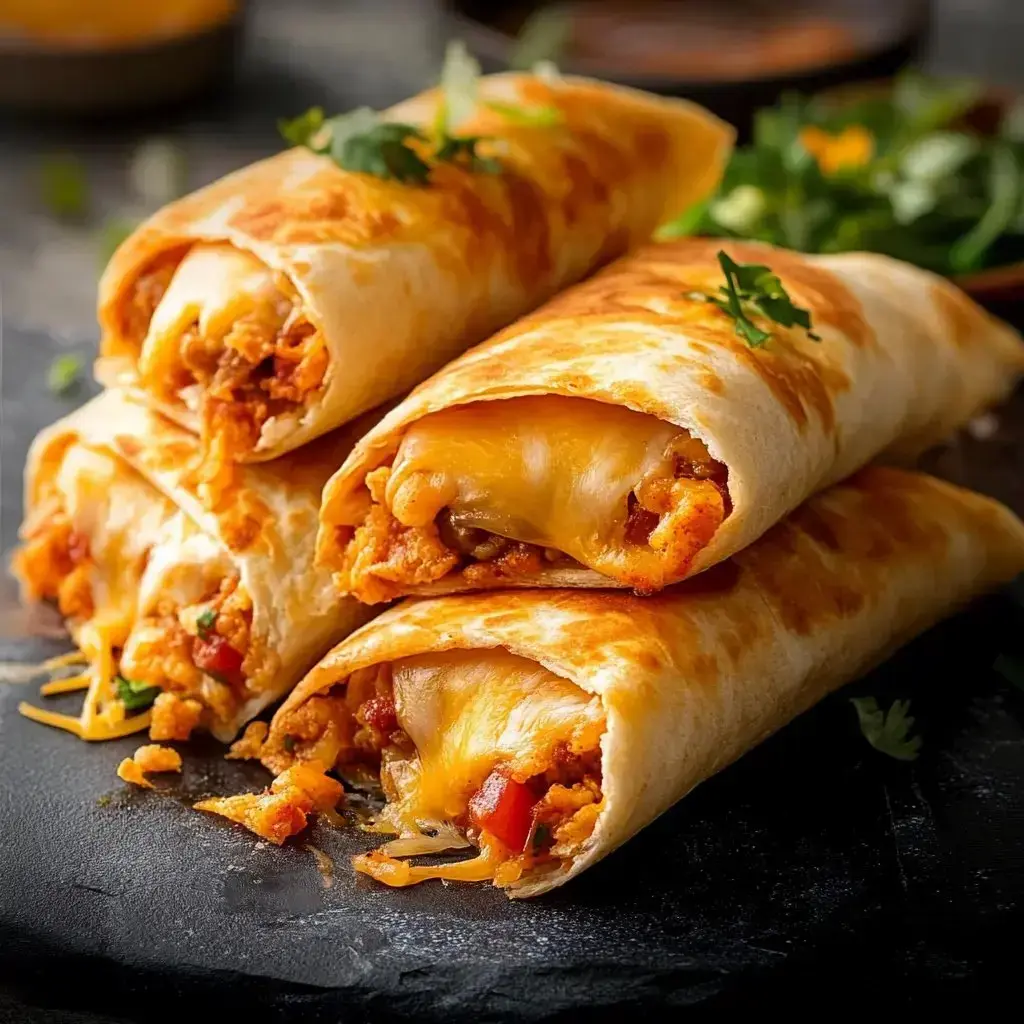
Hey there! I can't wait to tell you about my Stuffed Cheese Taco Pockets! These amazing little bundles pack all our favorite Mexican and Tex-Mex tastes into one fantastic bite. There's nothing better than spiced beef, smooth salsa-mixed cheese and gooey cheddar all wrapped up in a crunchy tortilla shell.
What Makes These Stand Out
The magic happens when these flavors blend together just right. That smooth cheese mix with tangy salsa really kicks things up a notch. You'll love how flexible they are - serve them as snacks or turn them into your main dish.
Your Ingredient List
- Taco Seasoning: Grab it from the store or mix up chili powder, cumin, and garlic at home.
- Ground Beef: Pick lean meat for fewer calories or switch to turkey or plant meat if you want.
- Salsa: Go mild, medium, or spicy based on what you like; fruit salsas with mango bring something different.
- Cream Cheese: Standard or Neufchâtel works for that smooth feel; try vegan options if you don't do dairy.
- Cheddar Cheese: Grate it yourself or try other options like Monterey Jack or Pepper Jack instead.
- Tortillas: Get 6-inch flour or corn ones; bigger shells mean more stuffing inside.
- Toppings: Mix it up with lettuce, tomatoes, guac, hot peppers, or black olives.
Cooking Steps Walkthrough
- Brown the Meat
- Put ground beef in a pan over medium heat, cook until no pink shows, breaking it up as you go. Pour off extra fat.
- Add Your Spices
- Mix taco seasoning into the beef, making sure it's fully covered.
- Create Your Base
- Stir cream cheese and salsa together until it's smooth. Spread this on each tortilla.
- Build Your Pockets
- Put beef and shredded cheddar on top of the cream cheese mix. Roll tortillas up tight and put them seam-down on a baking sheet.
- Into The Oven
- Coat tortillas with melted butter. Cook at 350°F (175°C) for 15 minutes until they turn golden and crisp.
- Add Finishing Touches
- Before eating, add lettuce, extra salsa, sour cream, and whatever other toppings you want.
Pro Secrets
Always brush butter on the tortillas before they go in the oven - that's how you'll get that amazing crispy golden outside. The contrast between crunchy shell and creamy filling is what makes everyone ask for seconds.
Switch Things Up
These tacos work with so many changes! I sometimes swap in ground turkey for something lighter or use mushrooms when I want to skip meat. Trying different salsas totally changes the game - throw in some mango salsa if you want sweet heat.
Storage Smarts
You can keep these in your fridge for about 3 days if they're in a sealed container. When you want to eat them again, just warm them up in a 350°F oven for 10 minutes and they'll crisp right up. I always make extra batches to freeze for quick meals later on.
 Pin it
Crowd-Pleasing Favorites
From Super Bowl parties to regular family dinners, these pocket tacos never fail to impress. Guests love adding their own toppings, and nobody can resist that mix of crunch and gooey cheese.
The Secret Appeal
I turn to these pocket tacos whenever I need something quick but impressive. They don't take much prep time so I can hang out with my family and friends instead of being stuck in the kitchen, but everyone still raves about how good they are.
Quick Answers You Need
You can definitely prep these ahead and bake them right before serving! Both types of tortillas work great depending on what you prefer. And don't worry about leftovers - they freeze really well and just need a quick reheat in the oven to get crispy again.
Frequently Asked Questions
- → What stops the tortillas from tearing?
Work with warm tortillas and fold them gently. The creamy filling helps keep everything together.
- → Can these be made gluten-free?
Absolutely! Swap for corn tortillas and ensure your seasoning and salsa are gluten-free certified. Or, make your own seasoning blend.
- → Why spread butter on top?
It helps the tortillas turn a crispy golden color during baking.
- → Can I prep this ahead of time?
Prepping the filling early is fine, but put everything together and bake just before eating for the best results.
- → Is freezing an option?
Yes—freeze them assembled but unbaked. Wrap individually and bake straight from frozen, adding a little extra time.
Conclusion
Golden baked tacos filled with a creamy salsa mixture, melted cheddar, and beef for a cozy, family-friendly dish made with ease.