
 Pin it
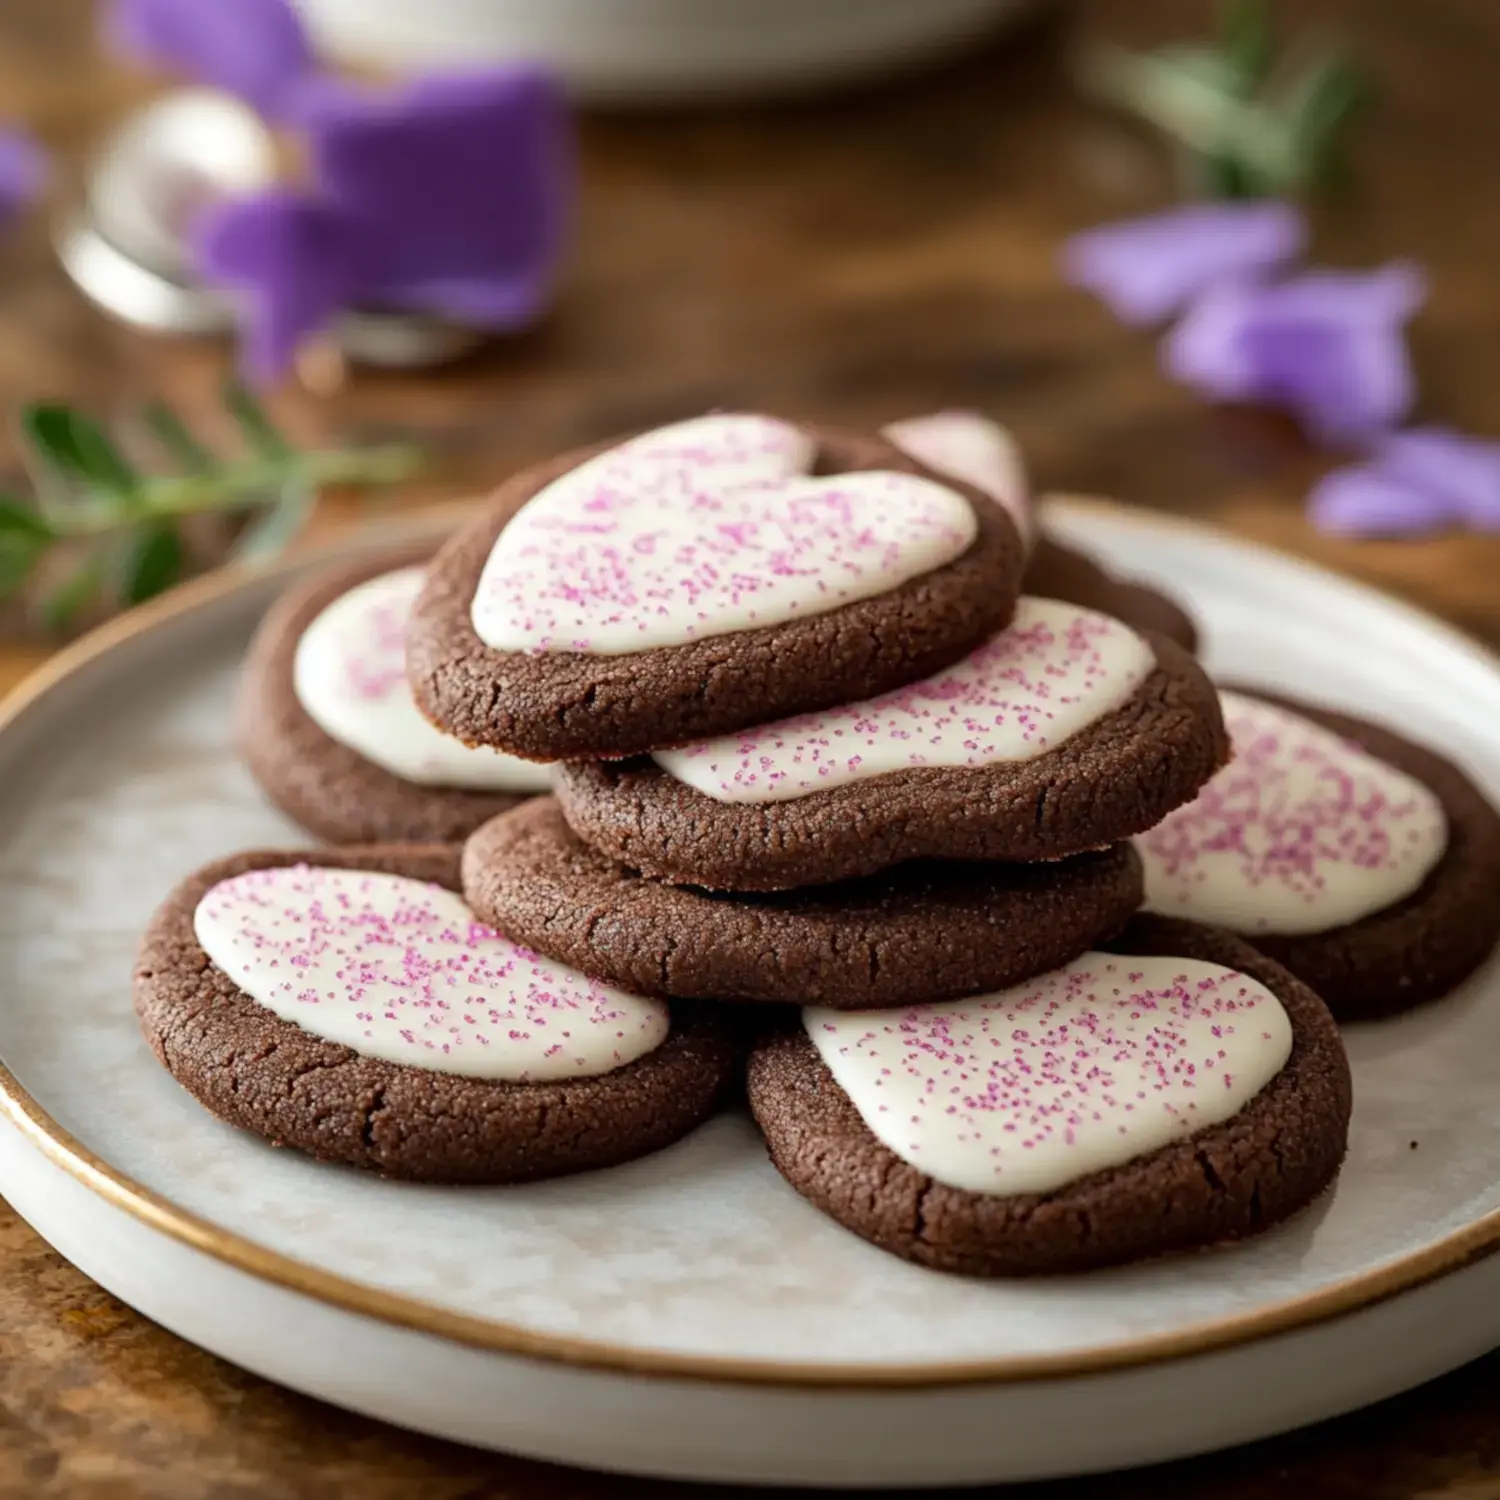
The moment these chocolate sugar cookies came out of my oven, I knew I'd stumbled onto something truly wonderful. They're a perfect mix of deep chocolate flavor and that traditional sugar cookie feel - it's simply delightful. With their soft centers and slightly crunchy edges, they don't just taste amazing but also work brilliantly as a base for decorating. The smell that fills my home when I'm baking them is absolutely heavenly.
An Irresistible Cookie
What makes these treats so special is how they combine the best parts of sugar cookies with rich chocolate goodness. No matter what shapes you cut - from circles to snowflakes - they don't spread or lose definition. They've got that perfect balance of softness and sturdiness that makes decorating fun. Even my pals who rarely bake have told me they can't mess these up.
Your Ingredients List
- Cocoa Powder: Dutch processed gives a darker chocolate taste, but regular works great too.
- Butter: Go with unsalted to keep control of the overall flavor.
- Granulated Sugar: This gives us the ideal sugar cookie consistency we want.
- Flour: Regular all purpose flour provides the right foundation.
- Eggs: They bind everything into a perfect dough.
- Vanilla Extract: A little bit enhances the chocolate wonderfully.
- Salt: A pinch brings out all the flavors together.
- Baking Powder: This ensures your cookies maintain their cut shapes.
Let's Start Baking
- Build Your Foundation
- Mix your butter and sugar till it's fluffy and light, then add eggs and vanilla, blending until everything looks smooth.
- Mix in Dry Stuff
- Slowly add your flour, cocoa and remaining dry ingredients until you've got a nice, pliable dough.
- Flatten it Out
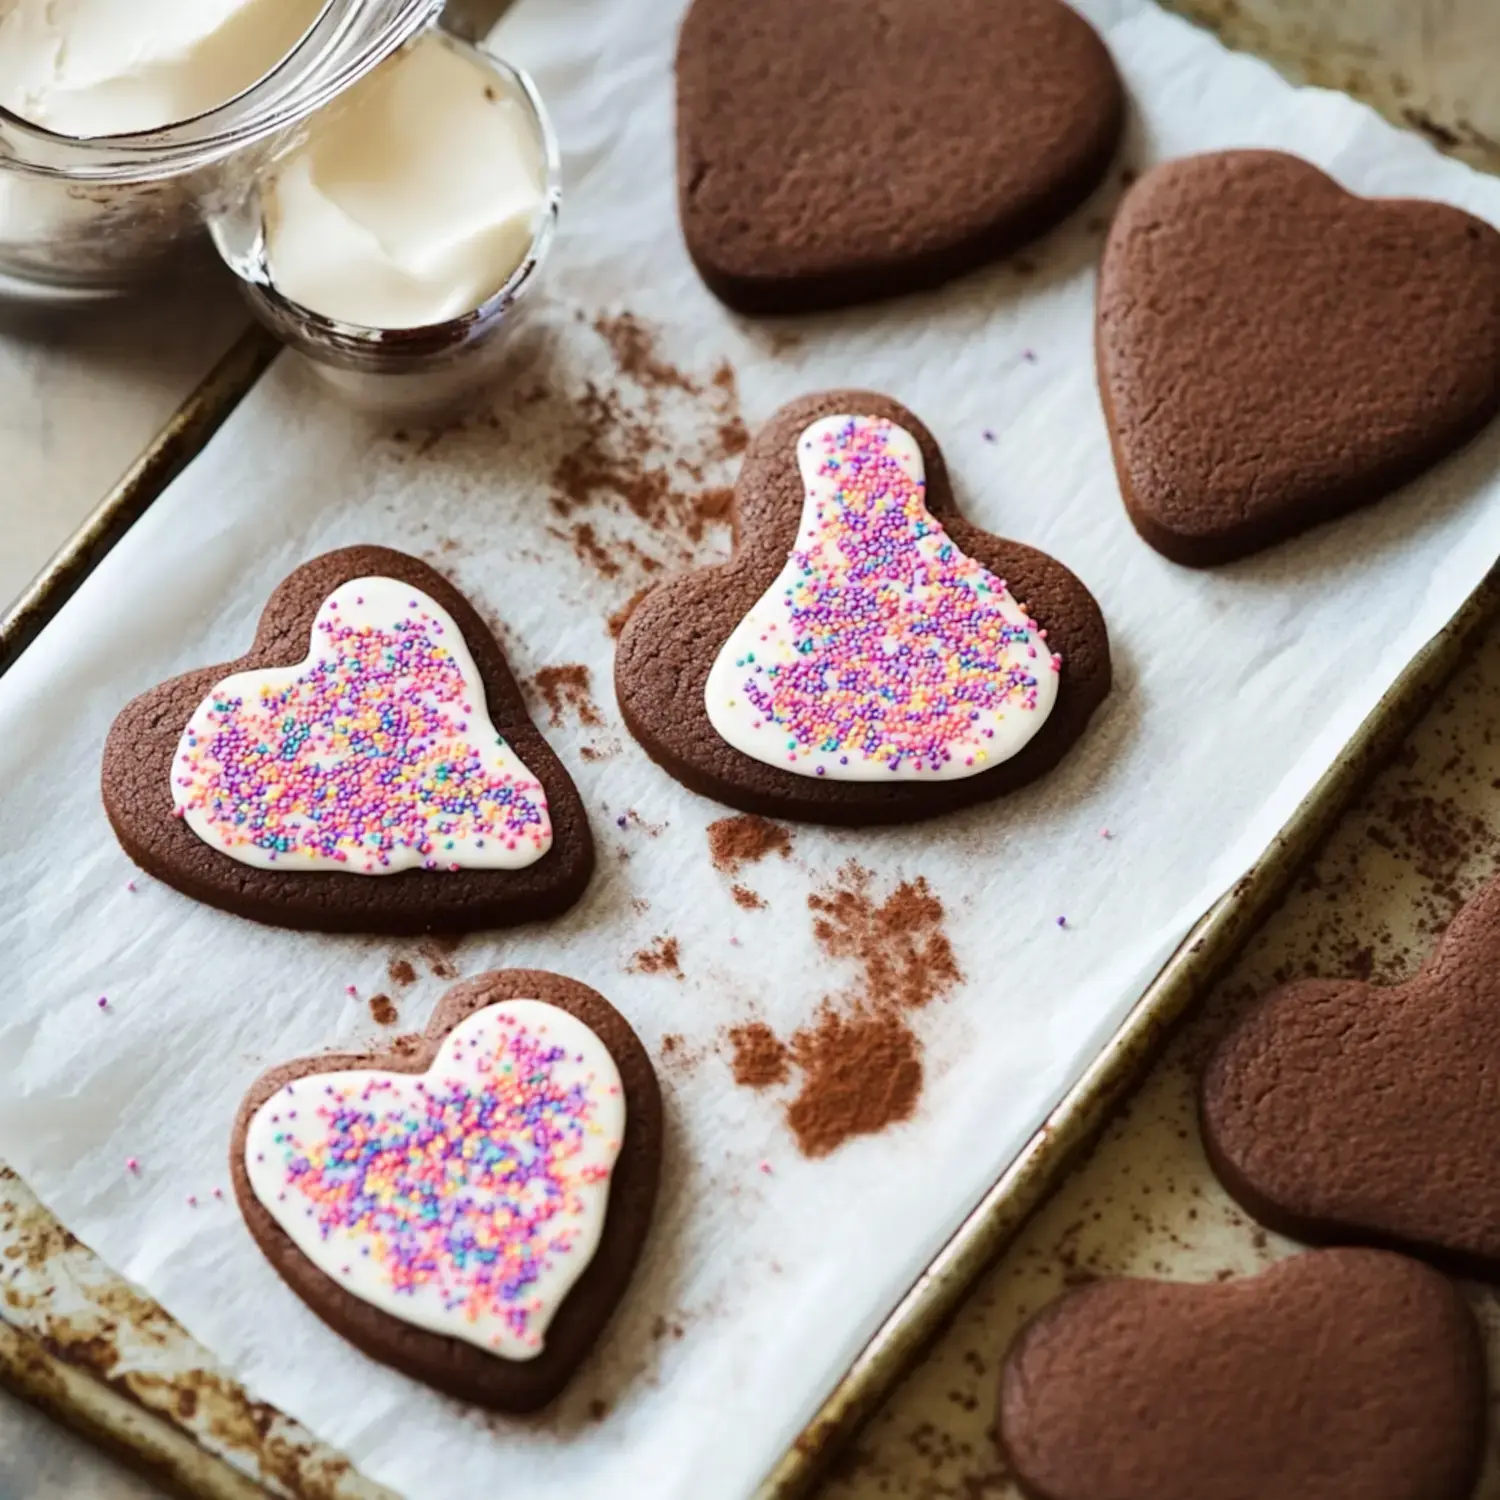
- Work with smaller portions of dough, using parchment paper on top and bottom makes rolling so much easier.
- Cool it Down
- Let your rolled dough rest in the fridge for a couple hours, don't skip this as it's crucial for clean-cut shapes.
- Cut and Bake
- Use your favorite cutters, arrange on lined cookie sheets and bake until just done, around 8-10 minutes.
Stunning Topping Ideas
For fancy designs, I can't beat royal icing that hardens beautifully. When I'm in a rush, a simple glaze does the trick. Both options really bring out that wonderful chocolate base flavor.
Clever Tricks I've Learned
I always roll my dough first, then chill it - this saves tons of hassle. Try sprinkling cocoa instead of flour when rolling to keep the chocolate flavor strong. Don't forget to line your baking trays with parchment for cookies that bake perfectly every time.
Storage Tips
You can store these beauties for up to a week if you keep them in a sealed container. I often make double batches and freeze some dough for later. It's so handy to have cookie dough waiting in the freezer when you need a quick treat.
Creative Variations
Don't hold back with your decorating ideas. These cookies shine as Valentine hearts or Christmas trees. Sometimes the prettiest ones come from just a simple icing drizzle with a few colorful sprinkles on top.
Fan Feedback
Everyone tells me these taste like the perfect middle ground between a chewy brownie and a classic sugar cookie. They're particularly loved because they don't spread when baking, making them perfect for parties and gifts.
Quick Answers
You can use whatever cocoa you've got in your pantry. Don't try to rush the chilling time or you'll regret it later. And yes, they freeze wonderfully after they're baked, which is great for planning ahead.
Tools Worth Having
Investing in good quality silicone baking mats and sturdy cookie cutters makes a world of difference. When it comes to decorating, I always reach for gel food coloring because it won't thin out your icing while giving amazing color.
Worth Keeping Forever
This has become one of my favorite recipes to share. They're simple enough for everyday baking but fancy enough for special occasions. Make them once and you'll see why everyone always asks for more.
 Pin it
Frequently Asked Questions
- → Why does the dough need chilling?
- If you chill the dough, it won't spread as much while baking. It also makes shaping and rolling simpler. This step's really important for neat shapes.
- → Can these cookies be frozen?
- Absolutely! Decorated or plain cookies freeze great for up to 3 months. Or freeze the dough, thawing it in the fridge before rolling out.
- → Why is my dough so sticky?
- Sticky dough usually comes from overly soft butter. Try adding a spoonful of flour and make sure your butter starts a bit cool but still soft.
- → How do I know when to pull them from the oven?
- At 11-12 minutes, the edges should set. They may seem soft but will firm as they cool. Don’t overbake, or they’ll get too crunchy.
- → Can I prep these ahead of time?
- Sure! Keep the dough chilled for 2 days in the fridge. Once baked, the cookies can stay fresh for about 5 days at room temp or 10 days kept cool.