
 Pin it
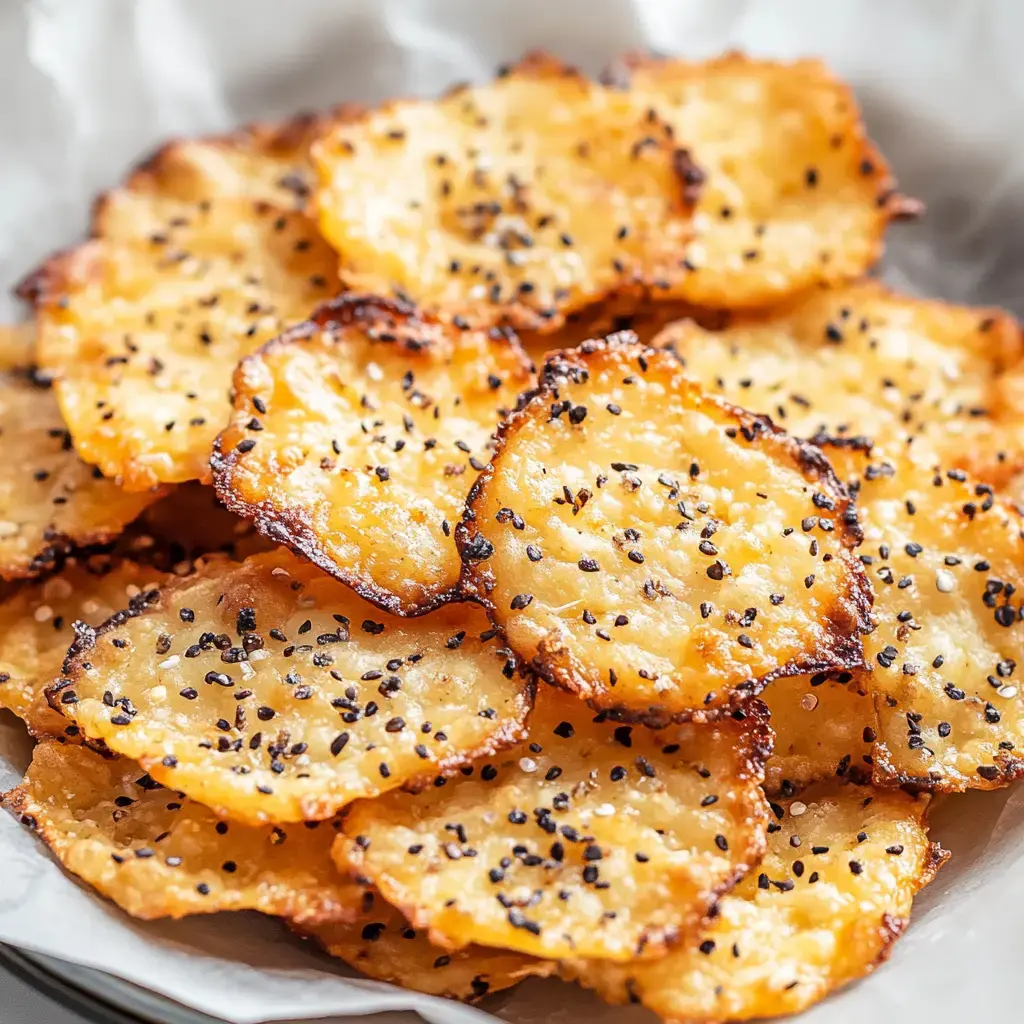
I accidentally created snack perfection in my kitchen last night. These cottage cheese chips came from wanting something crunchy while sticking to keto. The first time I made them, they disappeared before they even cooled down properly. Now I always keep these protein-rich munchies on hand for TV binges or midday hunger pangs. My friends are always shocked when I tell them what they're really made of—their reactions are priceless.
A Treat That Brightens Your Day
I can't get over how easy these chips are to whip up. Just spread and pop in the oven until they turn golden brown. Unlike typical snacks that leave you wanting more, these actually satisfy and energize you. I can't even keep double batches around anymore. My kid's pals insist they're tastier than anything packaged. They've become what I'm known for bringing to reading club and they're always the first empty dish at any party.
Check Your Refrigerator For This
- The Right Cheese: Go for full-fat cottage cheese with 4% milkfat. This isn't just a suggestion—it's what transforms these from good to mind-blowing. Try finding brands with around 14g protein per half cup serving. They'll get wonderfully crispy.
- Mix-in Ideas: I'm always stocked with everything bagel mix, but don't stop there. Try adding some chili powder for heat, or toss in fresh herbs for fancier chips. Whatever's in your spice cabinet works!
 Pin it
Time To Start Cooking
- Step 1: Warm Up That Oven
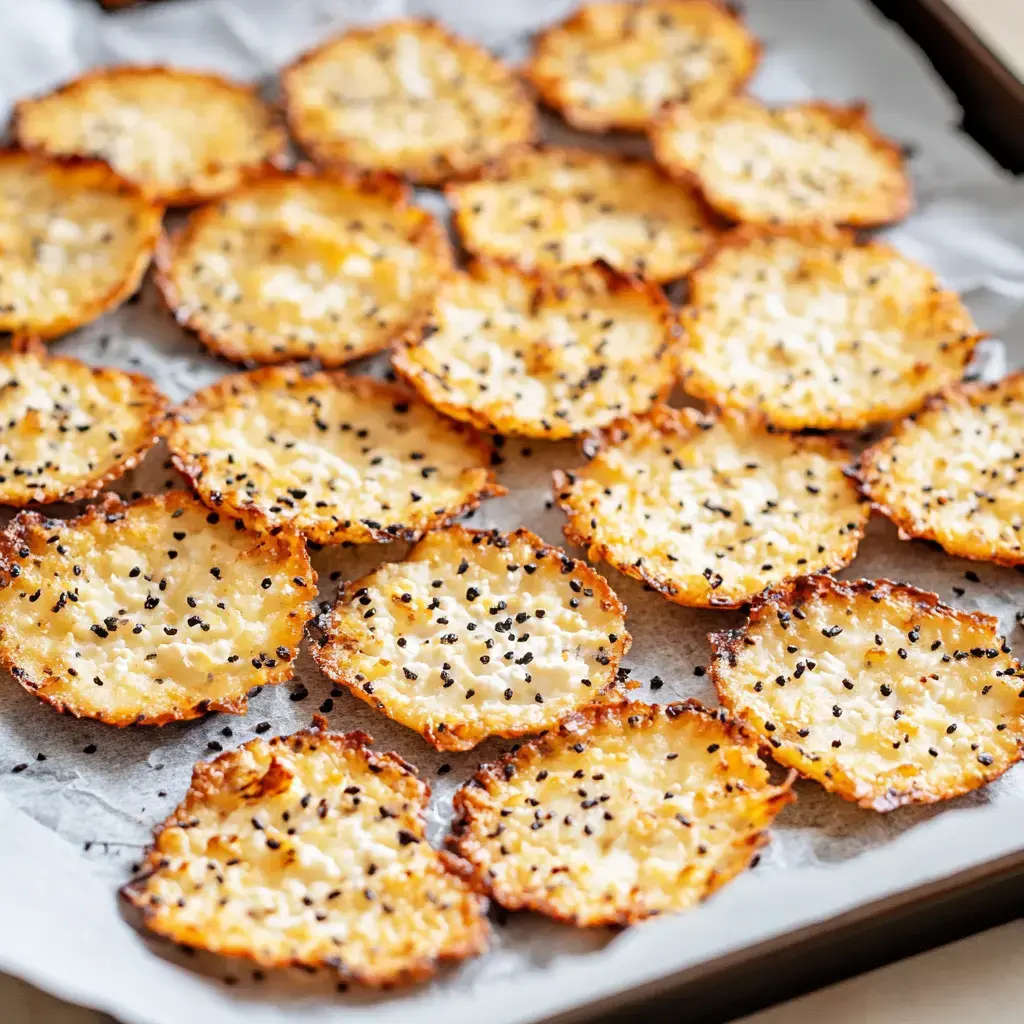
- Set it to 375°F. Put parchment paper or a silicone mat on your baking sheet. Don't skip this or you'll be stuck with a cleaning nightmare.
- Step 2: Drop And Flatten
- Put spoonfuls of cottage cheese on your lined tray. Try to keep them roughly the same size. Use your spoon's back to flatten each dollop into a thin circle about 2 inches across.
- Step 3: Add Your Flavors
- Dust on whatever seasonings you like. Start light since cottage cheese already contains salt. I use my fingertips to get the distribution just right.
- Step 4: Baking Magic
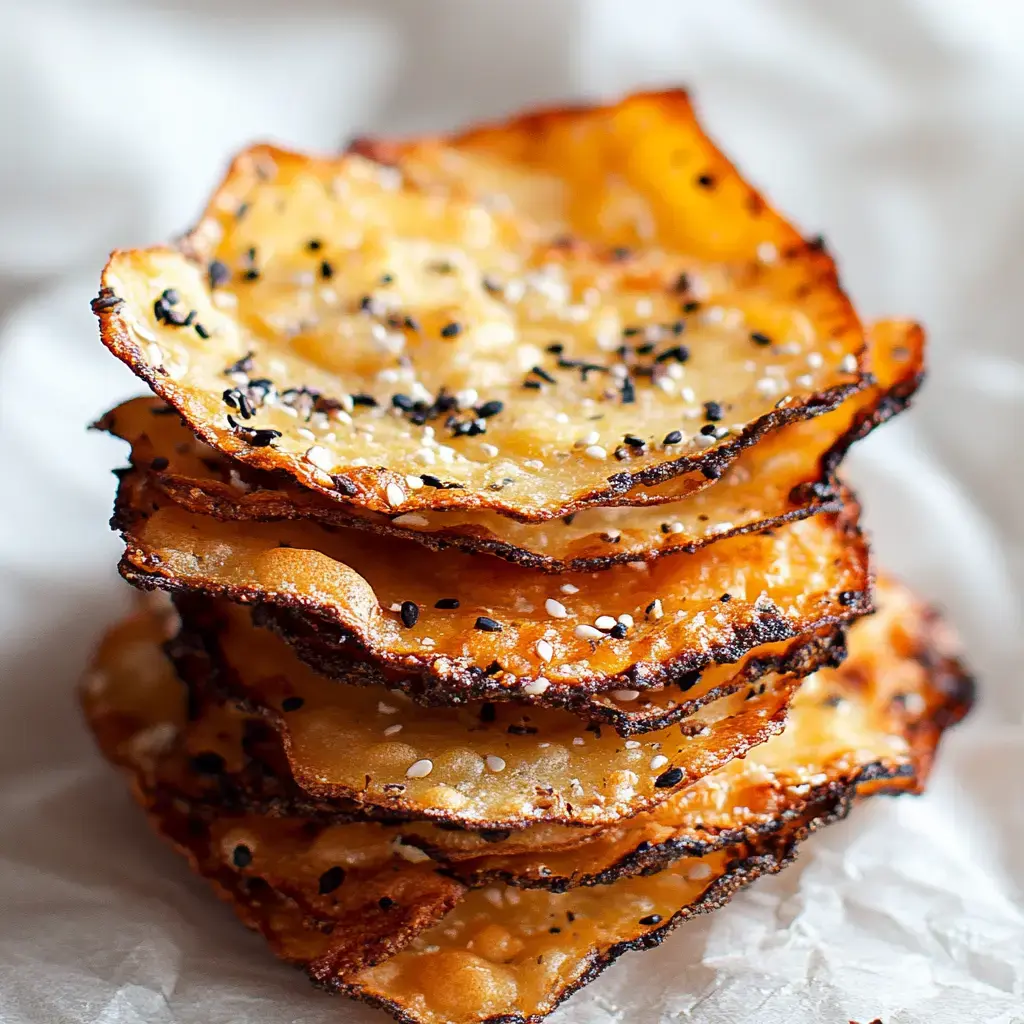
- Let them cook for around 40 to 50 minutes. You'll see them change from white clumps to crispy golden treats. When you notice brown edges forming, you're on the right track.
Tips From My Experience
After making tons of batches, I've figured out the tricks. Don't bother with reduced-fat varieties—they just make disappointing, hard chips. Look for that deep golden hue—that's where the flavor lives. Make them super thin, about 1/8 inch, for the best crunch. Don't walk away during those final 10 minutes—they can go from perfect to ruined really fast. I set my timer for 35 minutes, then check frequently until they're exactly right.
Tasty Variations
For everything bagel style, I grab the no-salt version since the cheese provides enough saltiness already. I always add extra poppy seeds for visual appeal and texture. My hot version uses chili powder, smoked paprika, and just a touch of cayenne that gradually builds heat. For Italian inspiration, I mix dried basil, oregano, and sprinkle parmesan before they go in the oven—tastes exactly like pizza crust. During summer, I clip fresh herbs from outside—rosemary, thyme, and chives get nice and crispy and smell wonderful.
Storing Your Crunchy Treats
Let them cool completely. They need at least an hour on the cooling rack. Pack them away too early and they'll turn soft. Once they're totally room temperature, put them in layers with parchment paper between. They'll stay crunchy for three days if nobody finds them first. My children love discovering them packed with their school lunches alongside some homemade ranch or guac. The crunchiest results come from airtight glass containers.
New Twists To Try
I'm always finding new ways to enjoy these. Recently I've started adding crushed pistachios and tiny bits of sea salt before they bake. When we have guests over, I top them with cream cheese and thin salmon slices—they vanish faster than I can serve them. My plant-based friends love the nutritional yeast and garlic powder version, saying they beat fancy store chips hands down. During the holidays I drizzle sugar-free chocolate and sprinkle sea salt flakes—way better than those expensive chocolate-covered potato chips.
 Pin it
Personalize To Your Taste
Your oven might need different timing than what works for me. Sometimes I want them super thin and extra crispy, other days I make them thicker for a bit of chew. Each brand of cottage cheese cooks up differently—just find what you like best. My next-door neighbor came up with adding seasonings halfway through cooking for extra flavor bursts. Just experiment until you nail your perfect version—that's how family favorites are born.
Frequently Asked Questions
- → Why pick whole milk cheese?
It gives better texture and crunch. Low-fat cheeses don’t crisp as nicely.
- → Why let them cool fully?
They firm up as they cool. Handling them too early can make them soft instead of crispy.
- → What seasonings should I add?
Everything bagel mix, ranch, garlic, or Italian seasoning are great. Sprinkle before baking.
- → Why not make larger batches?
They lose crunch when stored. Better to eat fresh or quickly reheat later to crisp again.
- → Why spread the cheese thinly?
If the layer’s thick, they won’t crisp. Thin is key for crunchy results.
Conclusion
Turn cottage cheese into golden, crunchy bites. An easy, high-protein snack perfect for anyone cutting carbs or following keto.