
 Pin it
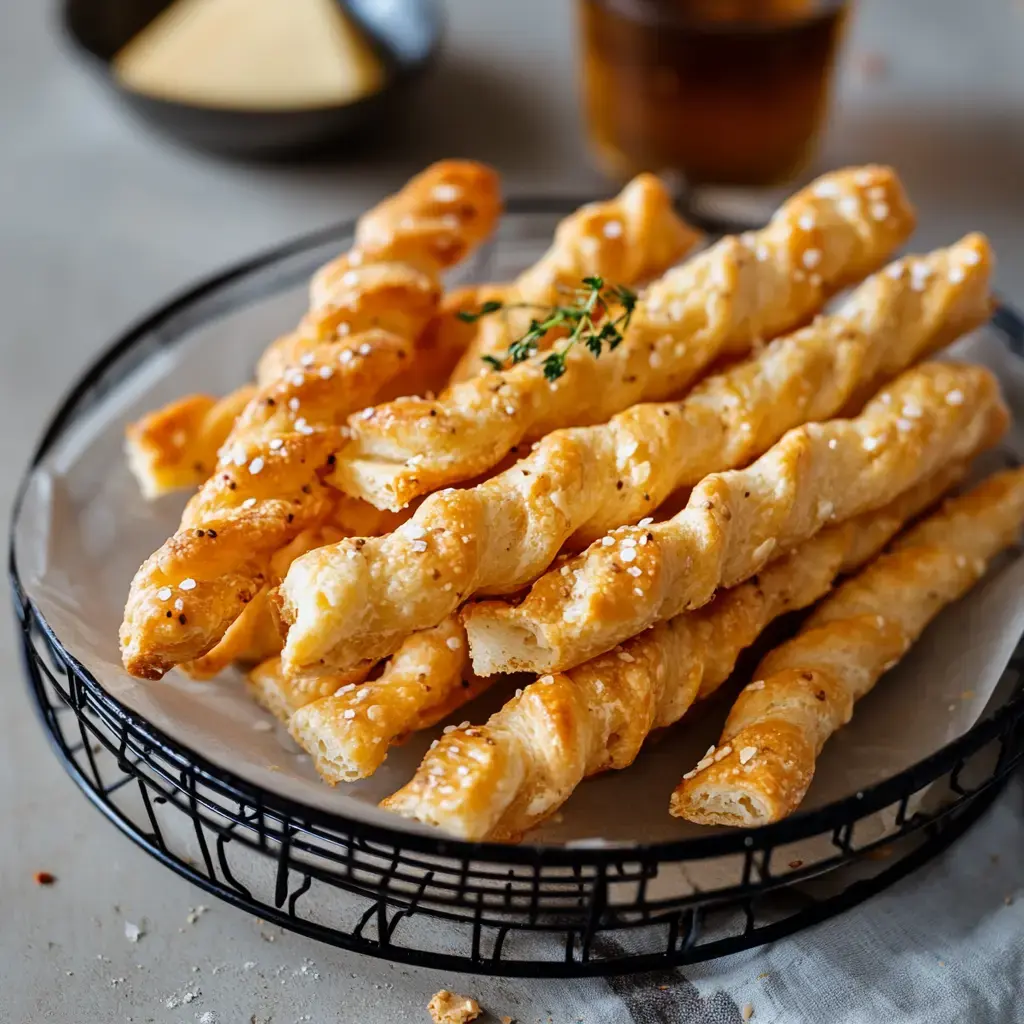
These cheesy twists take me back to my grandma's Georgia kitchen - she'd whip them up whenever family came around. There's something magical about that combo of sharp cheddar and buttery crispness that transports me there. These days I bake them for gatherings and quiet wine nights, and they're gone in a flash.
Delightful Snack Perfection
You'll love how each mouthful delivers incredible cheesy goodness with that perfect balance of crisp and crumbly texture. They're surprisingly easy to throw together - just a handful of kitchen staples transform into something impressive. My pals think I've been slaving away when really it's no trouble at all.
Ingredients Rundown
- Main Foundation: Self rising flour works its magic here to create the ideal texture.
- Main Ingredient: Find the sharpest cheddar you can and grate it fresh yourself.
- Flavor Base: Stick with genuine butter only as it creates the authentic taste.
- Flavor Boost: A bit of smoky paprika and cayenne bring that wonderful heat.
- Binding Element: A touch of cold water pulls everything into shape.
Cooking Instructions
- Combine Dry Ingredients
- Toss flour, paprika, cayenne and salt together with a quick whisk to blend everything nicely.
- Create Your Mixture
- Whip the cheese with softened butter until smooth for about 2 minutes. Slowly add your dry ingredients then tiny bits of water until it forms a nice dough.
- Pause Briefly
- Wrap up your dough and let it sit for 15 minutes while heating your oven to 350°F.
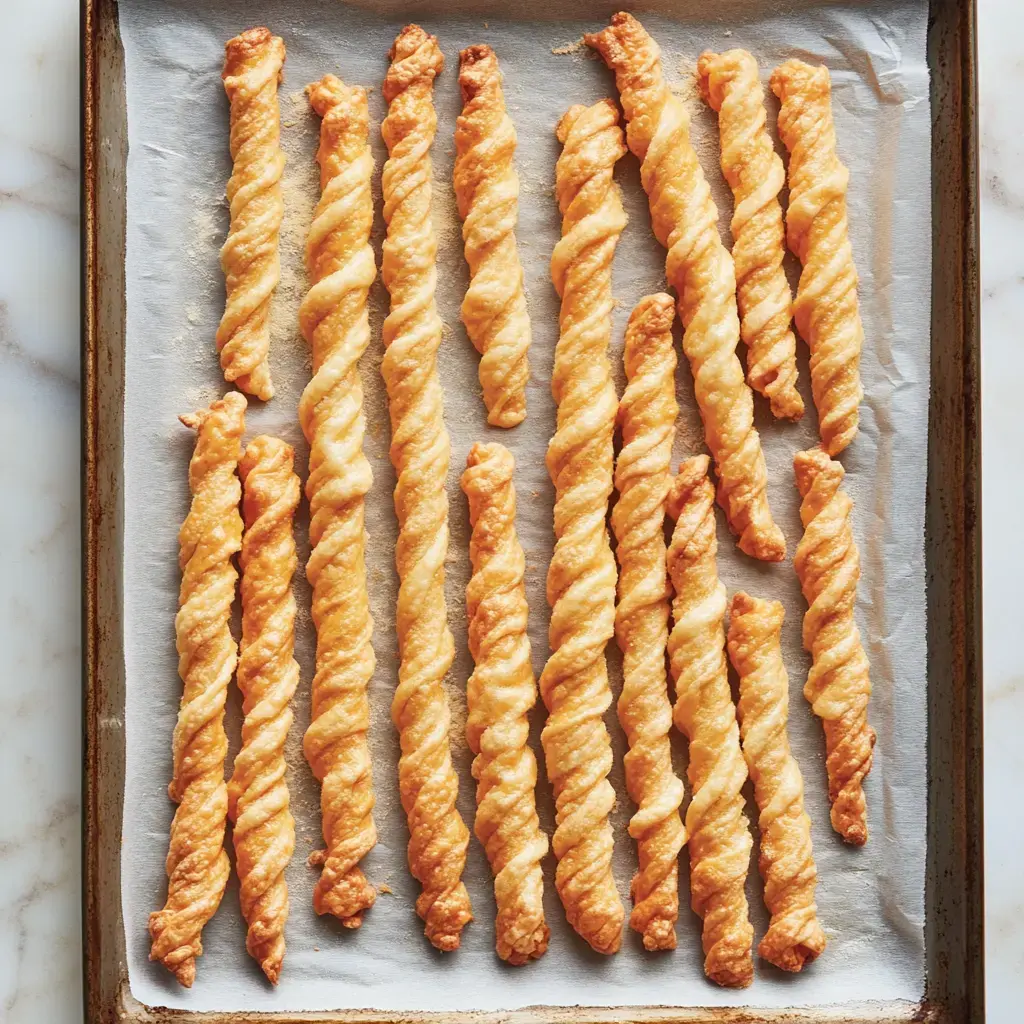
- Form Your Straws
- Go fancy with a cookie press or simply roll and slice strips by hand. Twist them gently and place on your baking tray.
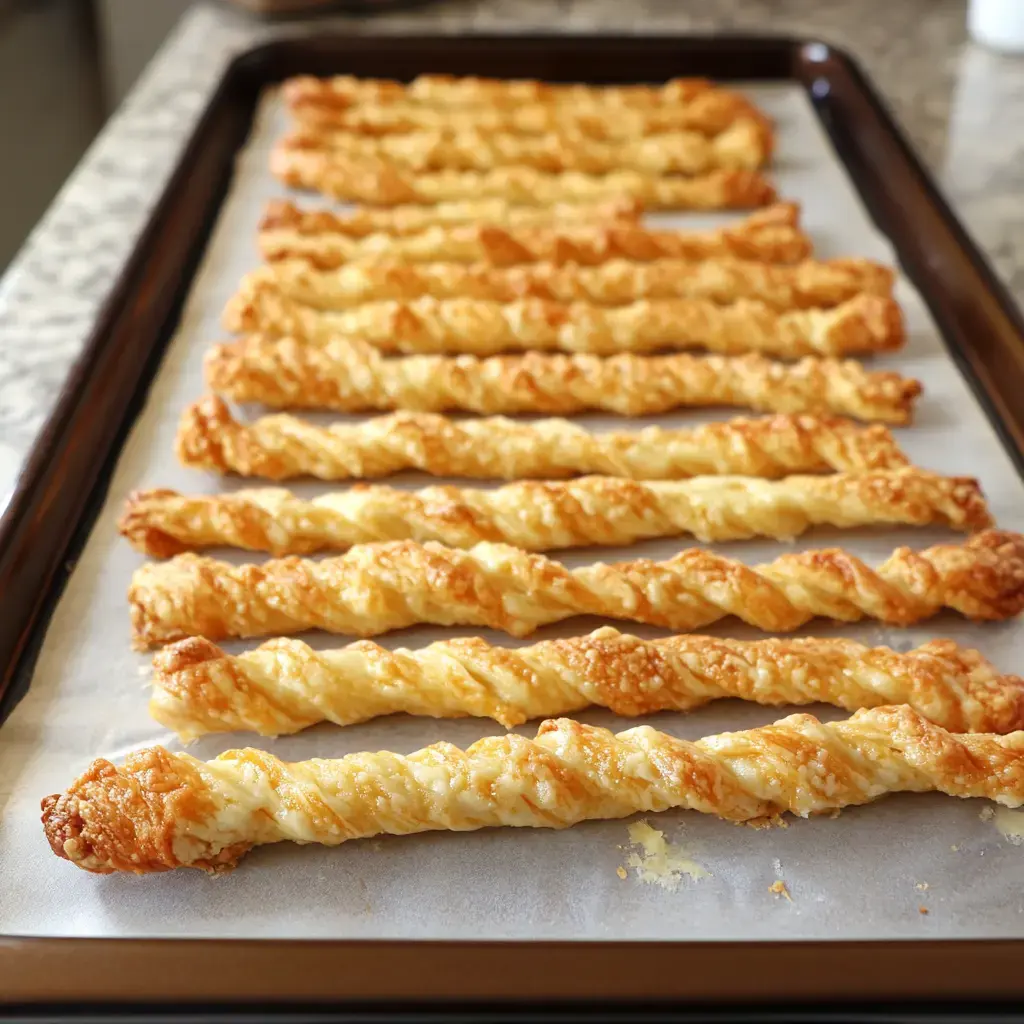
- Bake Them Up
- Cook until golden and crunchy around 15 minutes rotating halfway for even browning.
- Finish And Store
- Allow them to cool on the tray then store in an airtight container for up to a week.
 Pin it
Pro Tips
Don't use pre-shredded cheese bags since they contain additives that affect your final texture. While cookie presses make fancy shapes, hand-twisting works perfectly well too. Try freezing them briefly before baking if you want really clean edges.
Perfect Pairings
These tasty sticks really pop when served alongside good charcuterie and briny olives. They're fantastic next to your favorite dips like hummus or creamy cheese spreads. Grab a glass of wine and you've got yourself the ideal evening treat. My reading group can't get enough of them.
Storage Advice
Put your cheese straws in an airtight box and they'll stay nice and crisp for about a week. If they go soft, a quick 5-minute warm-up in the oven fixes them right up. Don't put them in the fridge though - they'll just get soggy and disappointing.
Try Variations
Switch up your cheese options - Gruyere adds nuttiness while Gouda brings extra creaminess. Experiment with different seasonings like black pepper or garlic powder to suit your taste. If you're out of self-rising flour, regular flour with a bit of baking powder works fine too - my aunt showed me that workaround.
 Pin it
Creative Touches
I often mix fresh herbs like rosemary or thyme into the dough for extra flavor. Tossing some seeds on before they go in the oven adds nice texture and looks great. For a spicy kick, dust them with chili powder right after baking - it'll give your taste buds a pleasant warmth.
Frequently Asked Questions
- → What’s the shelf life of cheese straws?
- In an airtight container, they stay good for about a week. To refresh, warm them up briefly in a toaster oven and cool.
- → Can I store them in the freezer?
- Unbaked straws freeze well for up to 3 months. Bake from frozen, adding 1-2 minutes to the usual bake time.
- → What if I lack a cookie press?
- Roll the dough flat, slice it into strips with a pizza cutter or knife, and twist them up for a fun look.
- → Is fresh grated cheese really better?
- Absolutely! It melts smoothly and has no additives like pre-grated cheese, which can mess with the texture.
- → How can I tone down the heat?
- Cut back or skip cayenne. Paprika adds flavor without the spiciness, so season it just how you like.