
 Pin it
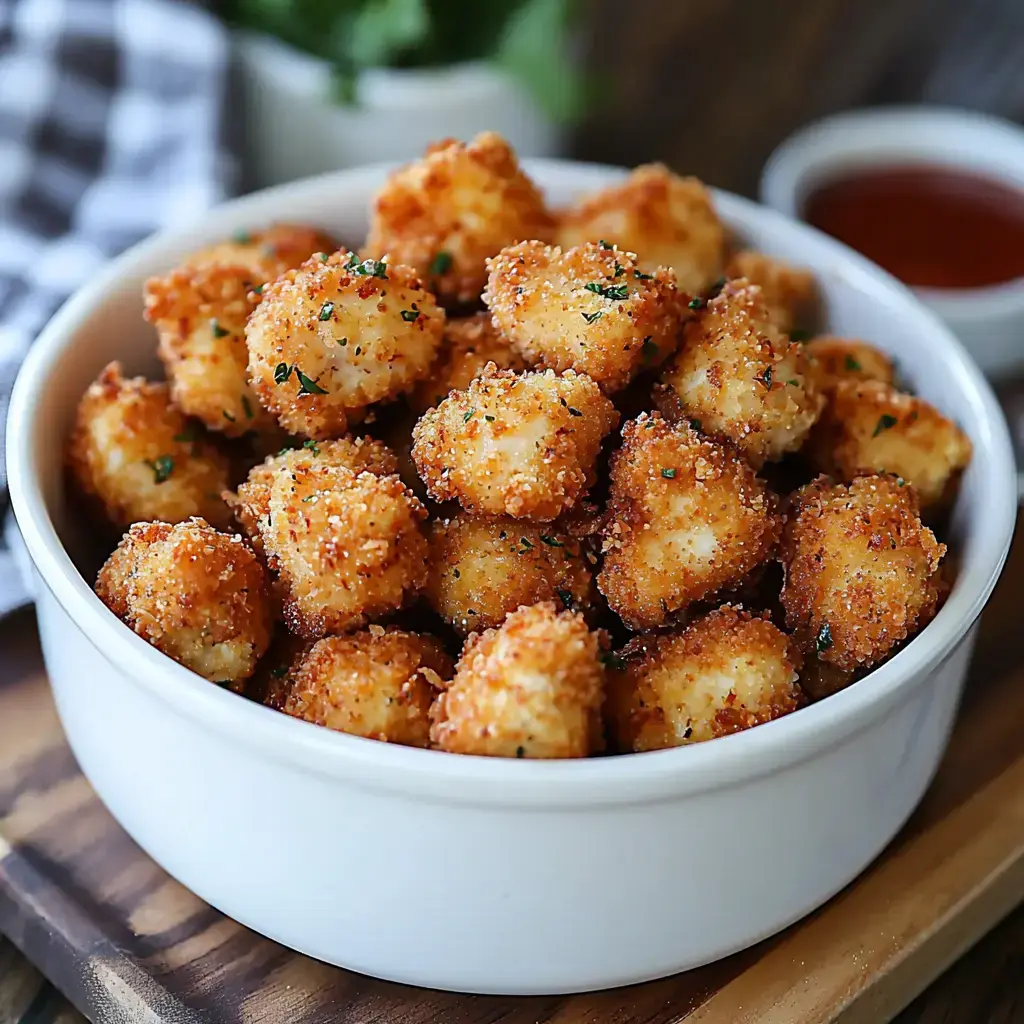
Crunchy Chicken Bites
These small crunchy chicken chunks are seriously habit-forming and knock the socks off any takeout version. I always whip up a huge portion because they vanish in no time, especially when my kiddos catch sight of them. They're just right for dipping in whatever sauce you fancy or sprinkling over a green salad. And they go amazingly well with smooth mac and cheese, chilled pasta mix, or colorful fruit medley for a meal that gets thumbs up all around.
What Makes This So Good
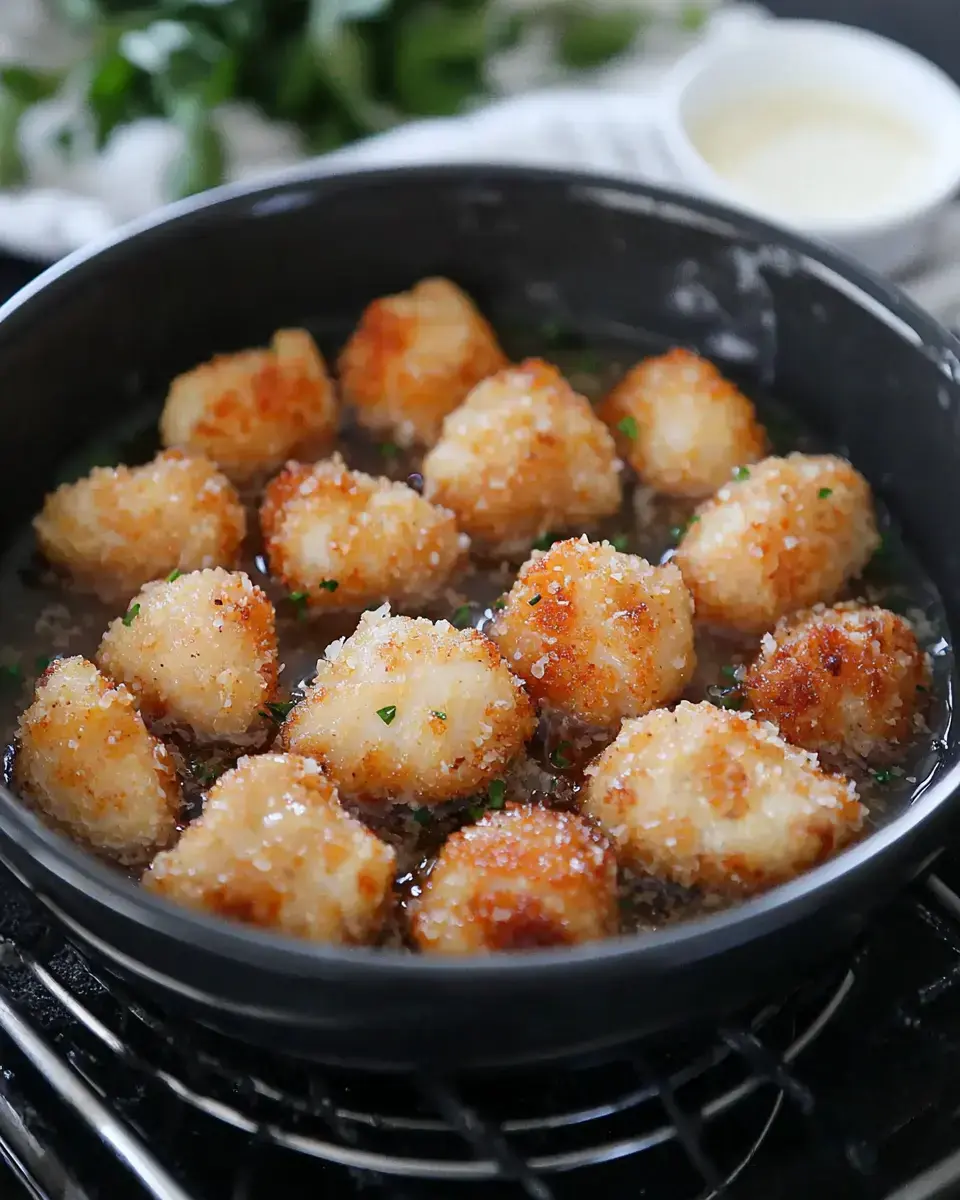
The magic behind these tempting chicken nibbles is their crunchy outer layer and moist inside. Cooking them yourself means you can tweak the flavors and nail that perfect crispiness. I'm crazy about how flexible they are – offer them as a snack, stuff them in a sandwich, or throw them on greens for extra protein. I switch between standard breadcrumbs and panko when I want more crunch – both ways turn out fantastic.
 Pin it
Your Shopping List
- Chicken Stuff:
- 2 pounds boneless skinless chicken breasts chopped into ¾-inch chunks
- 2 cups buttermilk for soaking
- 2 teaspoons garlic powder
- 2 teaspoons onion powder
- 1 teaspoon paprika
- 1 teaspoon black pepper
- 1½ teaspoons kosher salt
- Coating Mix:
- 3 cups all-purpose flour split up
- 2 cups panko breadcrumbs
- 1 tablespoon garlic salt
- 1 tablespoon paprika
- 2 teaspoons black pepper
- 1 teaspoon cayenne if you want some kick
- For Cooking:
- 4-6 cups vegetable oil or canola oil
- Extra Flavor Options:
- 1 teaspoon chipotle powder
- 1 teaspoon smoked paprika
- ½ teaspoon chili flakes
- Kitchen Tools:
- Big heavy pot or deep fryer
- 3 flat dishes for coating setup
- Oil thermometer
- Mesh scoop or slotted spoon
- Baking sheet lined with paper towels
- Good knife for cutting chicken
- Temperature Guide:
- Oil temperature: 350-375°F
- Oven temp (if baking): 400°F
- Air fryer temp: 400°F
- Time Needed:
- Soaking: 1-12 hours
- Prep time: 20 minutes
- Cook time: 3-4 minutes each batch
- Total time: around 45 minutes
Step By Step Instructions
- Get Your Chicken Ready:
- Stick chicken breasts in the freezer for 15 minutes to make them easier to slice into even ¾-inch bits. Stir together 2 cups buttermilk with your spices (garlic powder, onion powder, paprika, salt and pepper) in a big bowl. Toss in those chicken chunks, mix well, wrap and stick in the fridge anywhere from 1 hour to overnight.
- Create Your Coating Area:
- Find 3 flat dishes. Dish 1: Mix 2 cups flour with garlic salt and half the spices. Dish 2: Pour in 1 cup buttermilk. Dish 3: Mix remaining 1 cup flour, panko and the rest of your spices. Put paper towels on a baking sheet, have your mesh scoop nearby, you'll need them soon.
- Heat Up Your Oil:
- Fill your heavy pot with 4-6 cups oil, about 2 inches deep. Warm it to 350-375°F using your thermometer, it really matters. Toss in a bit of flour and it should bubble right away.
- Coat Your Chicken:
- Take 8-10 pieces at once: First roll in seasoned flour and tap off extra. Then dunk in buttermilk and let drips fall off. Last, roll in panko mix, pressing lightly so it sticks well. Want more crunch? Go back in the buttermilk then panko mix again.
- Start Frying:
- Gently drop coated pieces into hot oil without crowding. Cook 3-4 minutes, turning once until they're golden brown and done inside (should reach 165°F). Lift them out with your mesh scoop, drain on paper towels. Sprinkle with a tiny bit of salt while they're still hot.
- Keep Everything Hot:
- Put finished batches on a wire rack in a 200°F oven while you cook the rest. This keeps them crunchy and warm until you're ready to eat.
 Pin it
Alternative Cooking Methods
- Baking Option:
- Set oven to 400°F. Coat a baking rack on a sheet pan with cooking spray. Lay out breaded chicken pieces with gaps between them. Lightly spray tops with oil. Bake 8-10 minutes, flip, spray again, then another 8-10 minutes. Need more crunch? Stick under the broiler for 1-2 minutes, but watch them closely.
- Try The Air Fryer:
- Warm air fryer to 400°F. Lightly spray basket with oil. Place chicken in one layer, don't pile them up. Spray tops with oil. Cook 8-10 minutes, shake basket halfway. Work in small batches and keep finished pieces warm in 200°F oven.
Keeping and Eating Ideas
These tasty morsels shine when fresh but here's what to do with leftovers. Pack cooled pieces in a sealed container in the fridge, they'll last 3-4 days. Warm them in a 375°F oven for 8-10 minutes to bring back the crunch, don't microwave or they'll go soft. Want to prep ahead? Coat the chicken but wait to fry, cover and chill up to 24 hours. To save for later, lay cooled pieces on a baking sheet, freeze until solid, then move to freezer bags, good for 4 months. Heat from frozen in a 375°F oven about 15 minutes.
For some awesome dips, try these quick mixes: Stir mayo with sriracha for a spicy kick, blend honey with dijon for sweet heat, or mix ranch with chipotle for smoky flavor. My little ones can't resist plain BBQ sauce while my hubby always picks buffalo. Pair them with some crispy fries, slaw, or fresh greens and you've got a homemade feast that beats any restaurant meal.
Frequently Asked Questions
- → Could I prep this ahead?
You can prepare the coated chicken a day earlier and keep it in the fridge before frying. Once cooked, freeze leftovers for up to four months.
- → How do I check the oil's ready?
The oil should hit about 350°F. Without a thermometer, drop in a bit of breadcrumb—it should sizzle gently and float up, without burning right away.
- → Can I bake instead of frying?
You can bake them, though they won’t be as crispy. Cook at 400°F for 15-20 minutes, making sure to flip them halfway for even browning.
- → Why’s buttermilk important?
Buttermilk makes the meat tender and helps the crumbs stick. No buttermilk? Mix milk with a bit of lemon juice as a substitute.
- → What dipping sauces work?
Ranch, BBQ, honey mustard, or sweet chili are all great. Whatever sauce you'd pair with nuggets will go perfectly.