
 Pin it
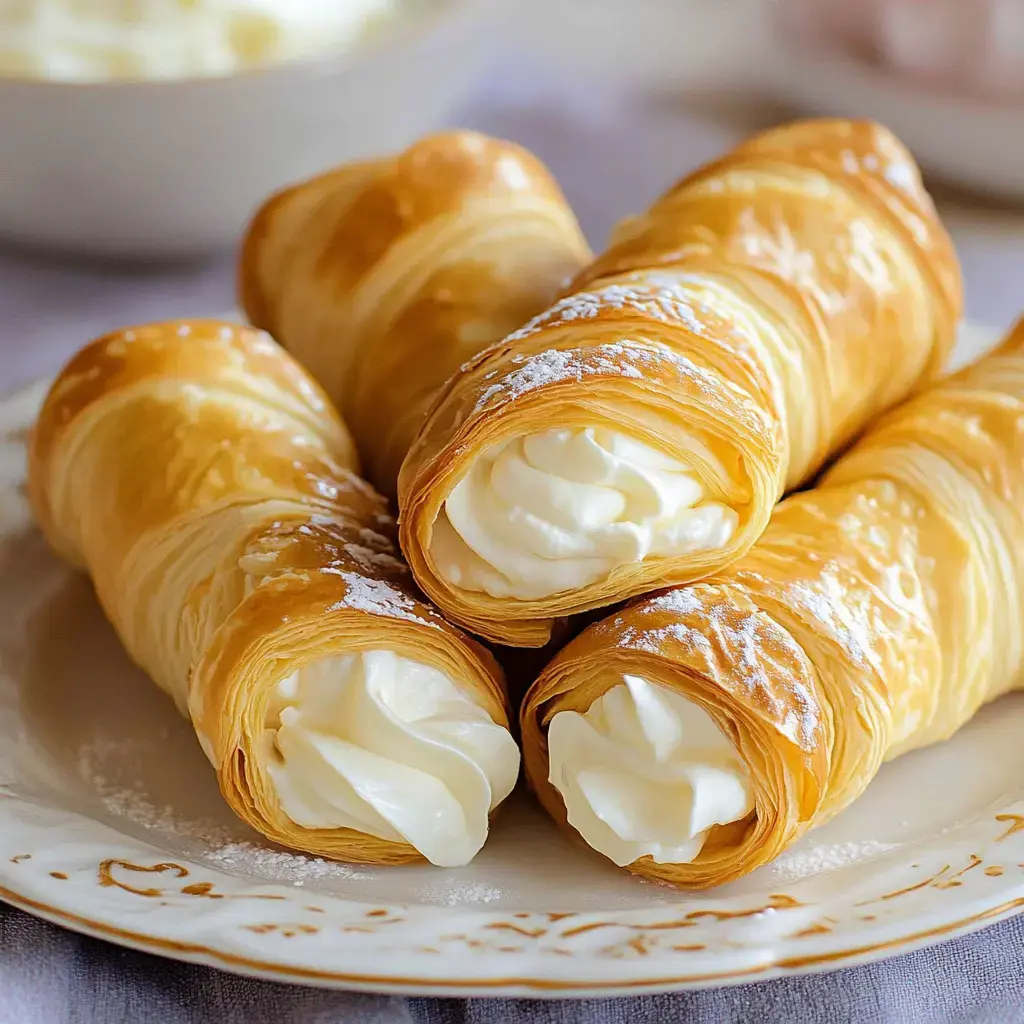
- I've gotta share these stunning cream horns that'll knock everyone's socks off! Picture flaky dough twisted into perfect cones stuffed with the richest cream ever. My grandma taught me how to make these and though they look super fancy, they're actually quite easy to pull off. They're great for holidays, special events, or just when you're feeling a bit extra!
Time To Begin
- Just Sweet Enough
- You'll love how the crispy pastry and smooth filling work together so well.
- Put Your Stamp On Them
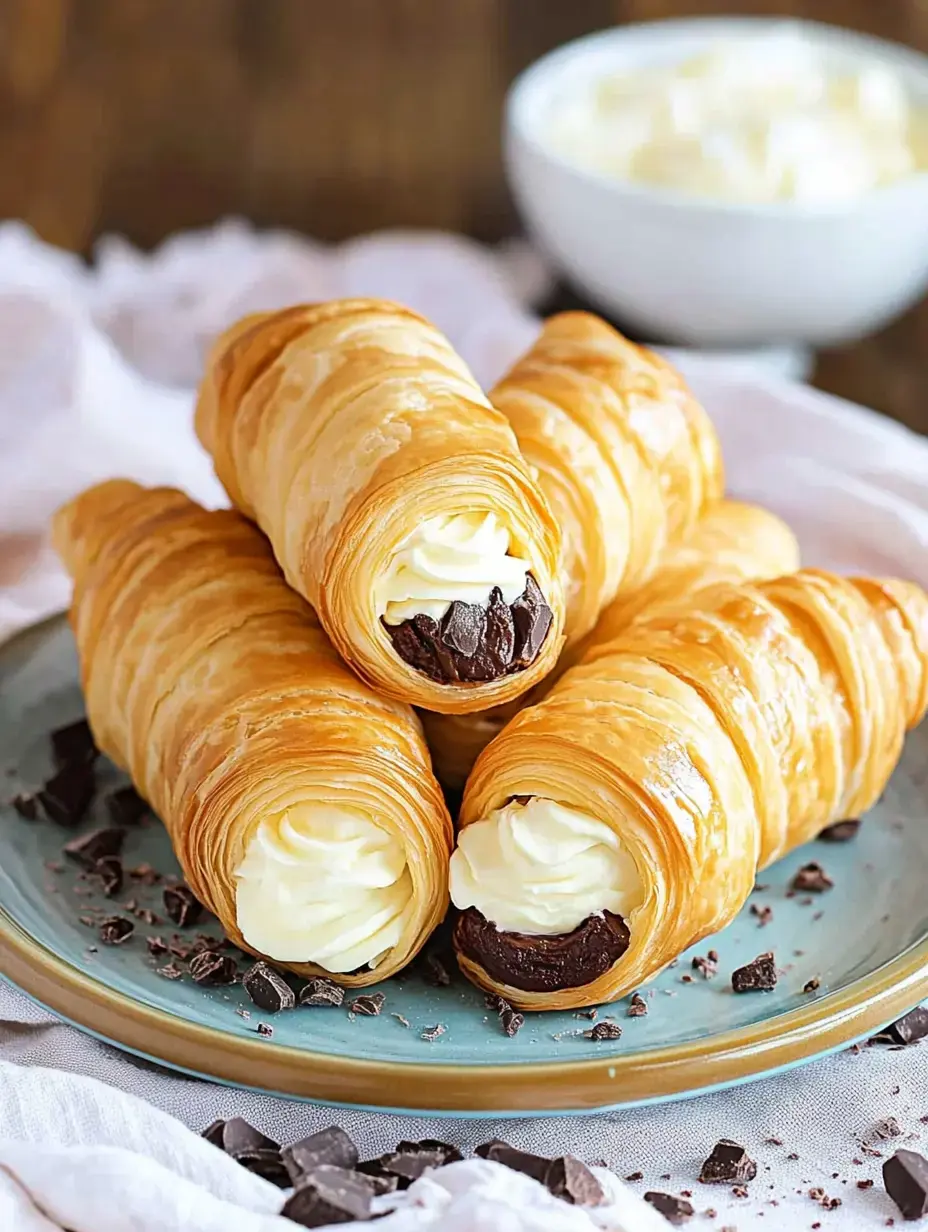
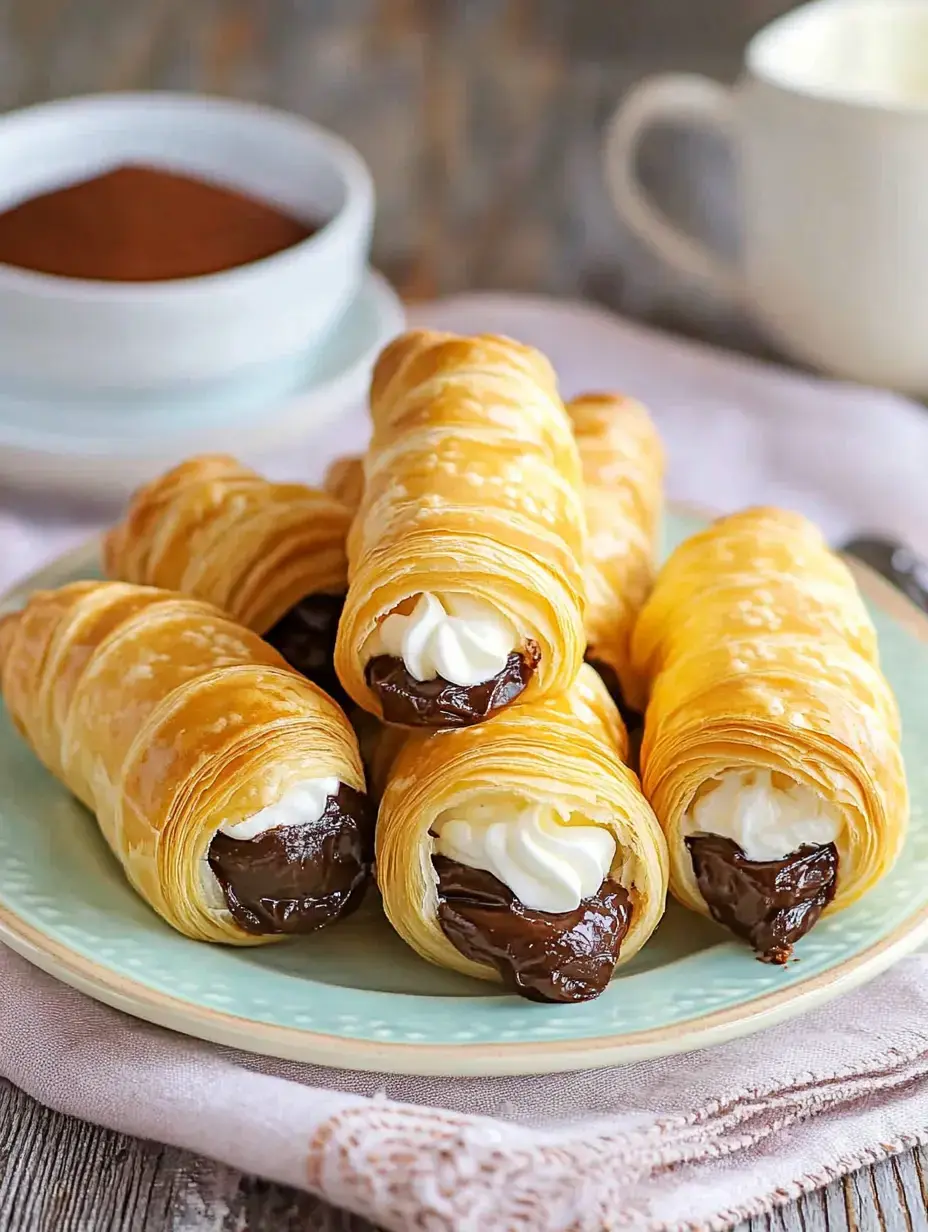
- Go wild with new flavors, drop in different extracts, even try filling them with chocolate or fruit!
- Not As Hard As They Look
- Don't worry about how fancy they seem, anyone can make these.
Grab These Items
- Puff Pastry: A couple sheets, thawed but still cool.
- For Sticking: A big egg mixed with a tiny bit of water.
- The Cream Base: Soft cream cheese, confectioners sugar, real vanilla.
- For Extra Creaminess: Whipped heavy cream until it's light.
- For Chocolate Lovers: Quality cocoa powder to mix into half the filling.
- The Finishing Sprinkle: More confectioners sugar to dust on top.
- Must-Have Gear: Horn molds, plus cooking spray so they won't stick.
Working Our Kitchen Spell
- Get The Molds Ready
- First off, take your horn molds and cover them really well with butter or cooking spray. Make sure you cover every bit or your pastries will get stuck! Put all your forms on a cookie sheet, all set to go.
- Fix Up Your Dough
- Pull out one pastry sheet, keeping the other one cold. Roll it really thin, about 1/8 inch. Cut it into long strips about 1/2 inch wide that'll wrap around your molds with a bit extra.
- Wrap Everything Up
- Start from the pointy end and wind those strips all the way up each mold. Make sure they overlap a little so they stay put. Push down the end piece to keep it closed, then brush with your egg mix for a golden finish.
- Baking Time
- Cook at 375°F for around 15 minutes. Keep an eye on them as they should puff up and turn nice and golden. You might need to turn your pan halfway so they cook evenly.
- Let Them Cool Down
- After baking, let them sit on the molds about 5 minutes, then twist gently to get them off. Cool them all the way on a rack before you try filling them!
- Whip Up The Filling
- Mix your cream cheese until it's super smooth with no bumps at all! In another bowl, whip your cream until it forms stiff peaks. Gently mix them together with your vanilla and sugar.
- Fill Them Up
- Put your cream mix in a piping bag with a tiny tip. Fill from both ends to make sure cream gets everywhere inside! Keep going until cream just shows at the ends.
- Add The Last Bits
- Sprinkle them with confectioners sugar. Wanna go fancier? Try dipping the ends in melted chocolate, adding some sprinkles, or drizzling with caramel sauce.
- Show Them Off
- Set them out on a nice plate, add a bit more sugar right before serving. Everyone will be amazed when they bite into these goodies!
Nail The Details
- Go for full-fat cream cheese, not the diet kind here; always keep your dough cold while you work, spray those molds really well or you'll regret it when the pastry sticks and wait until everything's totally cool before adding filling or you'll end up with a drippy mess.
 Pin it
Switch Things Up
- Play with flavors like almond or mint extract, swap in strawberry buttercream or fluffy marshmallow filling. Feeling creative? Dunk the tips in melted chocolate, toss on some sprinkles, you can do so many things with these.
Keeping Them Fresh
- Let's be honest: once filled, eat them right away because that cream won't last long! But you can make the empty shells ahead and store them in a sealed container or try my secret move: freeze them after filling and enjoy them like tiny ice cream snacks.
Stunning Party Treats
- Create a DIY filling station where guests pick their favorites. Stack them in a pretty tower for gatherings, throw in some fresh berries or mint sprigs to look extra fancy. Add that powdered sugar dust right before serving for a snowy look.
Solve Any Issues
- Pastry not fluffy? Your oven wasn't hot enough. Filling sliding out? You didn't whip it long enough. Shells coming apart? You didn't press those edges down good. Remember, baking is just fixing problems with some sugar thrown in.
 Pin it
Gear You'll Want
- You can't skip those horn molds but they're easy to buy online. A decent piping bag makes filling so much easier. No fancy mixer? A handheld one works too, just takes a bit longer. And don't forget parchment paper to make cleanup a breeze.
Frequently Asked Questions
- → Do I need to buy molds?
Yes, you'll need horn molds for shaping.
- → Can they be prepped early?
Bake the pastries ahead but only fill them closer to serving.
- → What's the point of greasing the molds?
It stops the dough from sticking and makes them easier to slide off.
- → Can unfilled pastries be frozen?
Yes, the shells freeze great if they're empty.
- → Is cream cheese needed?
Yes, it helps the whipped filling hold its shape.