
 Pin it
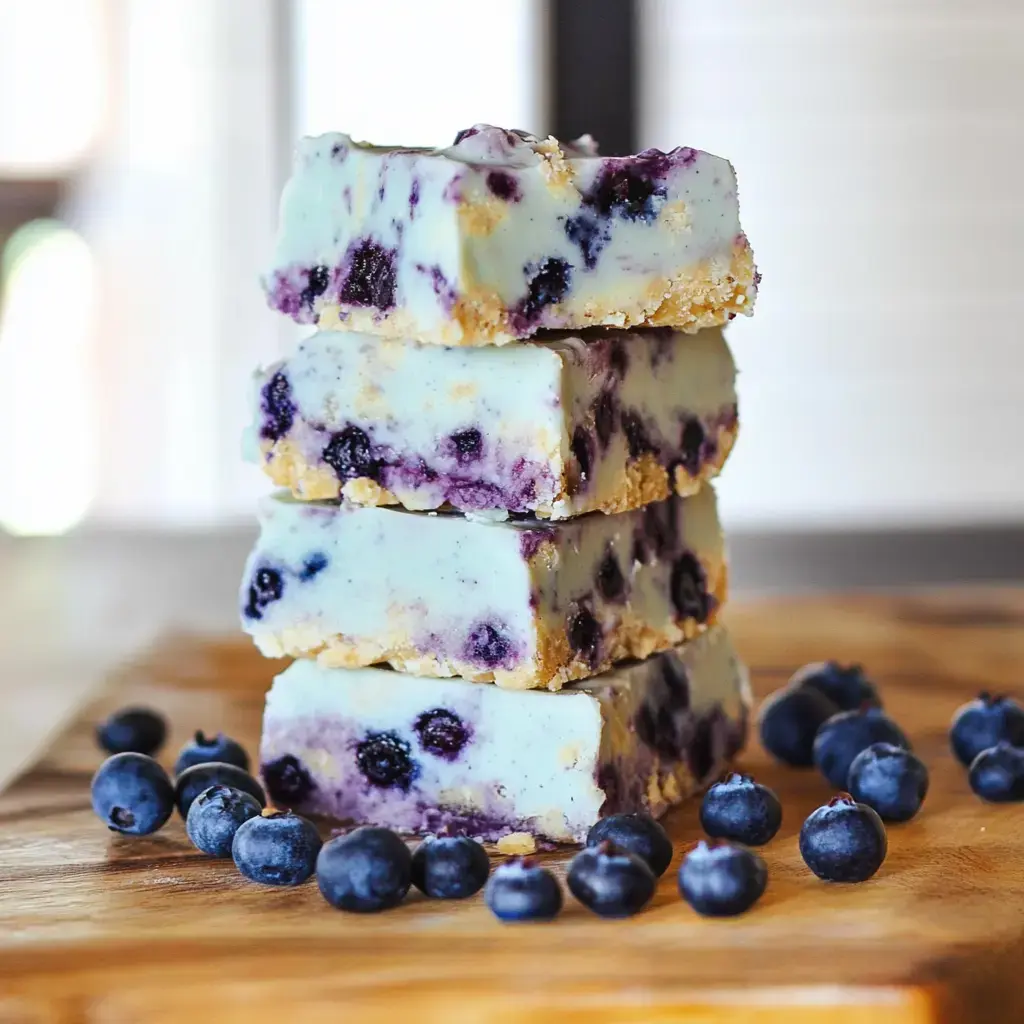
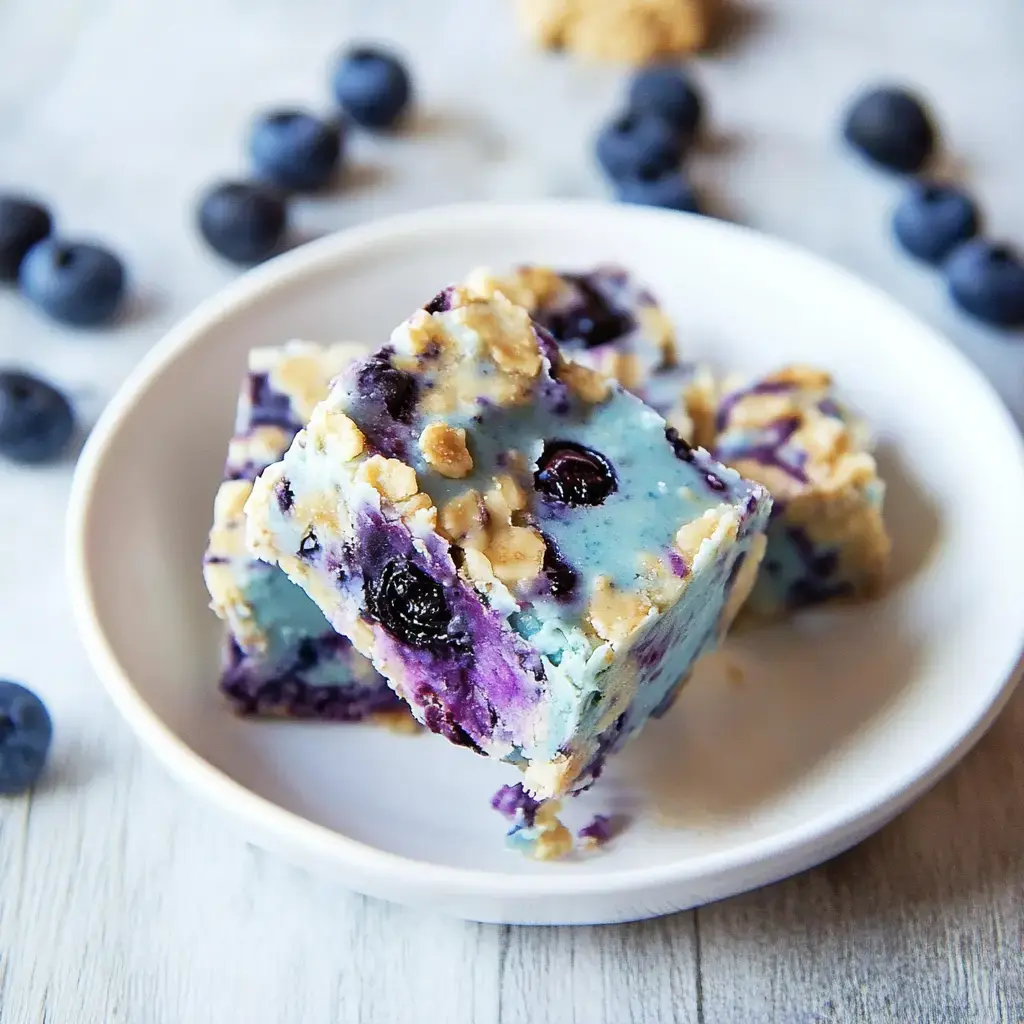
I whipped up this blueberry fudge when our local farm gave us way too many berries last summer. After several kitchen experiments, I nailed the perfect blend that tastes like sweet muffins in creamy fudge form. My little ones adore the pretty blue shade and always grab for the final piece. Whenever I bring it to community events or family parties, folks think it came from some fancy sweet shop. And the best thing? You won't need to crank up your oven at all.
What Makes This Fudge So Special
This isn't your typical fudge recipe. It brings back memories of my grandma's blueberry muffins, but in a smooth, rich candy that melts in your mouth. The color turns out stunning without any extra work - my little girl says it looks straight out of a storybook. I always make this when company drops by because it gets everyone talking. And since there's no baking needed, it's just right for those scorching summer afternoons when you can't stand extra heat in the kitchen.
Shopping List Essentials
- Butter: Get a good quality unsalted kind, softened to room temp
- Sugar: Plain granulated will do the trick
- Vanilla: Go for genuine extract for better flavor
- Flour: About a cup and a half of standard all-purpose
- Sweetened Condensed Milk: A full can gives that dreamy texture
- White Chocolate: I find Ghirardelli chips work wonders, need three cups
- Fresh Blueberries: Look for big juicy ones
- Food Coloring: Some blue and purple for extra visual appeal
- For the topping: Grab some oats, brown sugar, honey and vanilla for that amazing crunchy layer
Simple Fudge Making Steps
- Get Ready
- Start by covering your pan with parchment paper - you'll thank yourself later when it slides out easily. I found this out when my first attempt got stuck completely.
- Mix It Up
- Whip your butter, sugar and vanilla until it gets fluffy. Here's a handy trick: warm up your flour in the microwave before mixing - it blends much better. Then toss it into your butter mixture.
- Create The Base
- Here comes the good part - put your condensed milk with white chocolate in a bowl and microwave in short bursts. Keep giving it a stir until everything looks smooth as silk.
- Bring It Together
- Now dump that lovely melted chocolate into your butter mix, gently add those fresh blueberries, and maybe splash in some food coloring. The kids always want to help with this part as they watch everything swirl.
- Cool Down Time
- Smooth it all into your pan and stick it in the fridge. I know it's tough but try sleeping on it - the results are totally worth your patience.
Custom Flavor Ideas
You can change this up in so many ways. I threw in some lemon zest last time and it was a huge hit. Sometimes I'll crush up graham crackers for the top instead of the oat mix, which gives it a sort of cheesecake feel. When fresh berries aren't around, my sister uses the freeze-dried kind and says they work just fine. Half the fun comes from playing with different toppings until you discover what you love most.
Creating The Crunch Layer
This topping really takes everything up a notch. Just stir together your oats, brown sugar, honey and vanilla, spread it across a baking sheet and let it turn golden in the oven. Your whole house will smell wonderful. Just wait until it cools completely before you put it on your fudge. I usually make extra because the kids keep grabbing handfuls while it's cooling down.
Serving Suggestions
When your fudge feels firm, slice it into squares - I go for about 2 inches but you can choose your size. Scatter that crunchy topping all over and maybe add a couple fresh berries if you want to show off. It looks stunning on a plate, especially at get-togethers. Just watch how quickly it vanishes from sight.
Expert Tricks
Don't swap in frozen berries as they'll make everything too wet - I found that out the hard way. When adding color, start small because you can't undo too much. And please be patient enough to let it cool all the way before cutting. I get antsy sometimes but those smooth edges are worth waiting for. Also, make sure to pat your berries completely dry or you'll end up with fudge that's too soft.
Storage Advice
You can leave this fudge out if you want it extra creamy or store it in the fridge for a firmer bite. It should stay good for about a week, though at my place it never lasts that long. If you want to save some for later, wrap it up tight and freeze it for a few months. Just thaw it in your fridge when you're ready to enjoy. The pretty color might fade slightly in the freezer but the taste stays amazing.
 Pin it
Charming Homemade Gift
This fudge makes such a wonderful present. I enjoy wrapping it in cute boxes with ribbons for holiday gifts or birthday surprises. I made batches for all my kids' teachers last year and they still mention it whenever we chat. Just remember if you're giving it away to keep it cool until the last minute, especially during hot weather. You'll love seeing people's reactions when they first spot that beautiful blue color.
Frequently Asked Questions
- → Why warm the flour?
Warming flour gets rid of harmful bacteria that could be hiding in it, keeping no-bake recipes safe to eat.
- → Can I opt for frozen berries?
Fresh ones are better as frozen berries can make the mixture too wet. If using frozen, let them thaw and dry completely.
- → What’s wrong with my swirl?
Be gentle when mixing in the coloring. A single stir does the trick for bold swirls. Too much blending dulls the effect.
- → How long can it last?
Store it sealed in the fridge for up to 7 days. Add oats right before serving if you want them crunchy.
- → What if I skip the coloring?
That’s fine! It’ll still taste amazing. Fresh blueberries will naturally add a touch of color, though the swirl effect won’t pop as much.