
 Pin it
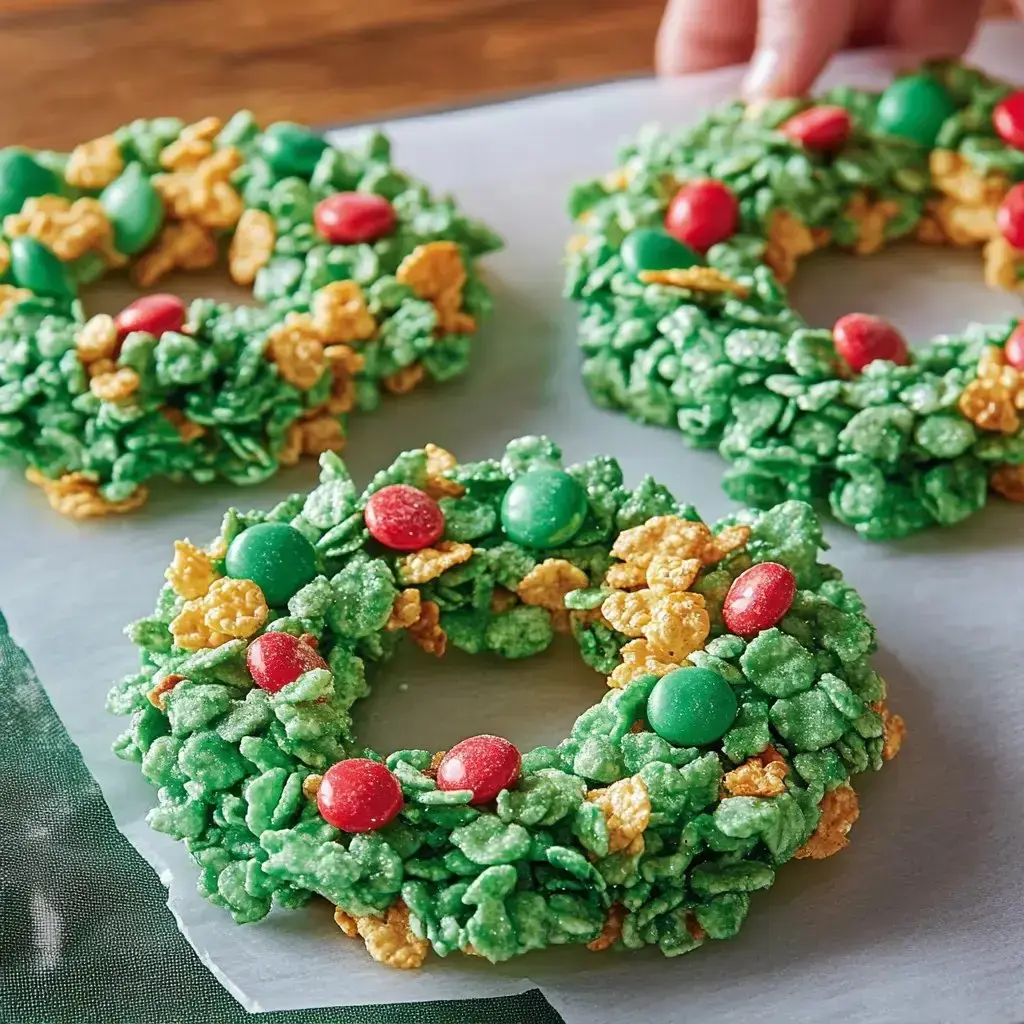
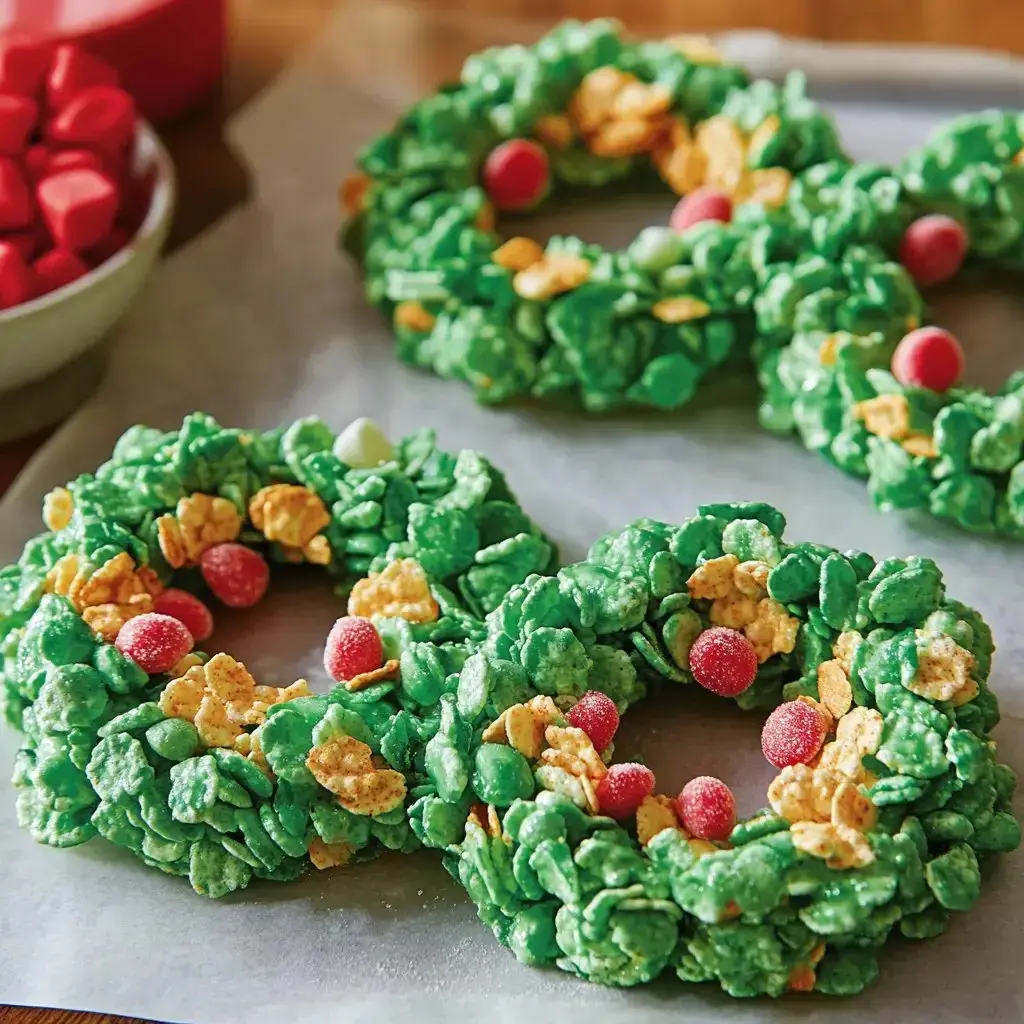
Our family Christmas wouldn't be the same without Cornflake Wreaths. These treats first showed up in our kitchen when my little ones were tiny, and now they've grown into a must-have tradition. The green, chewy circles bring so much joy, and they only take about 20 minutes to whip up—perfect when you're already swamped with holiday stuff.
Effortless Holiday Magic
These goodies are incredibly simple to create. My kids always get excited when the marshmallows and cornflakes appear. Everyone sneaks bites of the chewy, buttery mixture while we're working. We bring them to classroom celebrations, fundraisers, and they're always the first empty plate on our Christmas sweet table.
Your Needed Ingredients
- Butter: Four tablespoons with salt for extra richness.
- Marshmallows: One bag of the tiny ones for easier melting.
- Green Food Coloring: Seven drops of the gel type creates that Christmas green shade.
- Cornflakes: Five cups to give that signature crunch.
- Cooking Spray: This stops everything sticking to your fingers.
- Red Candies: Small cinnamon ones work as perfect little berries.
Putting It Together
- Prep Work
- Cover baking trays with parchment for super easy cleanup afterward.
- Create Your Mixture
- In a large pot, melt the butter, throw in marshmallows and mix until completely smooth. Drop in green coloring until it looks properly festive.
- Combine Everything
- Remove from heat and fold in cornflakes until they're all coated in green marshmallow goo.
- Form Your Wreaths
- Spray cooking oil on your hands, grab small amounts and shape into rings. The kids always call dibs on this job.
- Add Decorations
- Stick three red candies onto each wreath and wait a bit for them to firm up.
Helpful Tricks
Don't forget the cooking spray or you'll get super sticky fingers. Add extra green coloring for brighter wreaths. When we're really rushed, I just dump everything in a pan and cut it into squares later—works just as well.
Switch Things Up
Rice cereal works in a pinch if cornflakes aren't around. My son loves using little chocolate candies instead of the cinnamon ones. Try adding a tiny bit of peppermint flavor for extra Christmas spirit. We've even made them blue for winter-themed parties.
Storage Solutions
These treats stay good for about a week in a sealed container. I often make a double batch and stick some in the freezer, wrapped tightly. They'll keep for three months frozen, though they never actually last that long around here.
 Pin it
Fun For Everyone
Don't worry about making these look flawless. Let the kids go wild with different shapes—we've had a blast making Christmas trees and candy canes over the years. The laughter and sticky fingers are what make it special.
Tools You'll Want
The largest pot in your kitchen works best for mixing. Get some parchment paper ready for the trays. You'll need measuring cups for the cornflakes, though I mostly just guess now. And don't forget that cooking spray—you'll thank me later.
Frequently Asked Questions
- → Why spray your hands with oil?
- The mixture can be super sticky. Spraying your hands keeps it from clinging while you shape the wreaths.
- → Can I use another color?
- You can! Gel colors give stronger tones with less liquid, while regular food coloring works for lighter shades.
- → How do I store them properly?
- Keep them in an airtight container at room temp, with wax paper between stacks to avoid sticking together.
- → Are other toppings okay?
- Definitely! Use red sprinkles, small red M&Ms, or any tiny red candy for a festive touch.
- → Why wait before shaping it?
- Letting the mixture cool a bit makes it softer to work with. Too hot is risky, but if it's too cold, it's harder to shape.