
 Pin it
Nothing captures the magic of Easter quite like homemade chocolate nests. This classic treat combines crispy cereal with smooth melted chocolate to create edible works of art that both children and adults adore. Through countless batches in my kitchen, I've refined this recipe to achieve the perfect balance of crunch and stability.
This recipe always brings warmth to my kitchen, especially when little hands eagerly help shape each nest with careful concentration.
Key Components
- Cereal Base: Traditional shredded wheat creates authentic nest texture, though cornflakes provide excellent results
- Chocolate Selection: Premium milk and dark chocolate blend for optimal flavor and setting properties
- Unsalted Butter: Pure butter delivers superior structure and richness
- Golden Syrup: Essential binding agent that adds depth and ensures proper consistency
 Pin it
Preparation Method
- Chocolate Preparation
- Combine chocolate, butter, and syrup over gentle heat. Maintain low temperature while stirring periodically until perfectly smooth and glossy.
- Cereal Handling
- Break cereal into varied pieces, maintaining texture diversity. Avoid over-crushing to preserve natural nest appearance.
- Assembly Process
- Incorporate cereal into melted mixture thoroughly. Form nests on prepared baking sheet, creating indent for decorative eggs.
These nests represent generations of Easter traditions, connecting families through shared kitchen experiences.
Chocolate Handling
Precise temperature control prevents chocolate issues. Gentle melting produces optimal results for coating and setting.
Shaping Technique
Traditional spoon-shaping creates authentic nest appearance, though portioning tools ensure consistency if preferred.
Advance Planning
Prepare nests up to three days ahead, storing properly sealed. Reserve final decoration until serving time.
Alternative Options
Experiment with varied candies and decorative elements while maintaining traditional nest structure.
Each batch of chocolate nests carries forward cherished family traditions while creating new memories in modern kitchens.
 Pin it
Frequently Asked Questions
- → Can I prepare the cookies ahead of time?
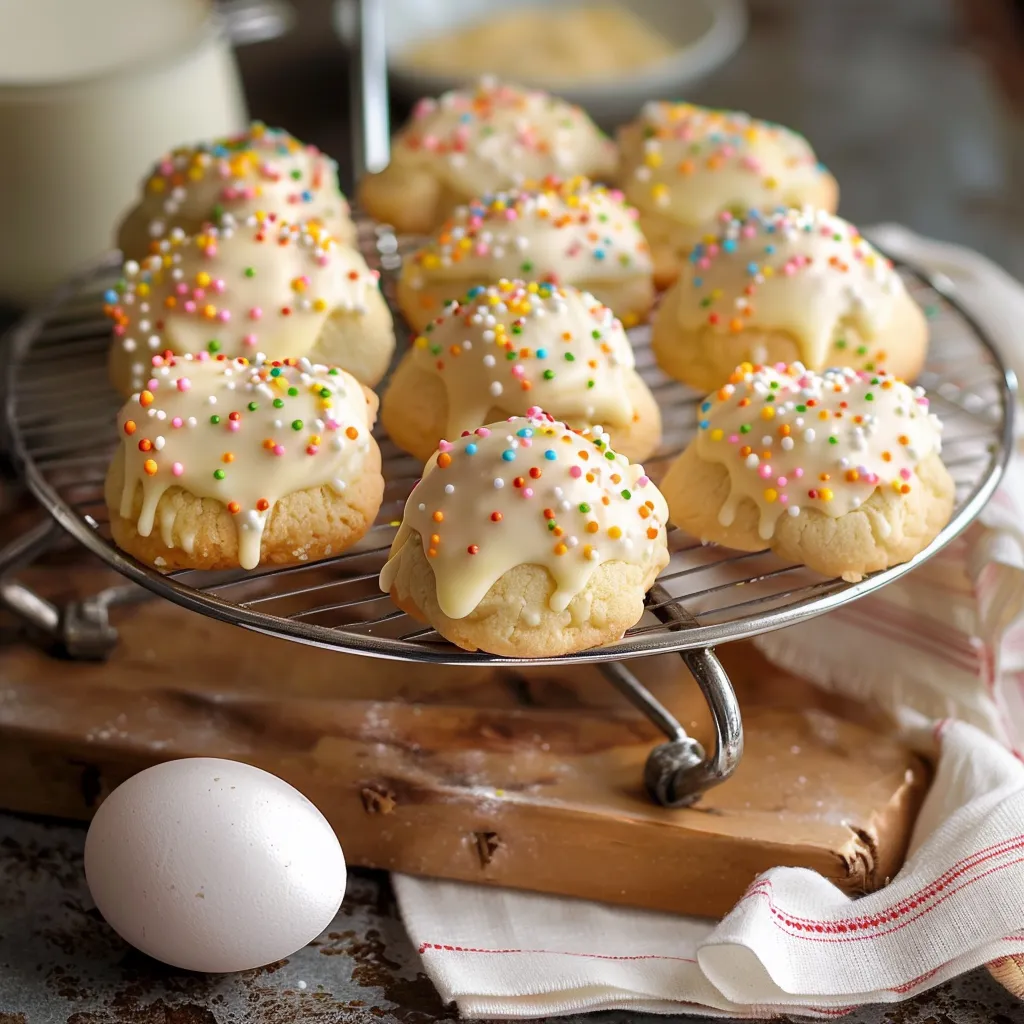
- Absolutely! Keep the cookies in a sealed container for up to a week, or freeze the dough for around 3 months.
- → Is it possible to replace the butter?
- Yes, swapping it with a mild olive oil works well and gives a more traditional flare.
- → How do I shape the cookies best?
- Roll the dough into thin ropes about 5-6 inches long, then either create knots or connect the ends into small circles.
- → Is the glaze necessary?
- The lemon glaze adds a lovely flavor, but simple powdered sugar can also top them off nicely if you prefer.
- → What temperature should I bake them at?
- For a light bake, use 300°F and bake for 15-18 minutes, or try 350°F for a little less time—about 13 minutes.